Now due to the unrelenting British weather, any further tasks had to be undertaken indoors. As you’ll have probably seen from the earlier blogs, the inside of the cabinet was disgusting when it arrived. This included the power supply:

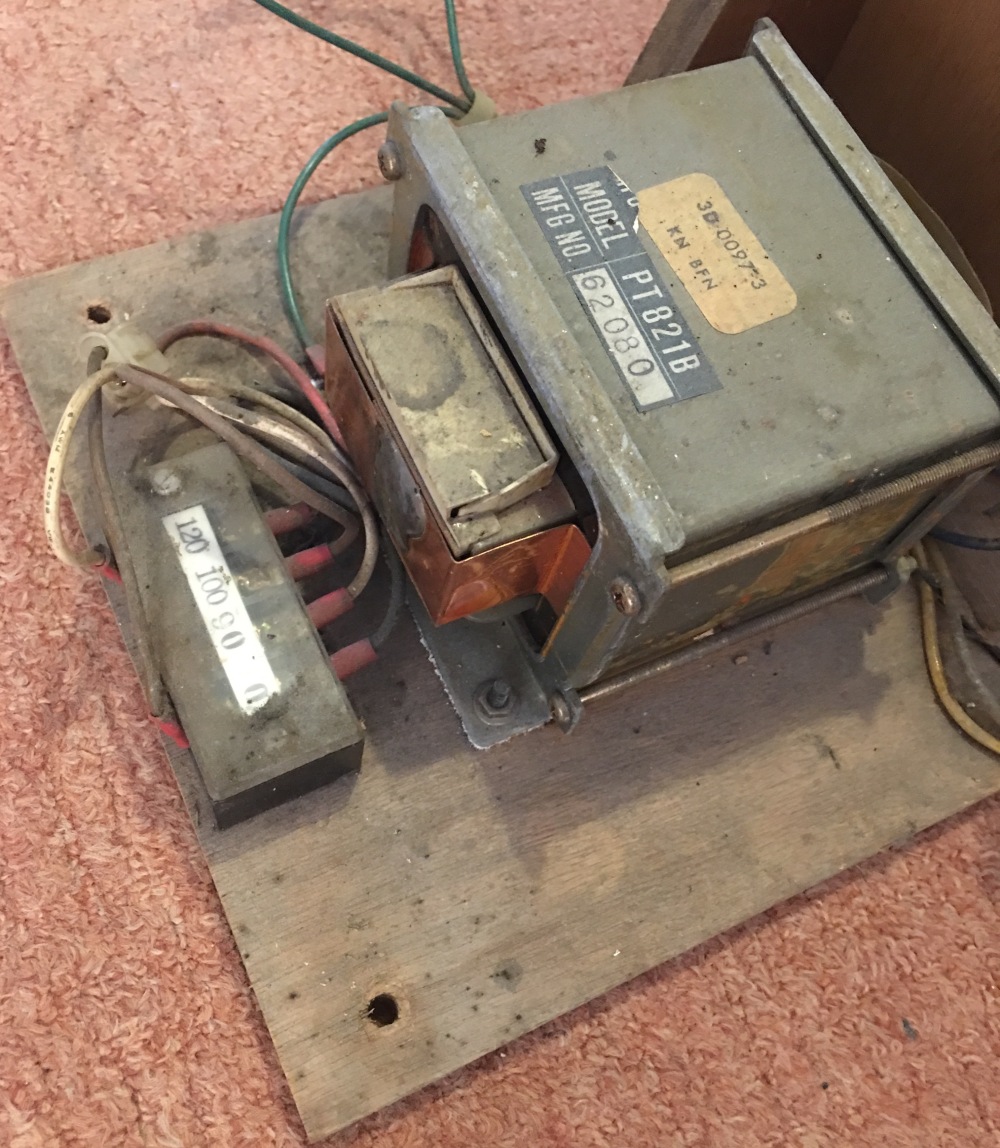
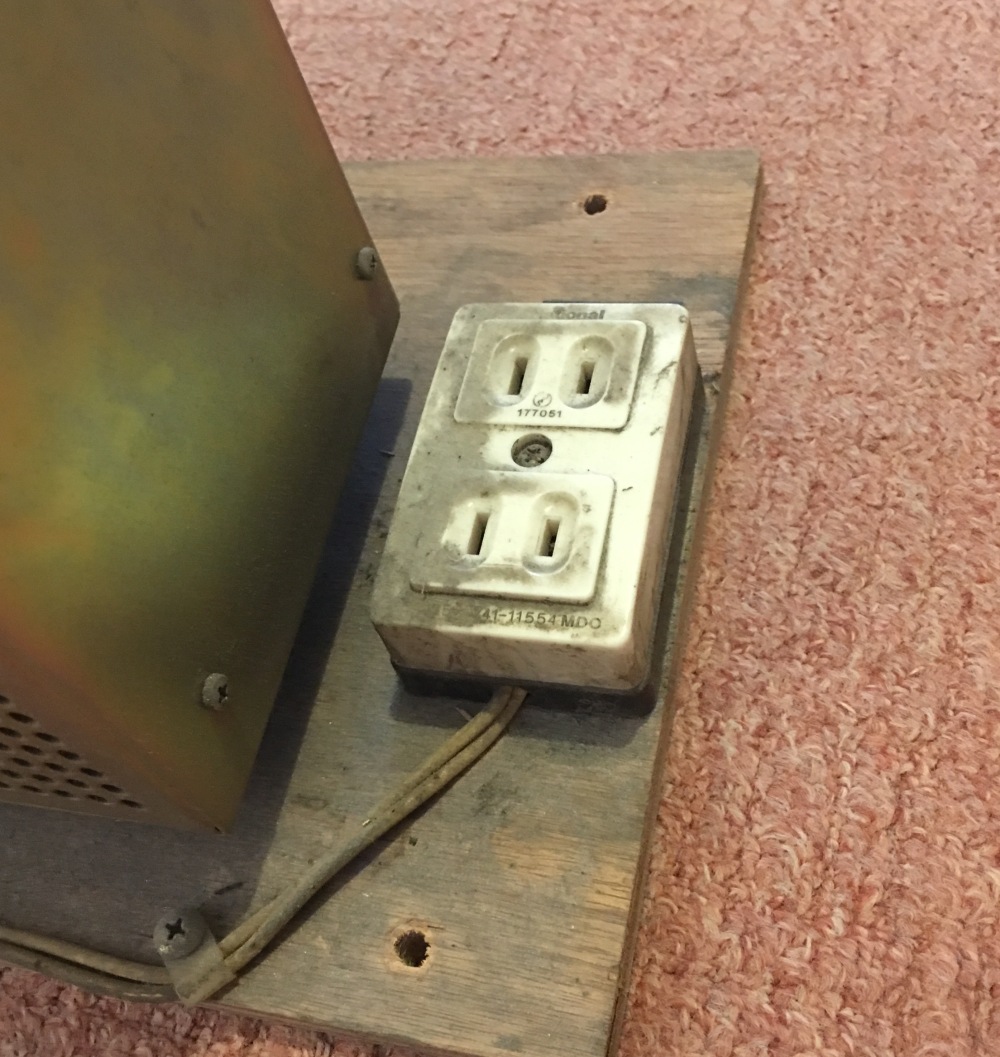
I began to strip down the power supply so that I could get rid of all the years of dirt and grime. After undoing all visible screws, I managed to remove all parts from the wooden base. This left me with this:
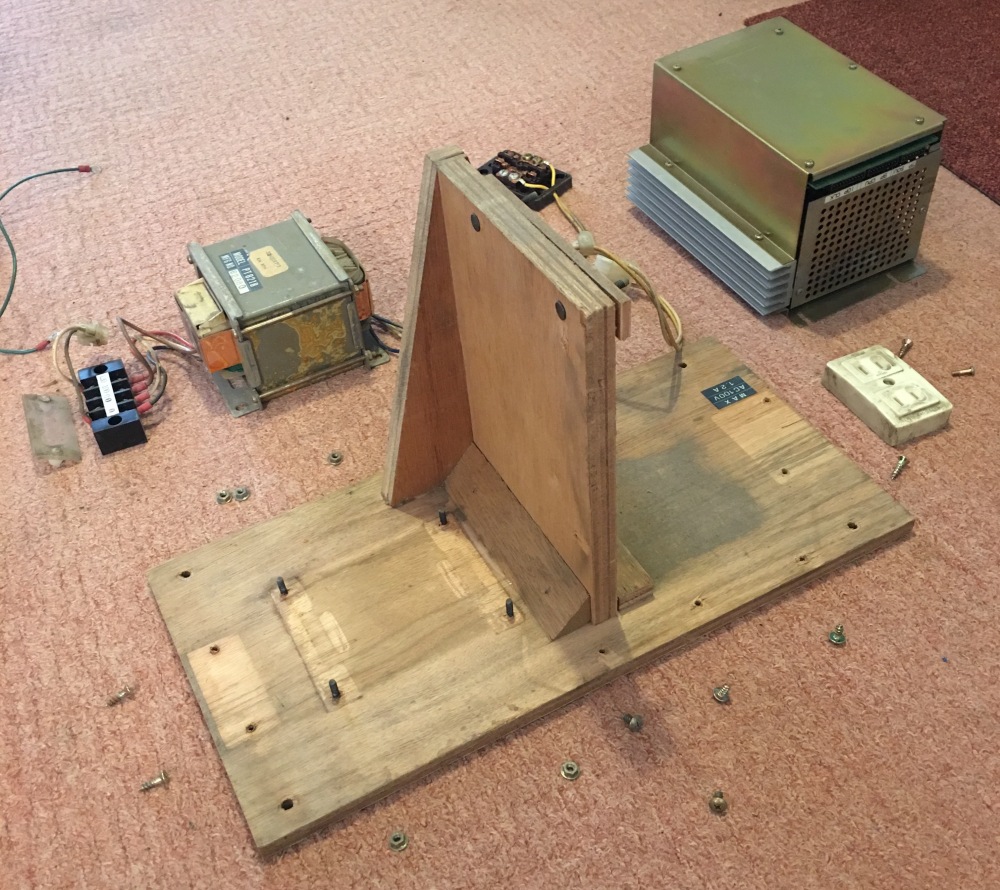
Out came the hoover, hot soapy water and cotton buds (q-tips) and the cleaning process began. I was careful not to get any of the components too wet. Although, I knew it wasn’t going to be powered on for quite some time, so all parts would have adequate drying time.
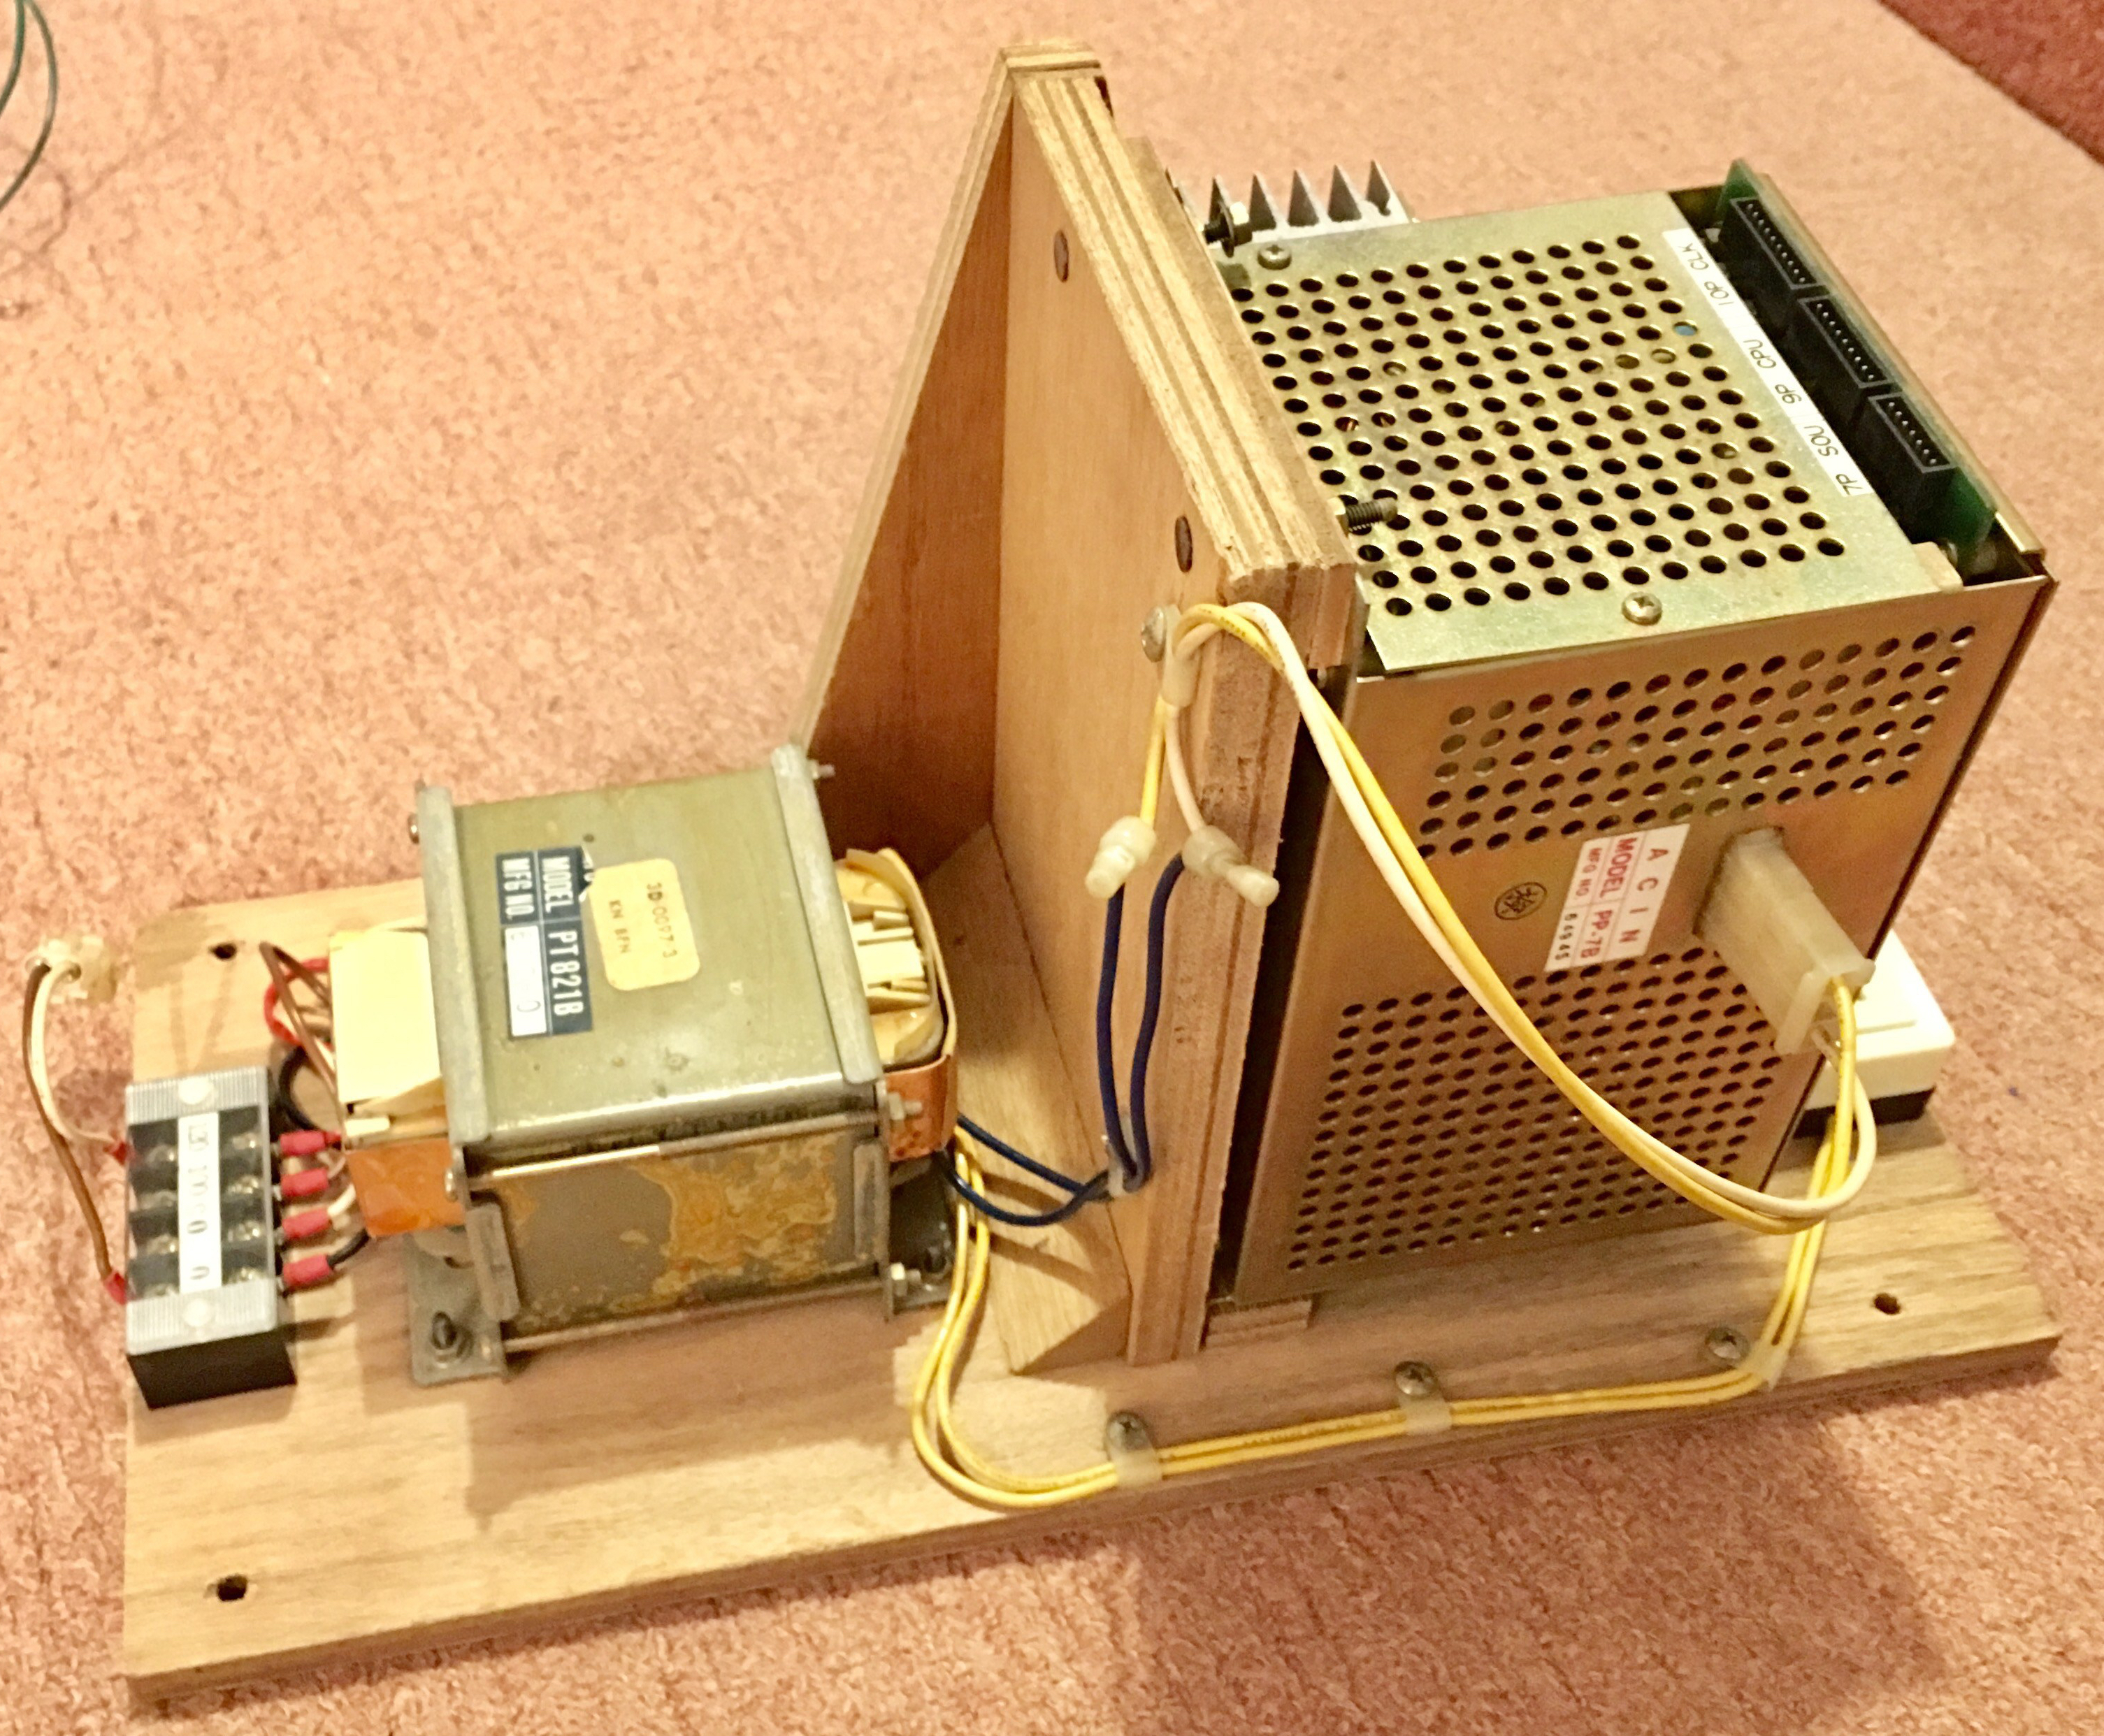
Once cleaned, I began to re-assemble the power supply. In my eagerness to get it back together, the only picture I managed to take was once it was complete:
Much better! Considering the effort going into the externals of the cabinet, it made sense to give the same attention to the internals (even though only I would ever see them!). The below comparison should give you an idea of the difference:

Now that the power supply was nice and clean it was ready for putting back into the cabinet. This meant that I could focus my time on the next set of indoor tasks, but these would involve much more work than soap, water and elbow grease.

I love seeing the difference a little soap, water and patience can bring out. Nice to see the attention to detail on this cabinet
LikeLiked by 1 person