Now again, this post is way past it’s due date, but I’m using the little spare time I have to try and catch up!
After testing the HeliFire board using a new switching power supply, it appeared that we got the game to ‘draw’ slightly more than using the original power supply. The one thing I decided when I started restoring arcades was that I wanted to keep them original (I clearly wasn’t factoring in 35+ year old electronics when I made this decision!). Realistically, some things just aren’t worth the risk. With older power supplies, you’re not only risking your attached hardware due to voltage spikes, but also the real possibility of fire. Now fire inside these old wooden cabinets (or metal tub in this case) is not going to end well.
I pulled the original power supply and began (a completely uneducated) inspection:
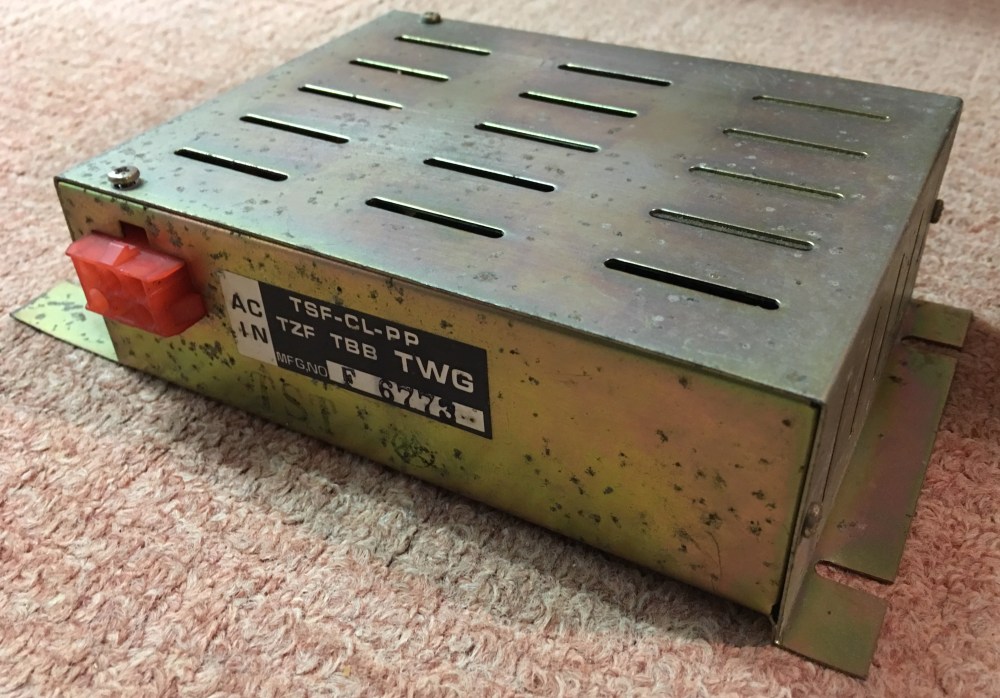
The first thing that struck me as odd was the lack of the HeliFire code (TUB) on the label. I have seen other power supplies online that do have the TUB code, but it may just be an omission from this one. It didn’t look in particularly bad condition from the outside, but it’s the innards that are more important. Four screws later and the lid lifted off:
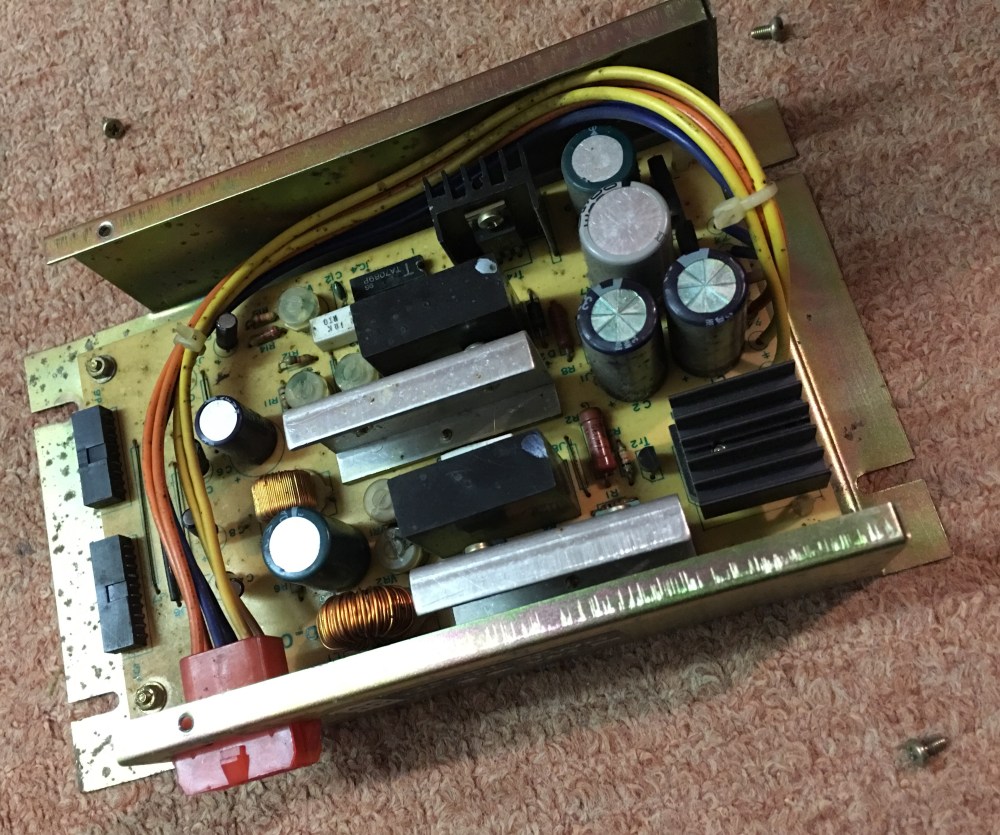
Aside from the slight corrosion and what appears to be damp spots it didn’t look too bad. No bulging caps or toasty looking components (clearly my trained eye working here…), but the problems with these units usually centre around the voltage regulators. When these start to fail, unwanted voltage spikes start crisping boards.
My aim with this, to try and appease my originality obsession, is to remove the internals from this unit and replace with some slightly re-worked internals from a modern power supply. That should give me the looks of originality, but the reliability of modern components.
Next out was the main PCB itself. Again, I cast my knowledgeable eyes over the boards themselves looking for obvious signs that might explain the lack of submarines. There were some unusual things on the boards themselves, ranging from empty sockets to cut and rerouted traces:
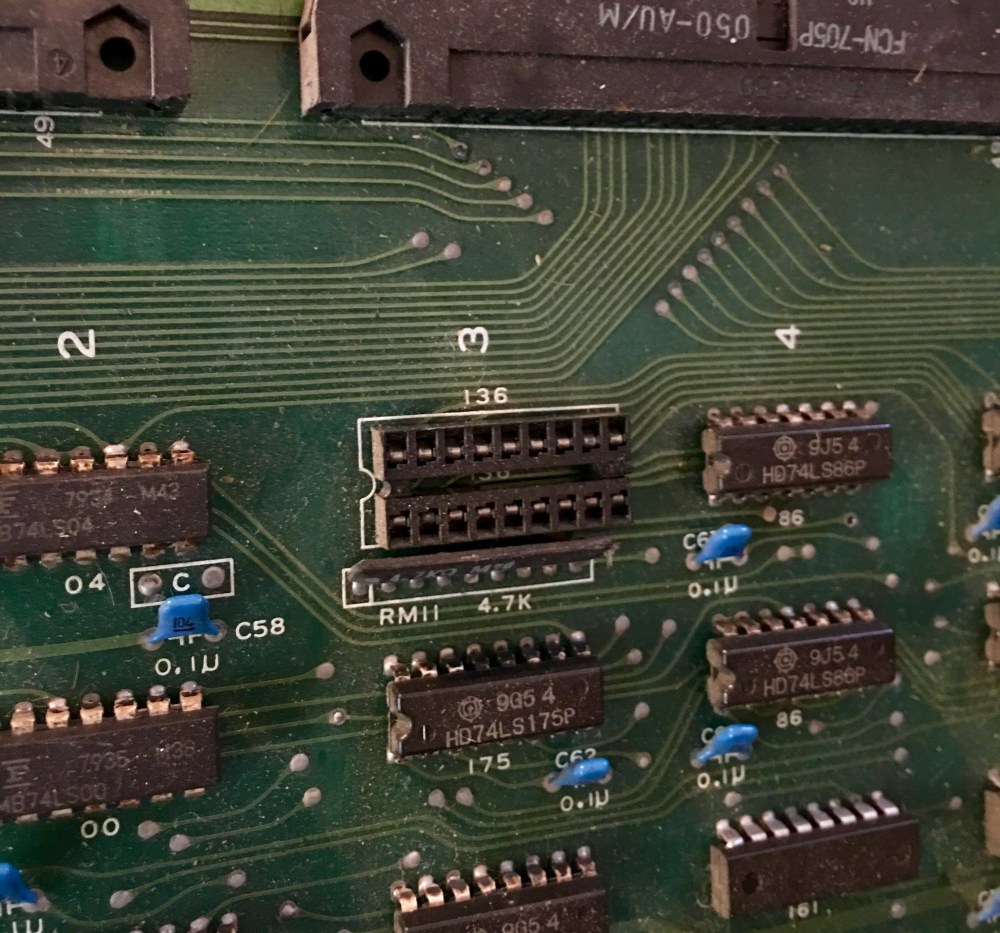

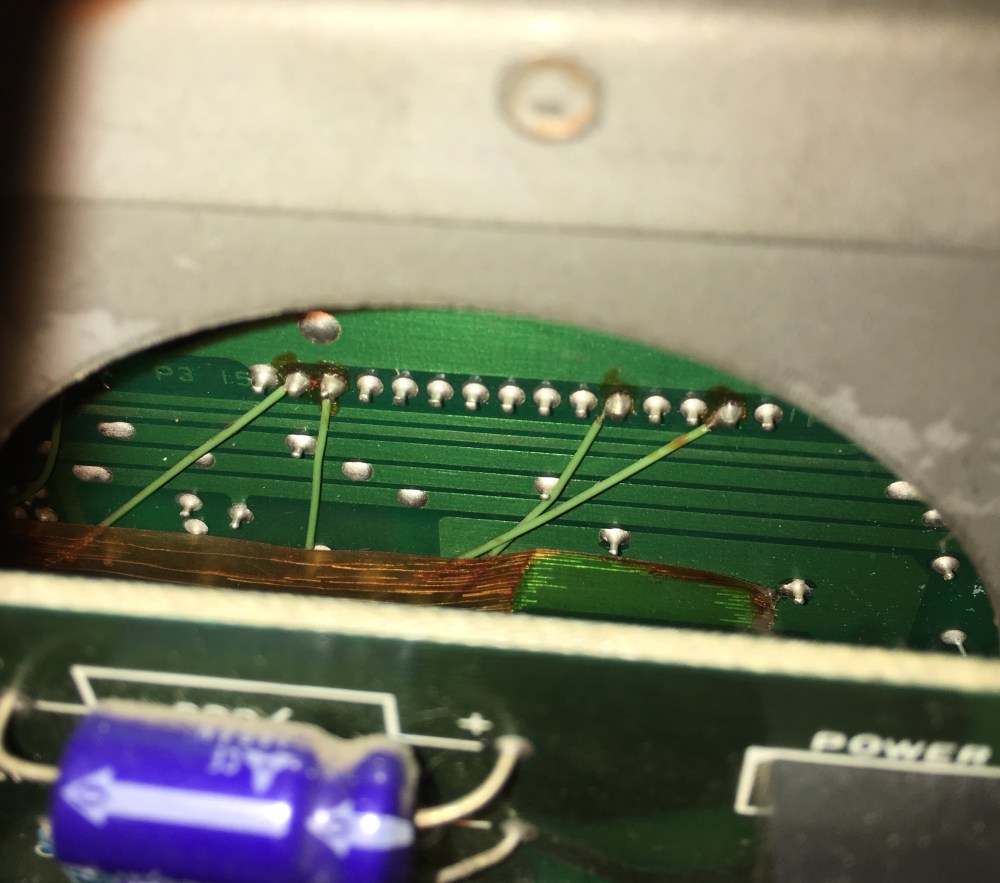
After some internet searching and lots of pictures later, I ascertained that at least the empty slot was correct as it appears this way on a number of other boards (importantly working boards). The cut and re-routed traces look ‘original’, almost factory done, but this is purely speculation.
Due to lacking the correct equipment (and knowledge!) to start diagnosing what was wrong with the board, I decided this was as far as I could go. I packed up the board and sent it off to James Brindle at RetroGamesParty for him to perform his expert surgery and hopefully bring HeliFire back to life once more.
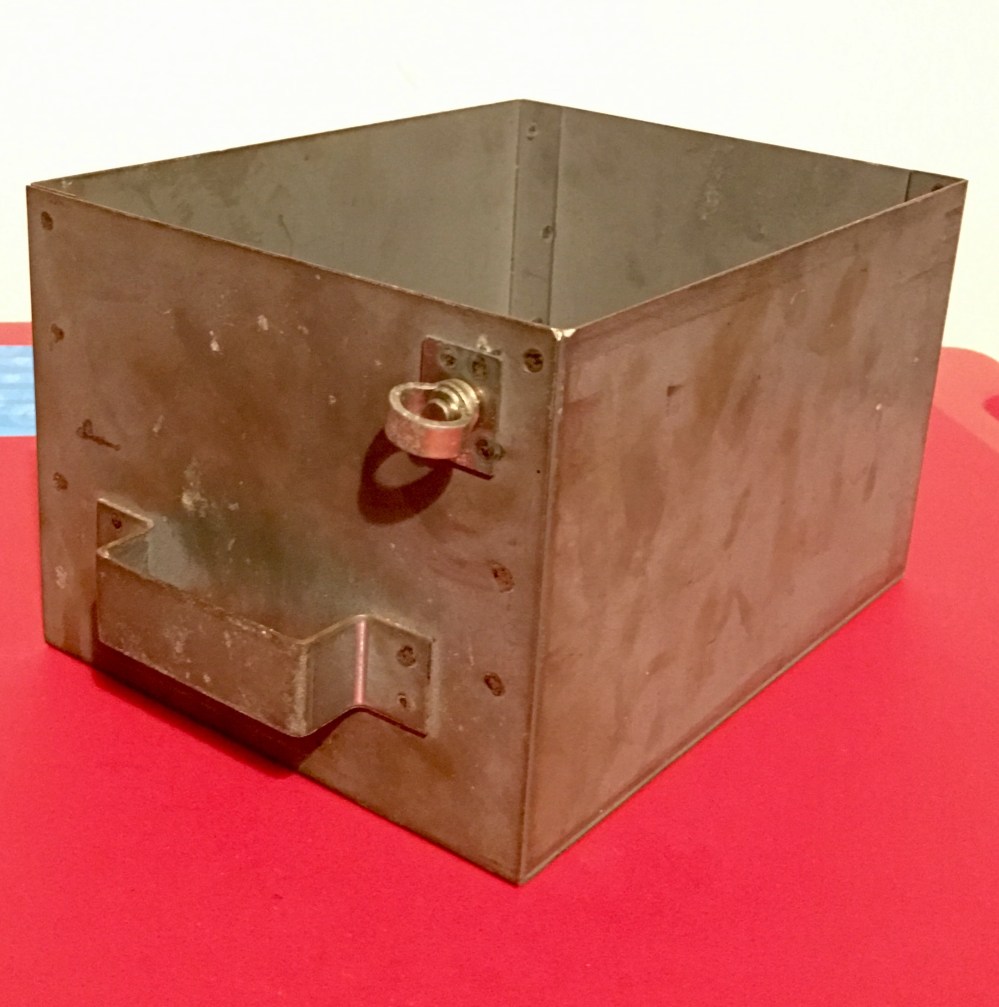
The next sensible step seemed to be to start stripping the cabinet down ready for cosmetic work. Before I started though, I wanted to ensure the cabinet was as complete as possible and this meant I needed a coin box. Now unfortunately for me, Nintendo cocktail coin boxes are a very scarce comodity unless you are fortunate enough to have one in your cabinet already. As with all of my searches, I started with eBay.com, mainly because there were/are a lot more Nintendo arcades over the pond. Clearly the arcade gods were looking favourably upon me this day as I happened across the coin box I needed during my first search. It wasn’t cheap, but it was the final piece of the puzzle, so I snapped it up and waited two weeks for the box to fly across the sea. As I bought it through eBay, they had kindly already calculated the customs fee and added it to the total cost, so no ransom notes at this end before delivery:
Now I did say the coin box was the final piece of the puzzle. This was the final missing piece, but I still had the issue of the mid-coloured buttons on the control panels. Another US purchase (from a Facebook friend this time) supplies me with a slightly butchered cocktail control panel, but importantly with a green button:
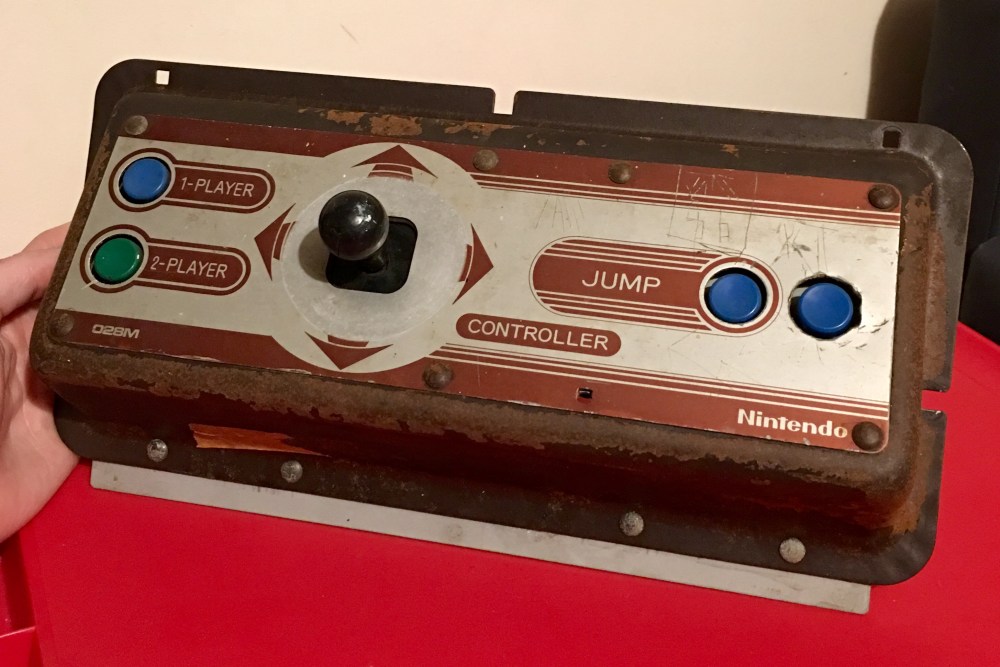
I did buy a whole spare control panel for a green button, but it also meant spares buttons, looms and a joystick! I did also get another couple of items in this order, one being a sacrificial Takigen key:
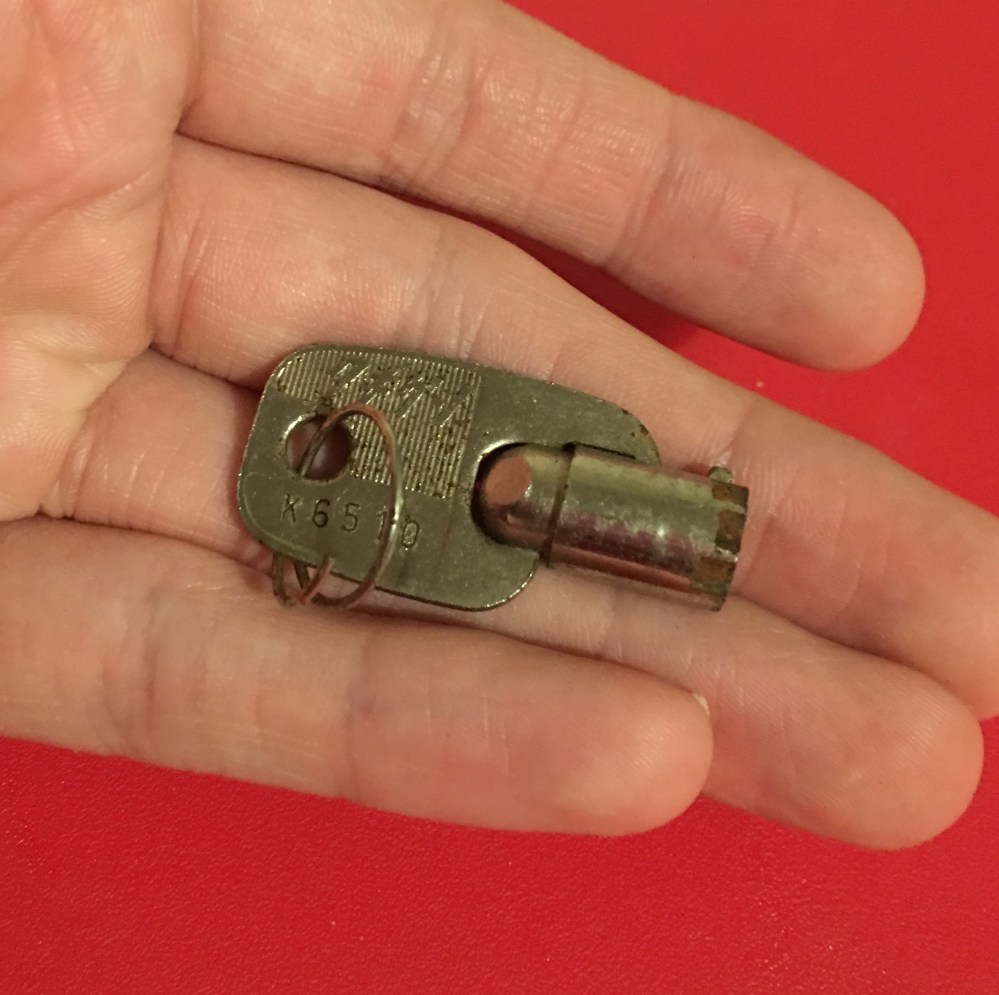
This key had to be partially altered to fix the issue I had with one of the locks. Someone at somepoint turned the lock with a key and then managed to remove the key without turning the lock back. This meant that the lock was essentially stuck ‘open’ with no way to get another key into the lock because of the locating tab. Two minutes with a hacksaw and I removed the locating tab from this key and managed to turn the lock back to ‘locked’ meaning it could be operated again using a complete key.

hi you wouldnt still have the regulator board from the helifire cocktail TSF-CL-PP by any chance
LikeLike