I believed the best way to start the conversion was the change the orientation of the monitor first, leaving everything else in place. This way, I could manage the process step by step and ensure everything was still working at each stage.
I disconnected the video, power and audio cable and nervously unscrewed the four screws holding the monitor to the horizontal brackets. Nintendo had clearly thought about the process of swapping the monitors in these cabinets, as there are panels built in the cabinet that you can essentially rest the monitor on whilst dealing with the proper mounting. This makes life a lot easier as you’re not having to try and hold the monitor (which has some serious weight to it) whilst unscrewing the fixings.
After wrapping all of the now loose cables around the frame at the back of the monitor I went to pull the monitor. My first thought was that the monitor would come out of the back of the arcade (as per the instruction manuals I’d read), but I didn’t seem to be able to get the monitor out past the horizontal brackets (which are bolted to each side of the cabinet). So plan B was to pull the monitor out of the front of the arcade. Despite the manuals advising the opposite, I actually found this easier as I could get a better grip on the monitor itself and there was less in the way.
I’d already mounted the upper support bar in the back of the arcade (in hindsight, maybe the reason removing the monitor out of the back didn’t go so well!), so I went for a mid-air rotation and dropped the monitor back in, with it’s original vertical rotation. I connected the monitor back up and powered up the arcade:
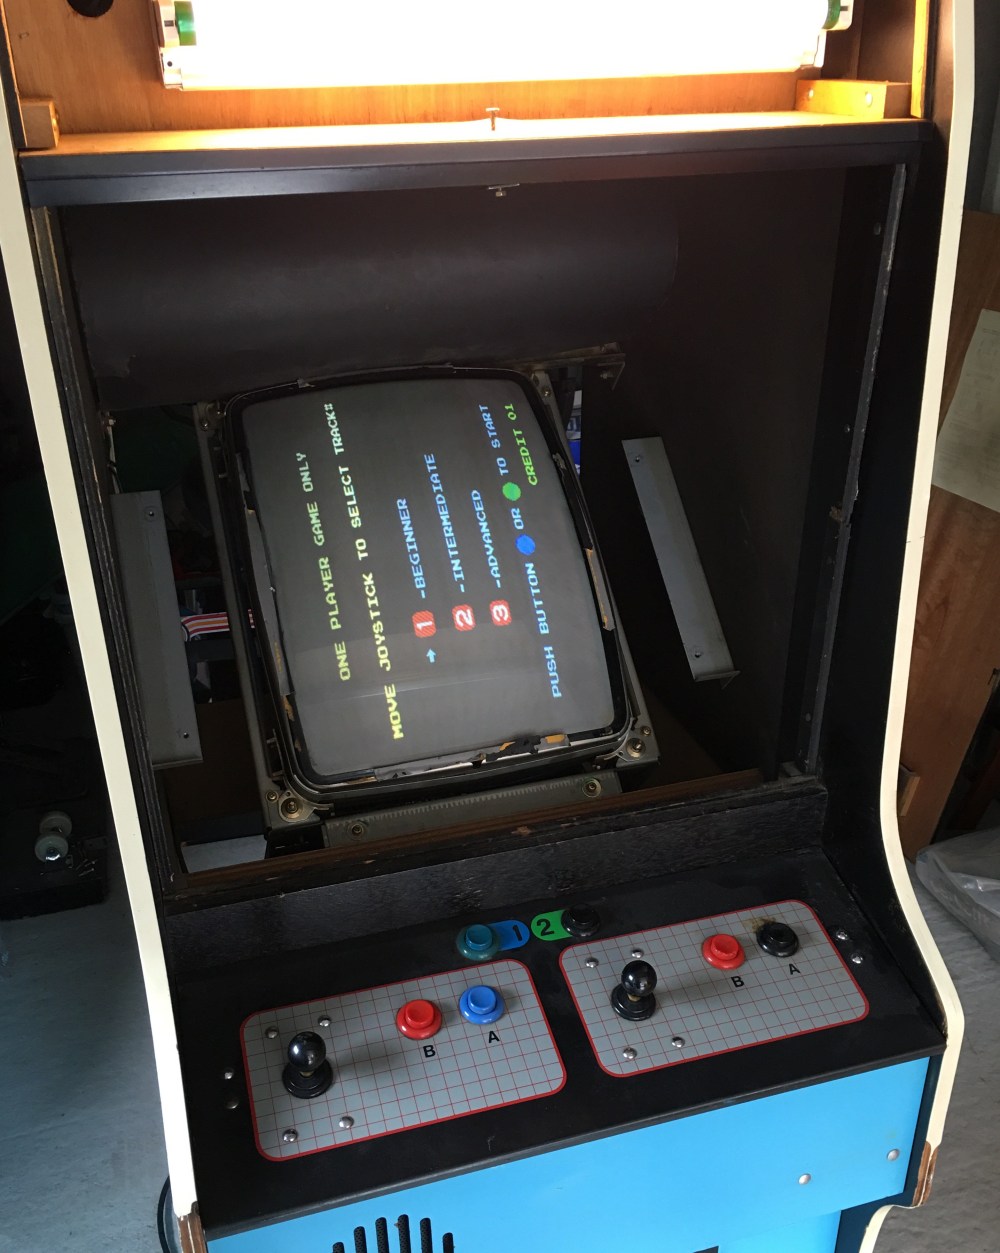
I was pleased to see the Excitebike starting screen, but a little concerned that no sound was being outputted. A nice easy fix as it turns out I’d not connected the audio cable in my haste to make sure I hadn’t broken anything with my monitor juggling!
Now that I knew I hadn’t broken anything in stage 1, it was time to power off and pull the Unisystem kit. Luckily, all of the old manuals are available online in PDF format, so out came the iPad and I began working my way through disconnecting the additional looms and removing the board (and associated cage) from the cabinet. As I unlatched and removed the control panel, it became very obvious that these cabinets had, had a tough life. Unfortunately, as is always the way, 99% of people treat things with the utmost respect, but the remaining 1% decide to kick nine bells out of them. As I peered down into the cabinet, I could see the extent of the abuse this cabinet had received:
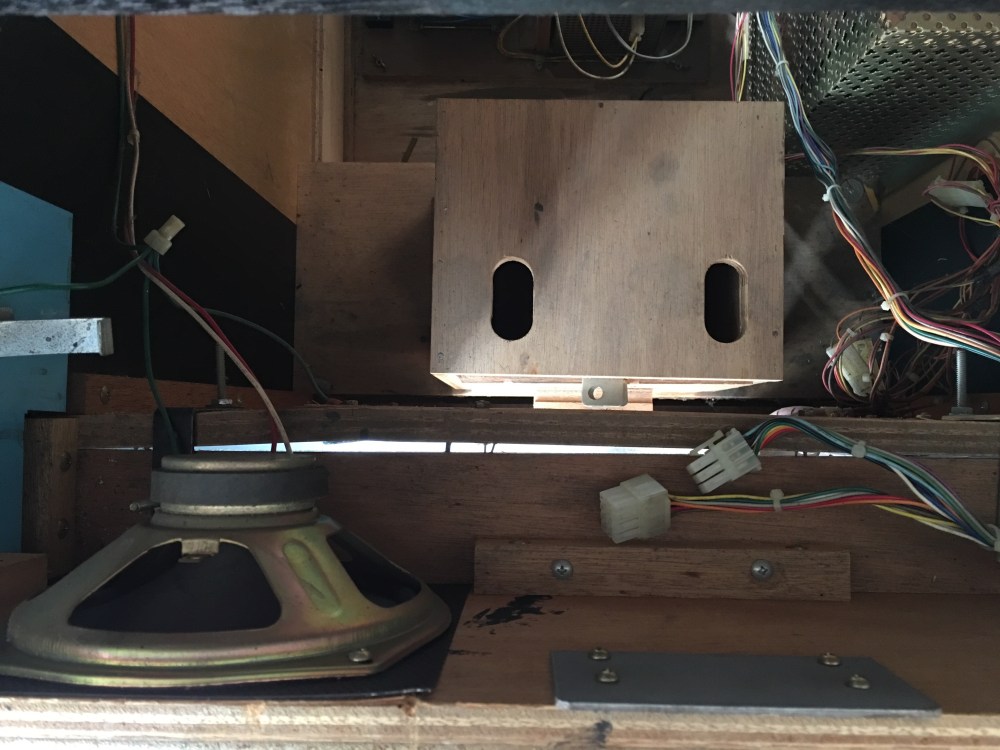
The main front panel (that includes the coin door) had been “kicked” to the point it had split and bowed at it’s weakest point (the top corners of the coin door where only and inch or so of panel exists). The bolts in the front of the cabinet that I’d assumed were for a coin door brace (as is the norm, to try and stop people forcing the coin door open!) were actually for some L brackets that were bolted to this panel and the underneath of the speaker panel to try and hold everything together! You can see the one on the left, just underneath the speaker in the picture above.
As I wasn’t tackling the cosmetic side of this cabinet just yet, I put this damage to the back of my mind and continued with the removal. Finally with everything out, I was left with just the power supply (both the original and the new switching), the monitor and a part loom:
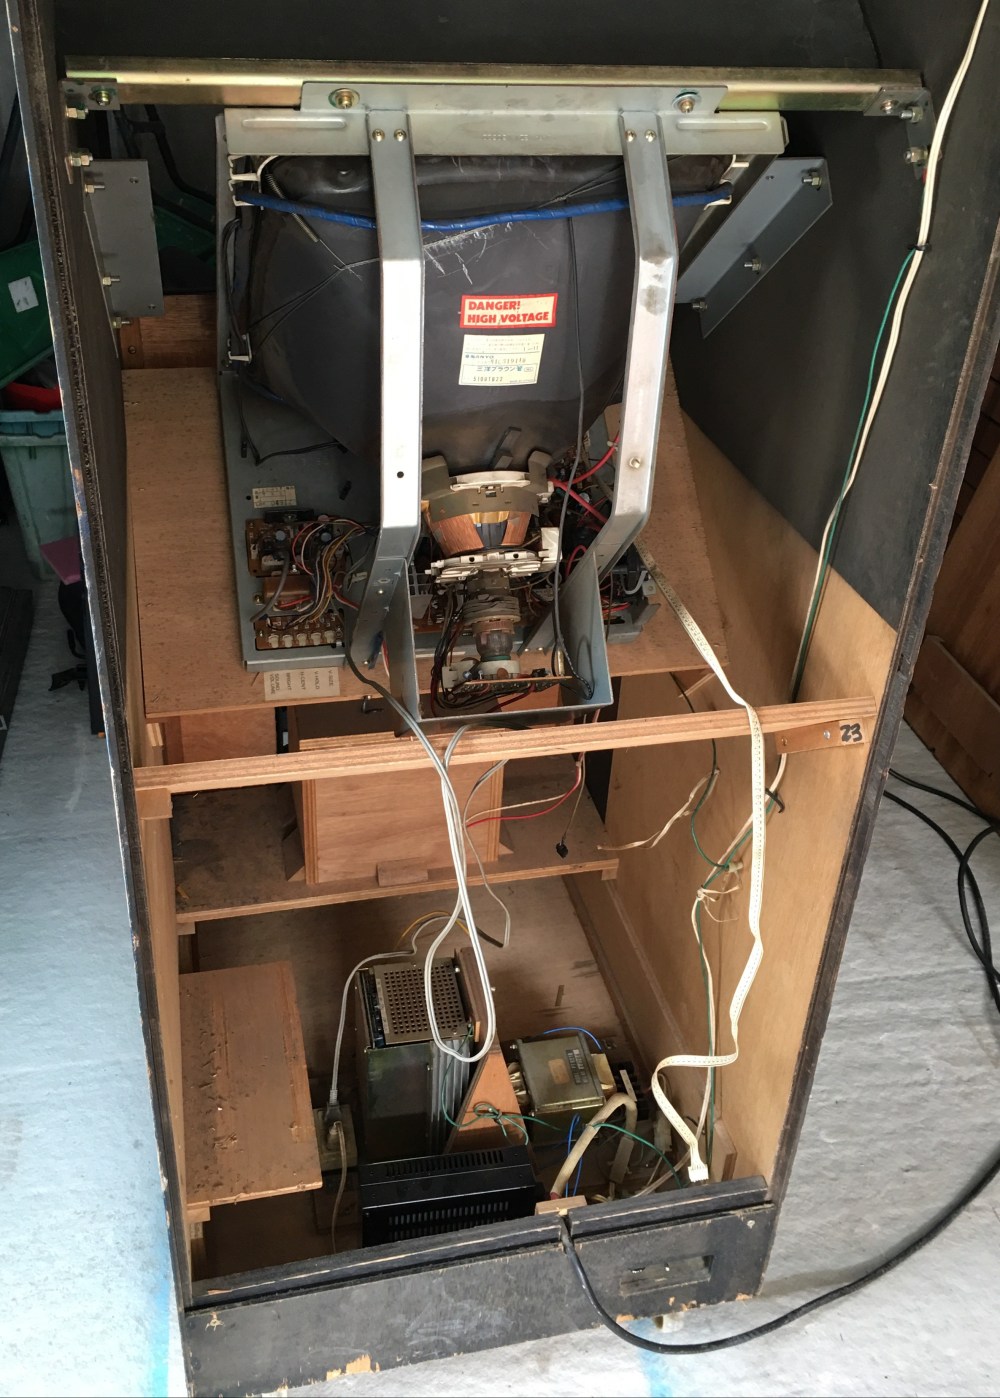
I was amazed how clean the inside of the cabinet was, especially considering this thing had been in service for more than 30 years before it made it’s voyage over the Atlantic. I gave the inside of the cabinet a quick hoover out and started laying everything out ready for the next step, putting Donkey Kong back where it belongs.

Finally finding the time to read through your blog. Great little write ups in each installment. My number one cab to buy next is a DK, so this is great to read through.
LikeLiked by 1 person