I was very eager to start painting, but realised that the first few coats of primer would show up more dings and dents that weren’t visible on the current half filler, half painted surface.
Before I started, I thought best to sort everything out (parts wise) to ensure I knew where everything was. Out came the pasting table and I began sorting out all of the removed components:

This also allowed me to take stock of any parts I needed to replace. One unexpected replacement was a coin mech. I’ve no idea how this could have ended up like this:
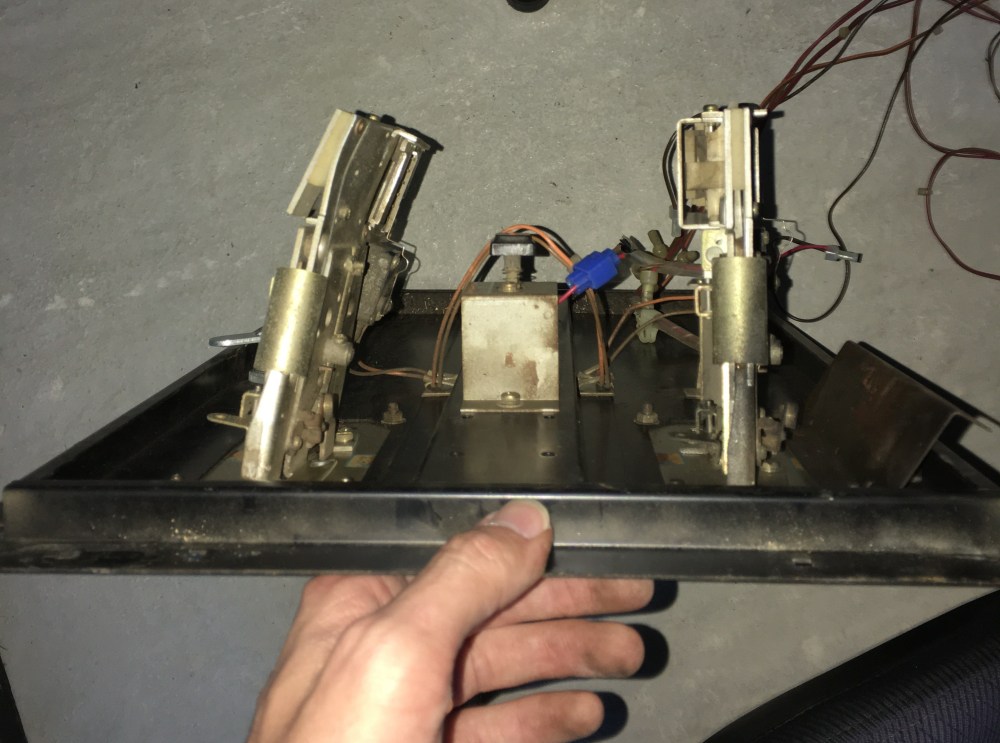
The coin mech is completely squashed! There’s no possible way to straighten it out, so I’ll need to source a replacement.
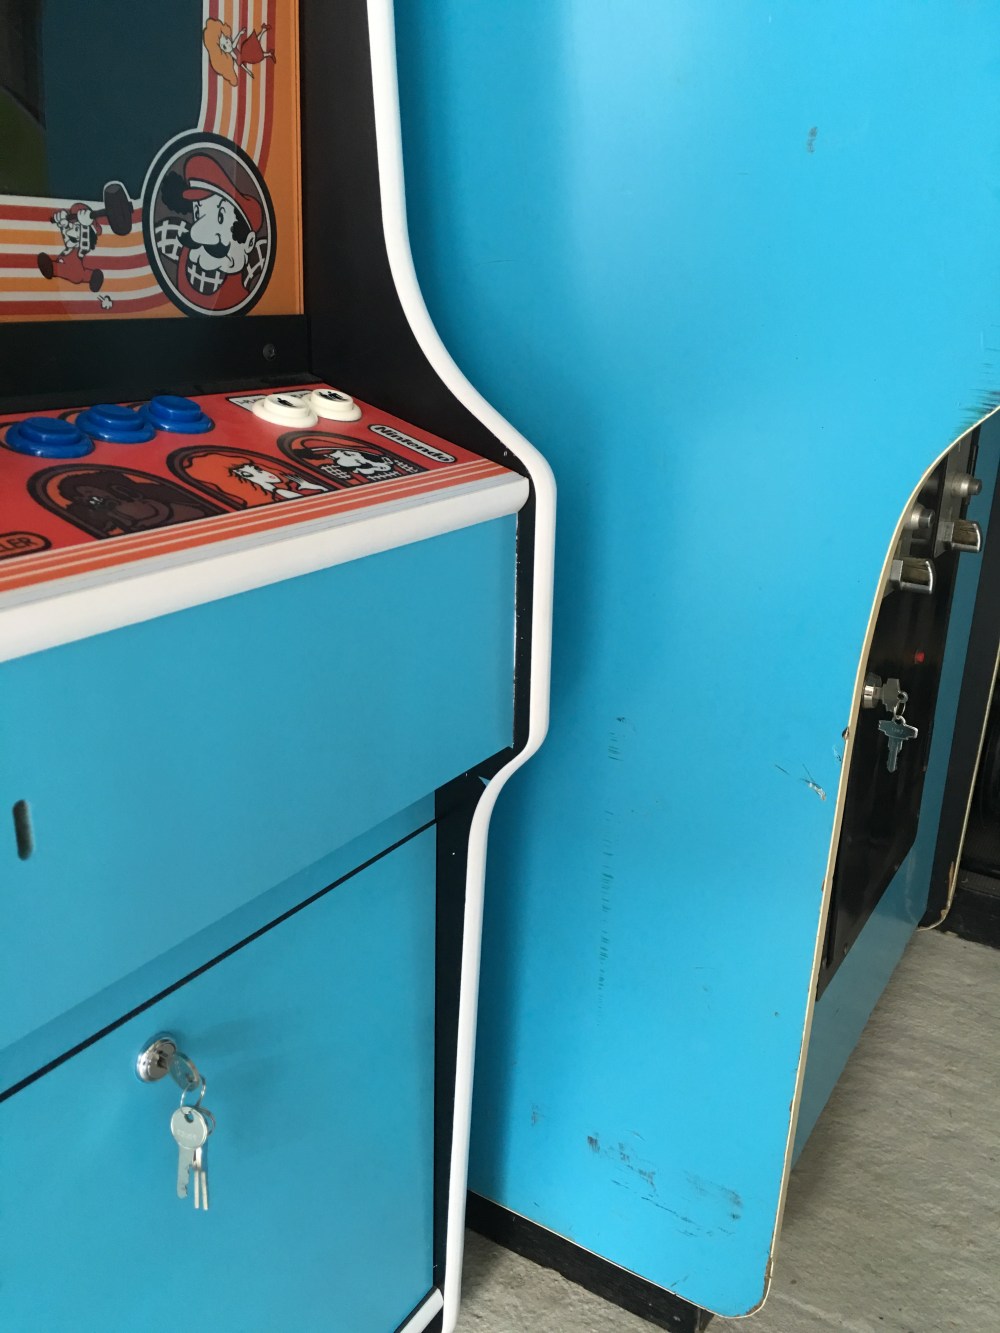
With everything tidied up, I started on the preparation for painting. Each panel was rubbed down completely to key the surface and give the paint best chance at sticking. I’d bought a general purpose primer in white as I would be changing this cabinets colour completely from blue to red. I spent quite a bit of time deciding how I was going to paint the cab. My previous paint job on my 2/3rd size Nintendo was spray painted using a very good colour match blue from B&Q (other DIY stores are available), but I fancied trying a roller to apply the paint (much less mess!). I took a trip to B&Q to see what was available paint-wise in the colour I wanted and stumbled across this range:
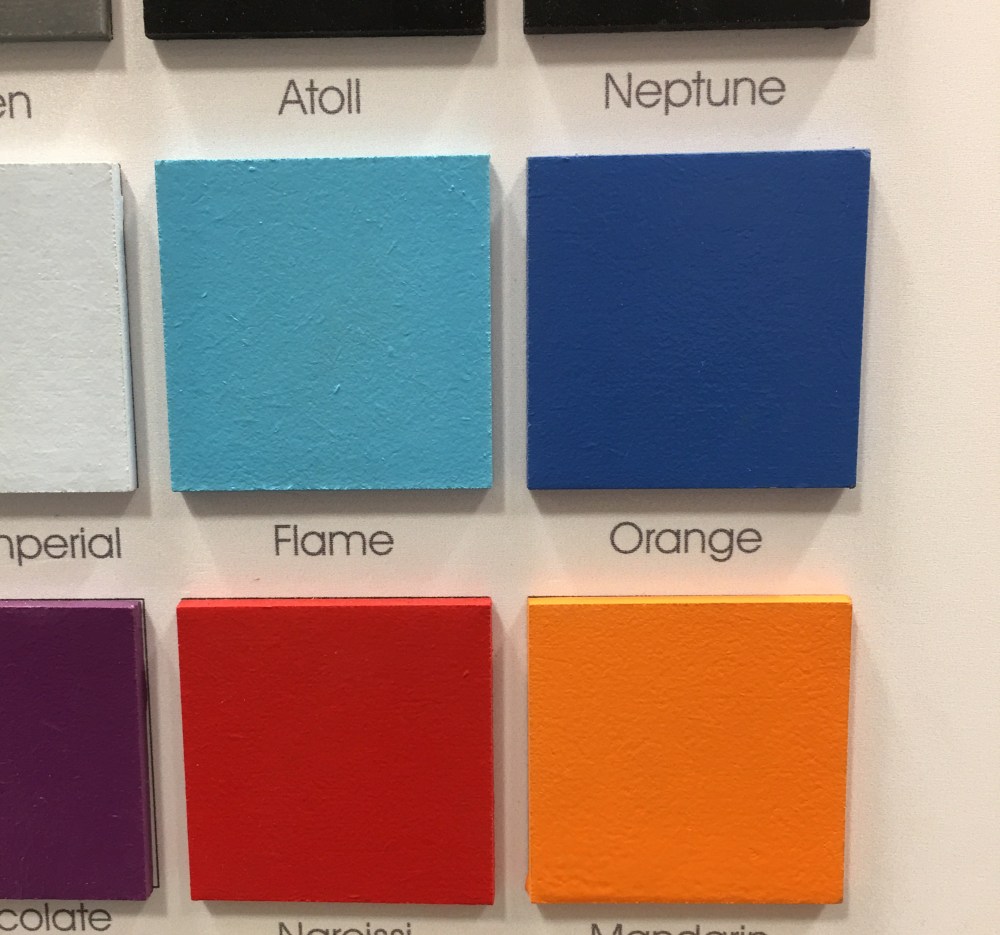
Just by chance, I’d found a real good match for Nintendo blue, red and orange! The Atoll blue was actually the colour of the spray paint I’d use on the previous cab, which gave a really close match:
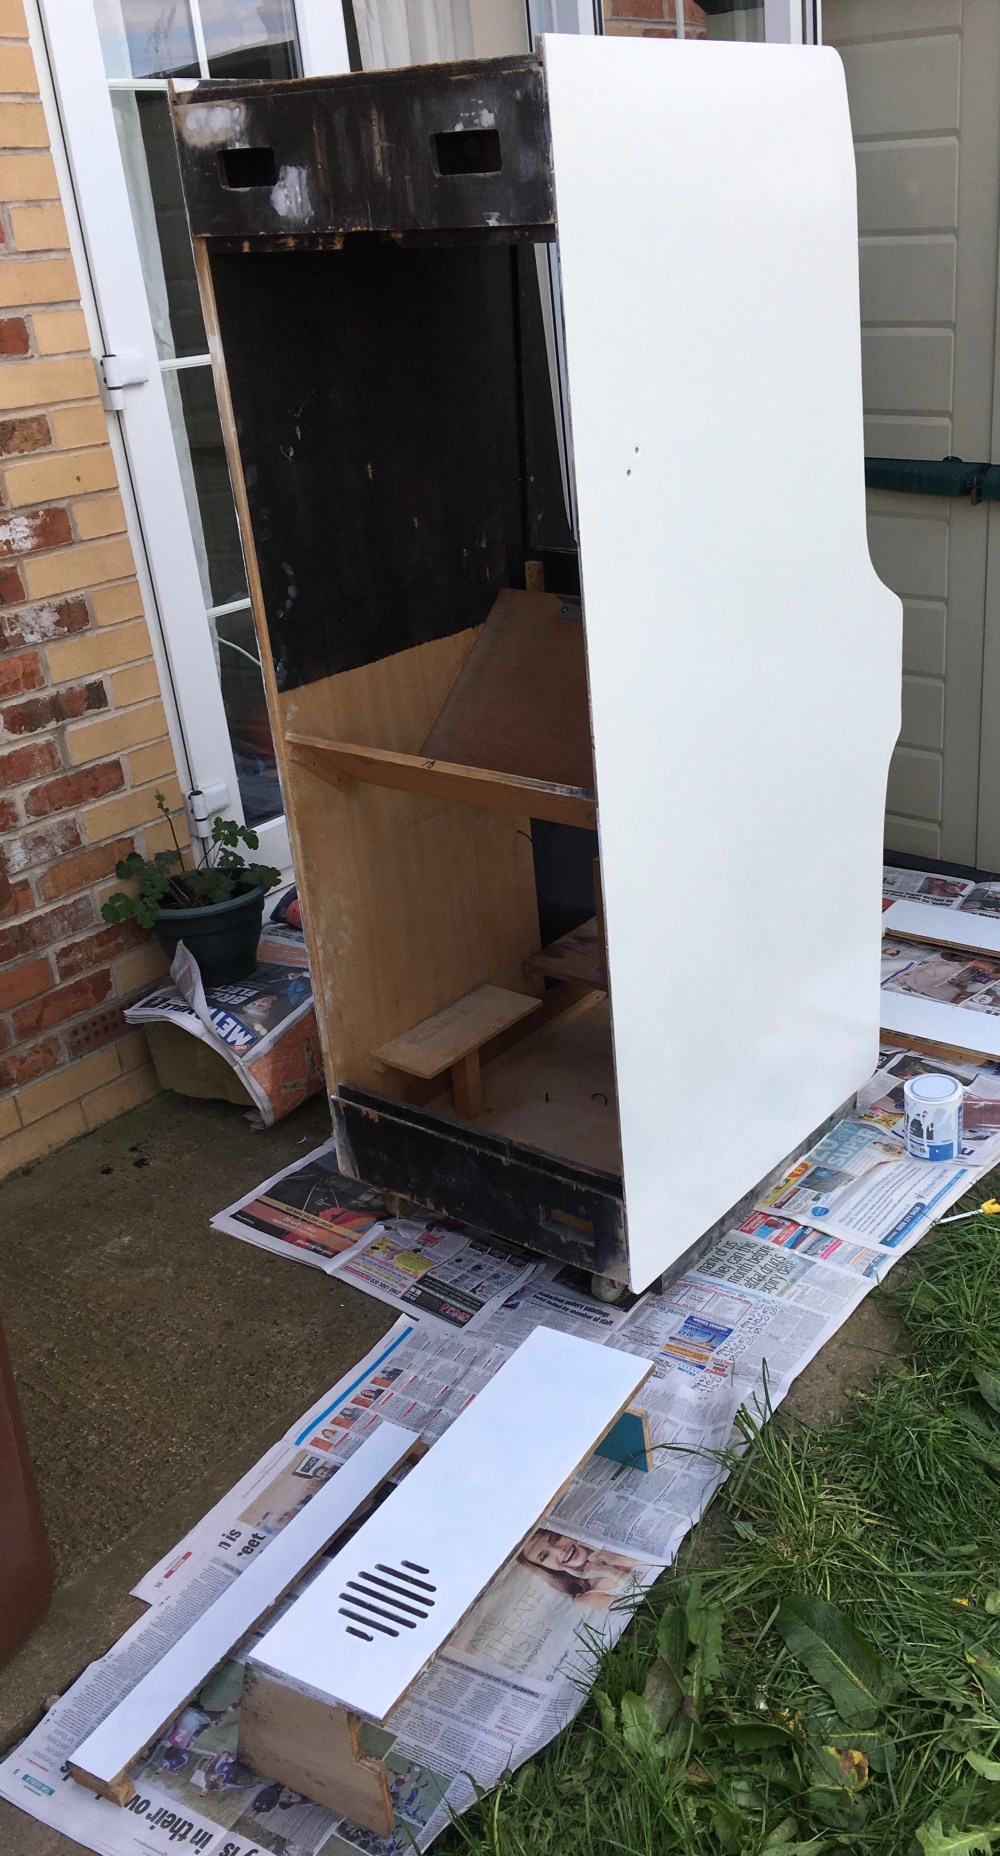
So out came the roller and I began priming the first side of the cabinet. I was very aware that lots of thin coats was the way to go and had to keep my impatience under control:
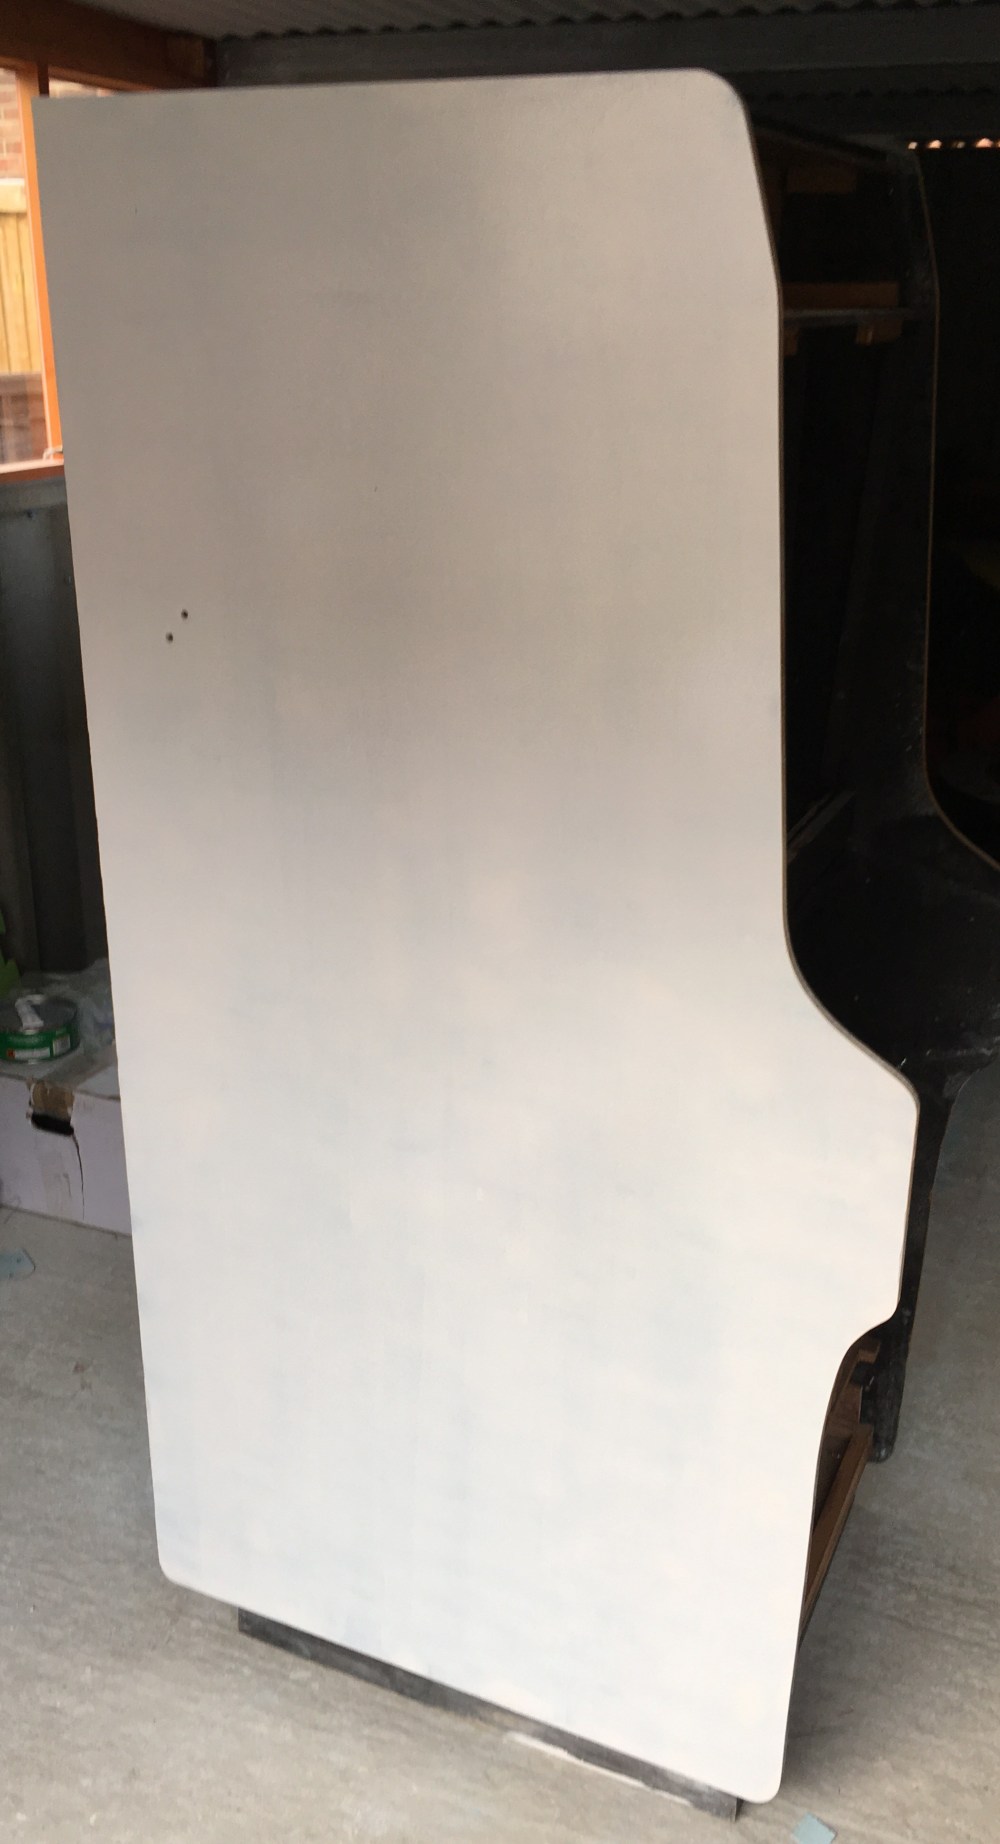
One of the reasons I’d chosen to go with a roller instead of spray paint (aside from the massive reduction in mess) was the finish. The Nintendo cabinets left the factory with slight variations in finish from perfectly smooth to a slight textured effect. I personally preferred the textured finish and thought I’d get the best results with a roller. I did worry a bit after the first couple of coats as it looked a lot more textured than I’d imagined:
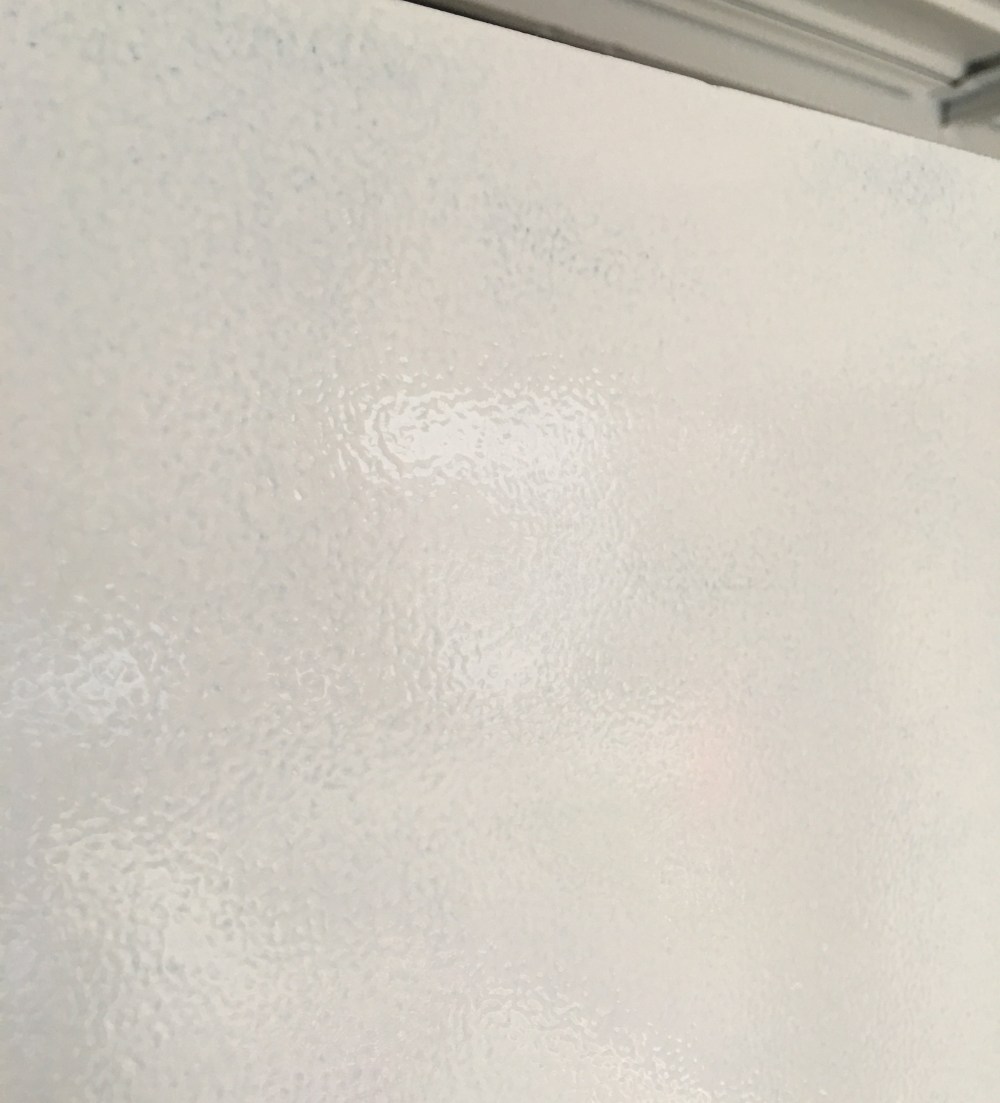
I crossed my fingers and persevered. Luckily, as the paint dried, the textured effect settled down quite a lot and left me with a nice finish.
Now unfortunately, life is never simple and things happen. The picture above was taken on the 13th September 2016. The next time I actually did some work on the cabinet was the 23rd April 2017! Needless to say, I won’t bore people with the details, but work began again and the priming continued:
The new outdoor painting “booth” came with its own problems, mainly bugs! Every time I got a panel covered and nicely smooth (well textured, but you know what I mean) some bug would decide it needed to land on it and go for a stroll before finally getting stuck upside down(?!?). This led to numerous coats going on and being sanded back, but ultimately it gave me a much better base for the colour coat.
After each coat I would inspect under the light to look for any dings, dents or marks that were missed at the filling stage. I then applied knifing putty and sanded back the panel again:

You’ll notice that this last picture was indoors. Unfortunately the British weather was doing its best to halt all painting (and sanding), so I had to relent and move onto more indoor tasks.
