Now I did mention that this cabinet was filthy didn’t I?:
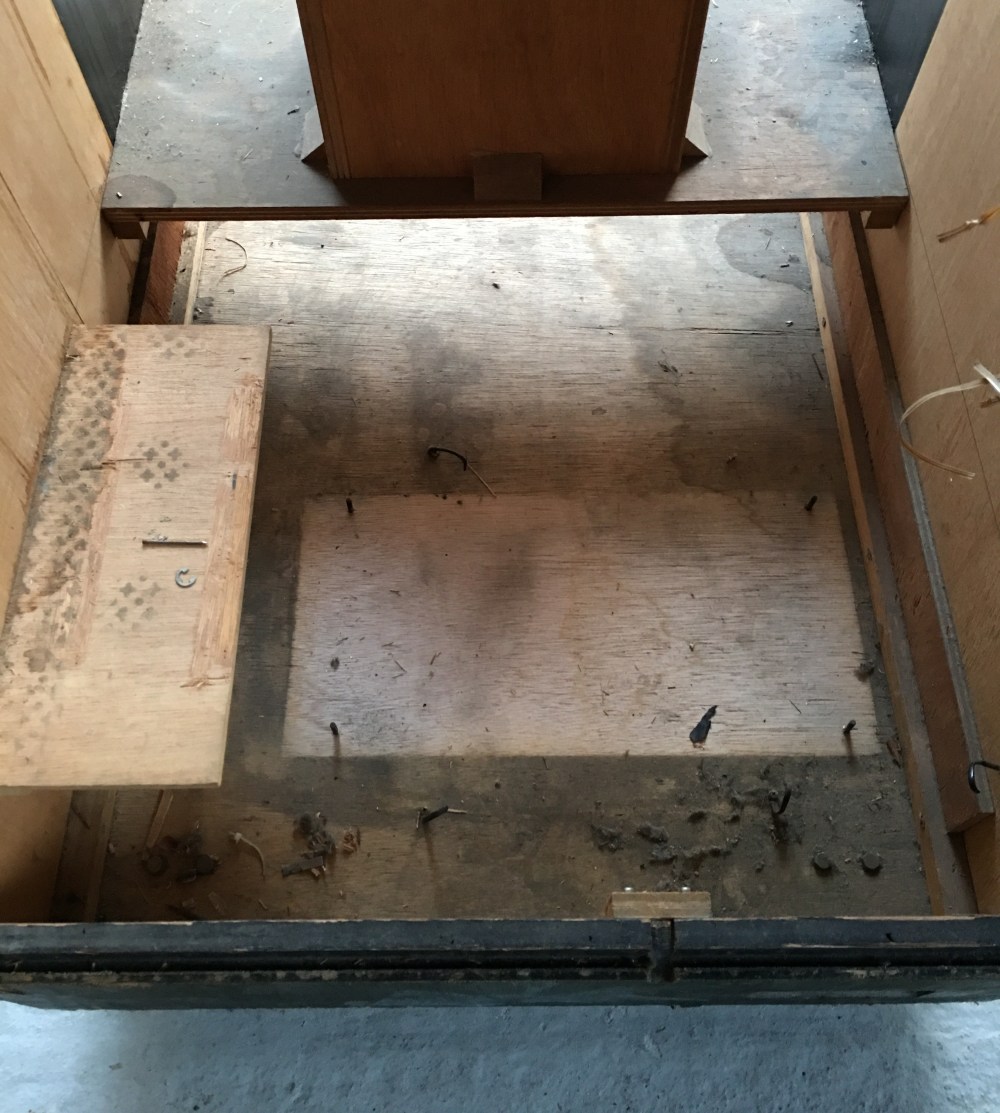
Out came the vacuum and some Pledge floor cleaner (with added hot water) and I started cleaning up the bottom and insides of the cabinet. I thought it best to get rid of this now before I started repairing the cabinet, mainly for my own health! After a couple of hours, I had something looking like this:
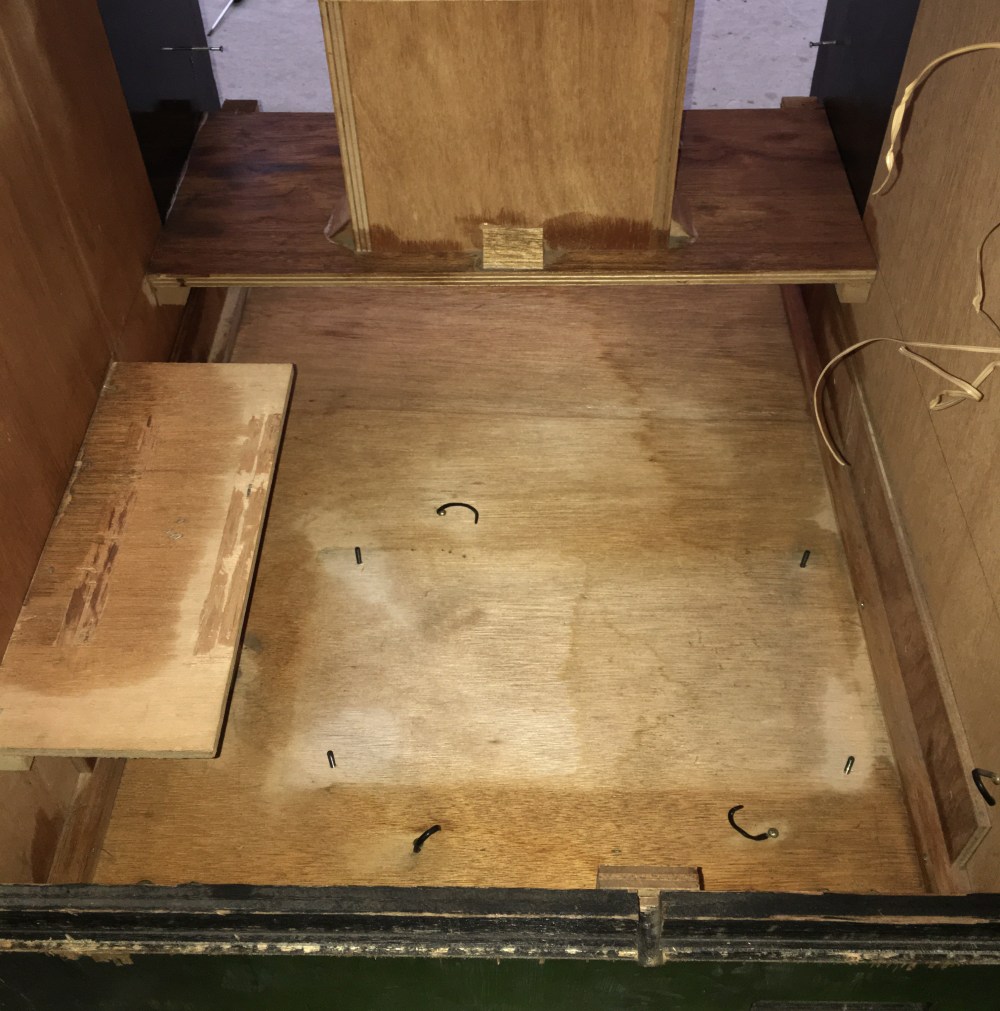
It’s still not finished drying out, but looks a lot better!
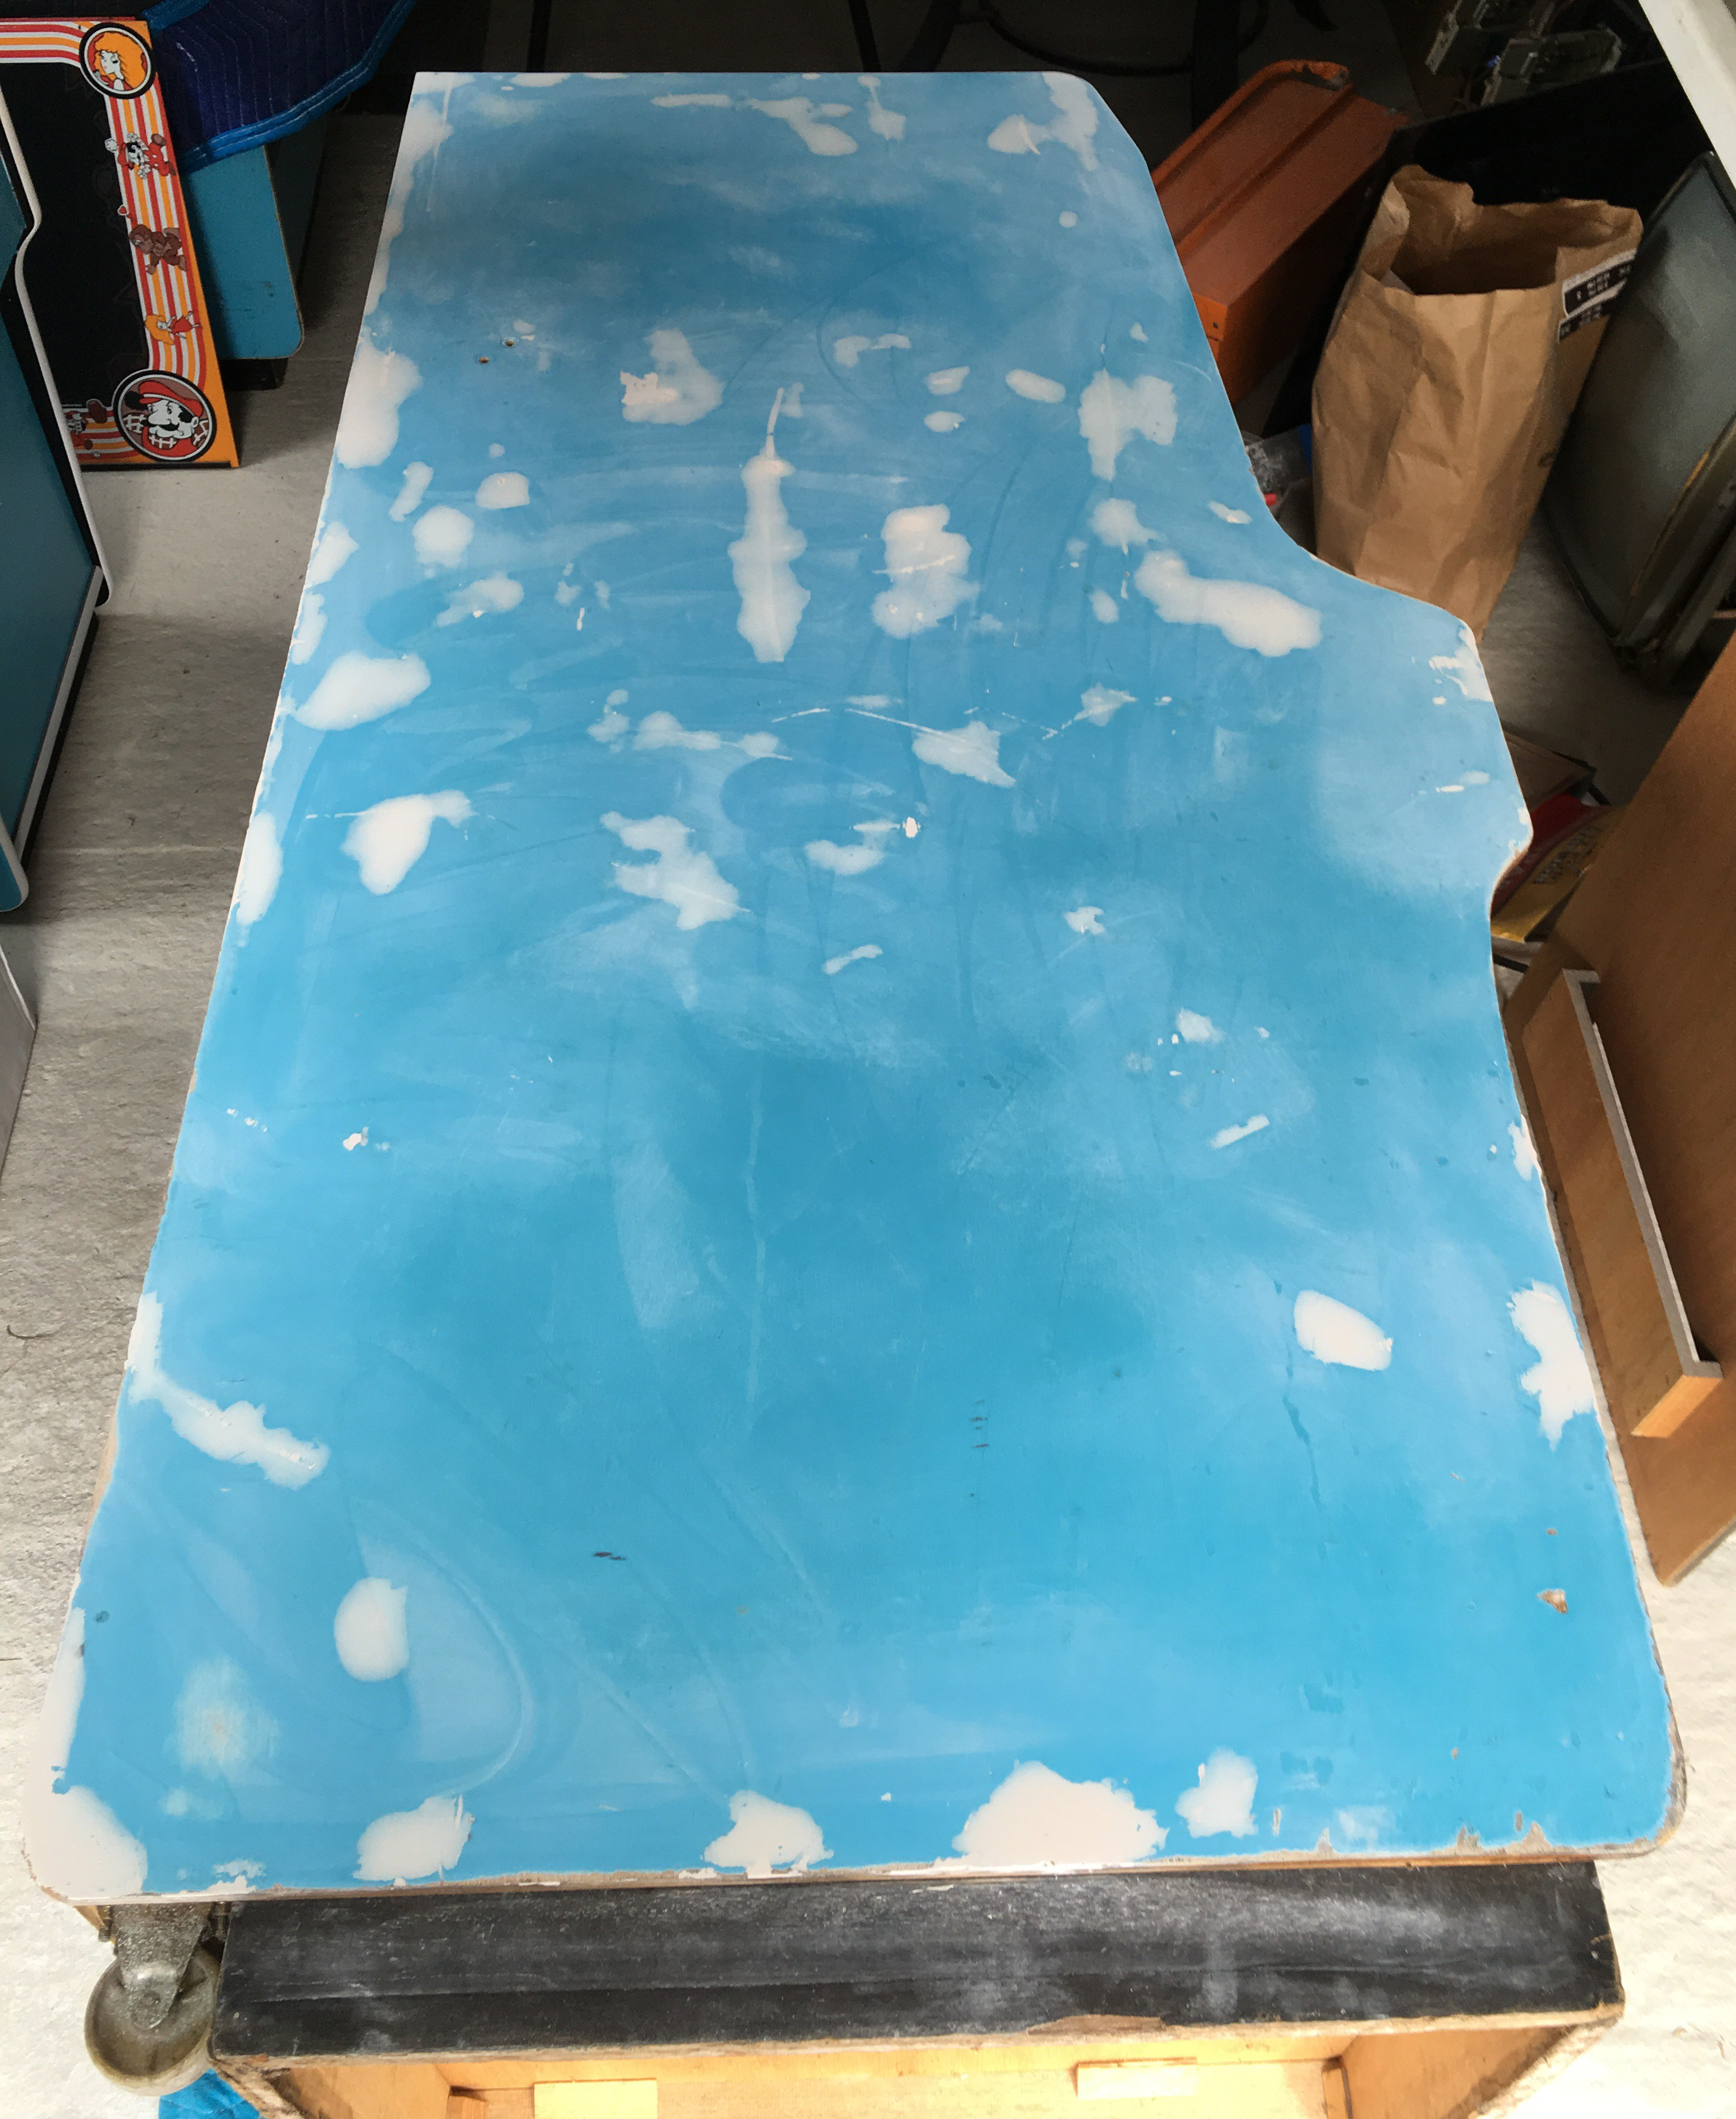
At this point, I began to assess the damage and work out what parts of the cabinet needed work. I’d already dealt with the nails on the outer sides, so now was time to focus on the other damage. I took photographs of each section I knew I’d need to tackle with filler (or bondo for the US readers):
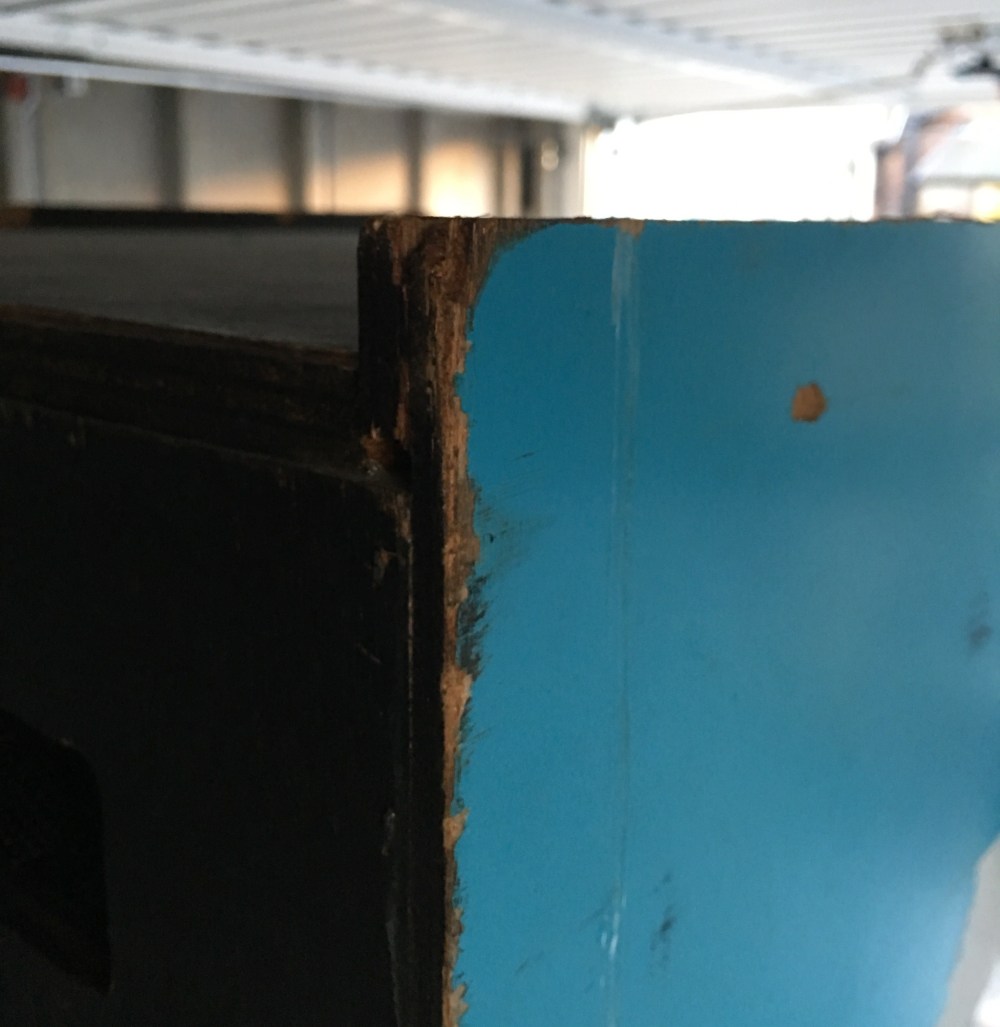
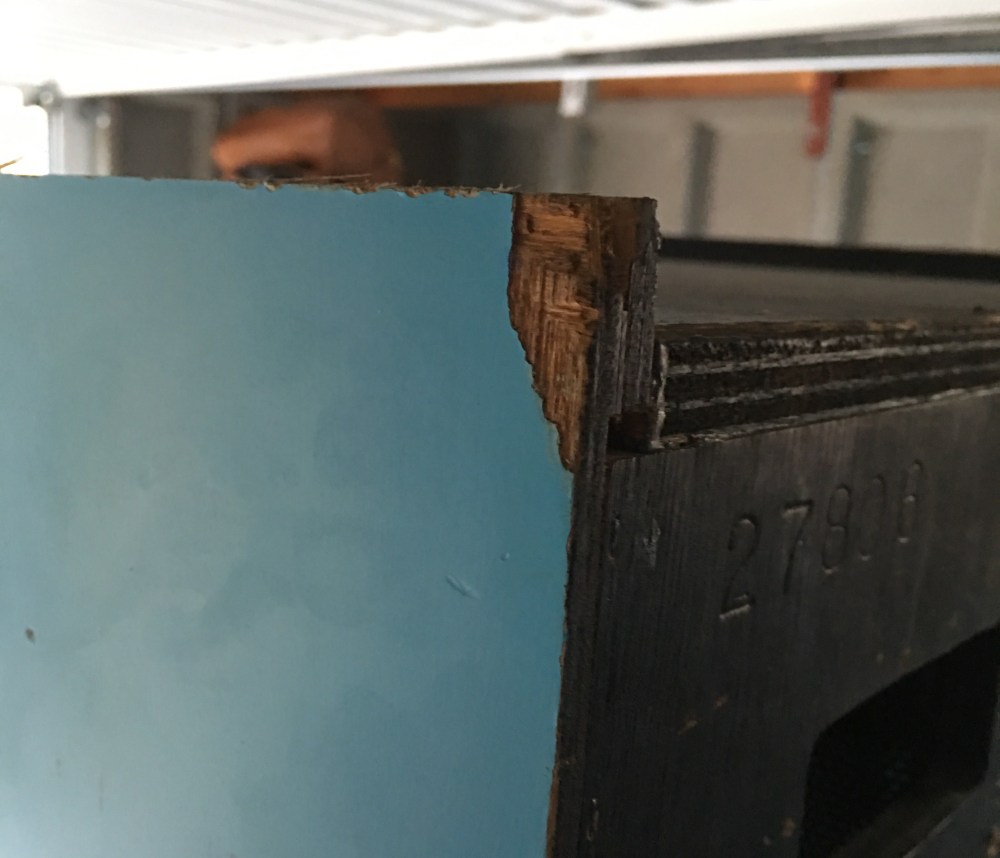
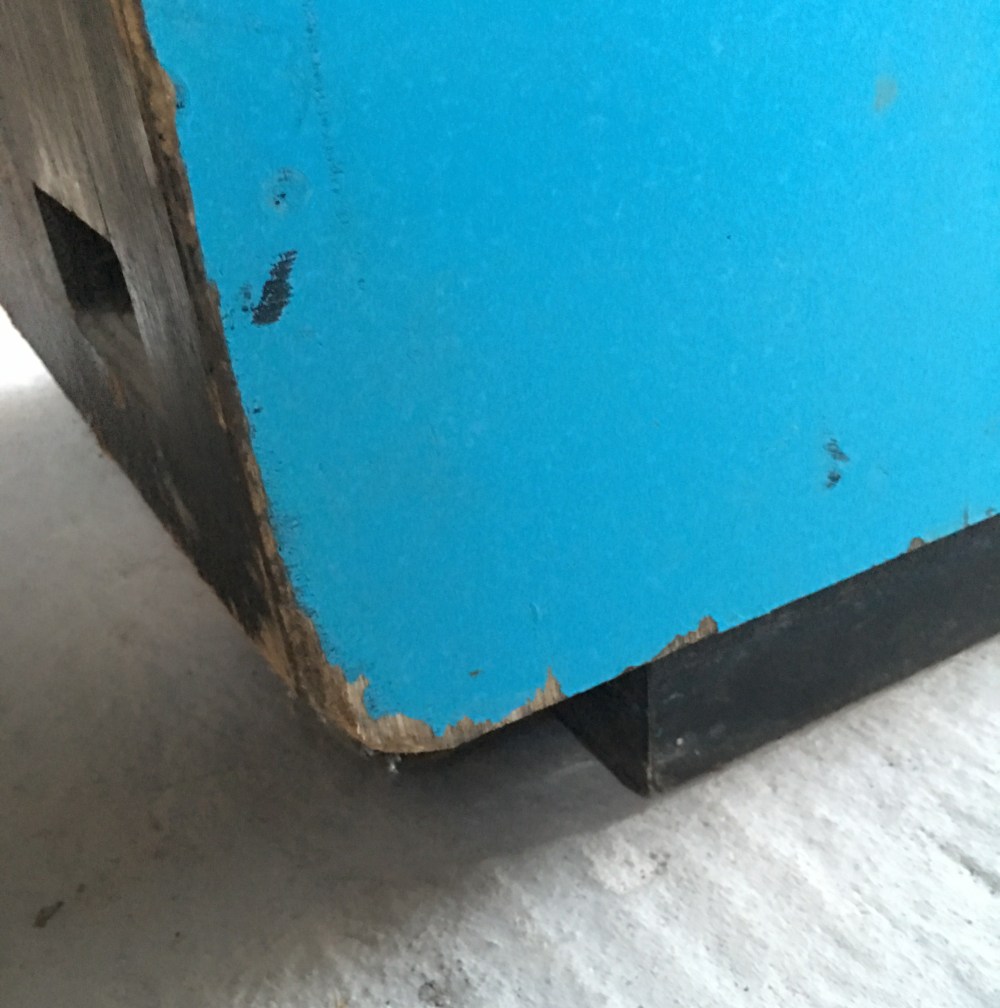
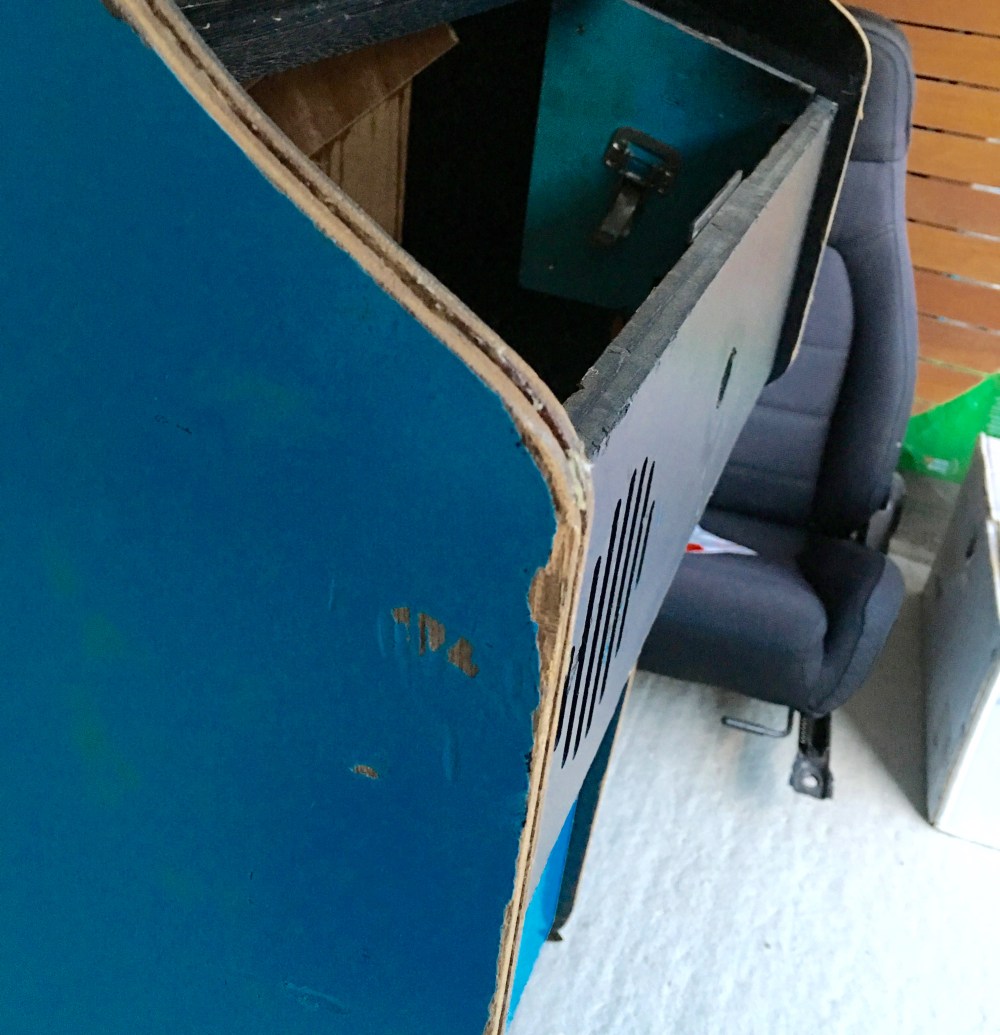

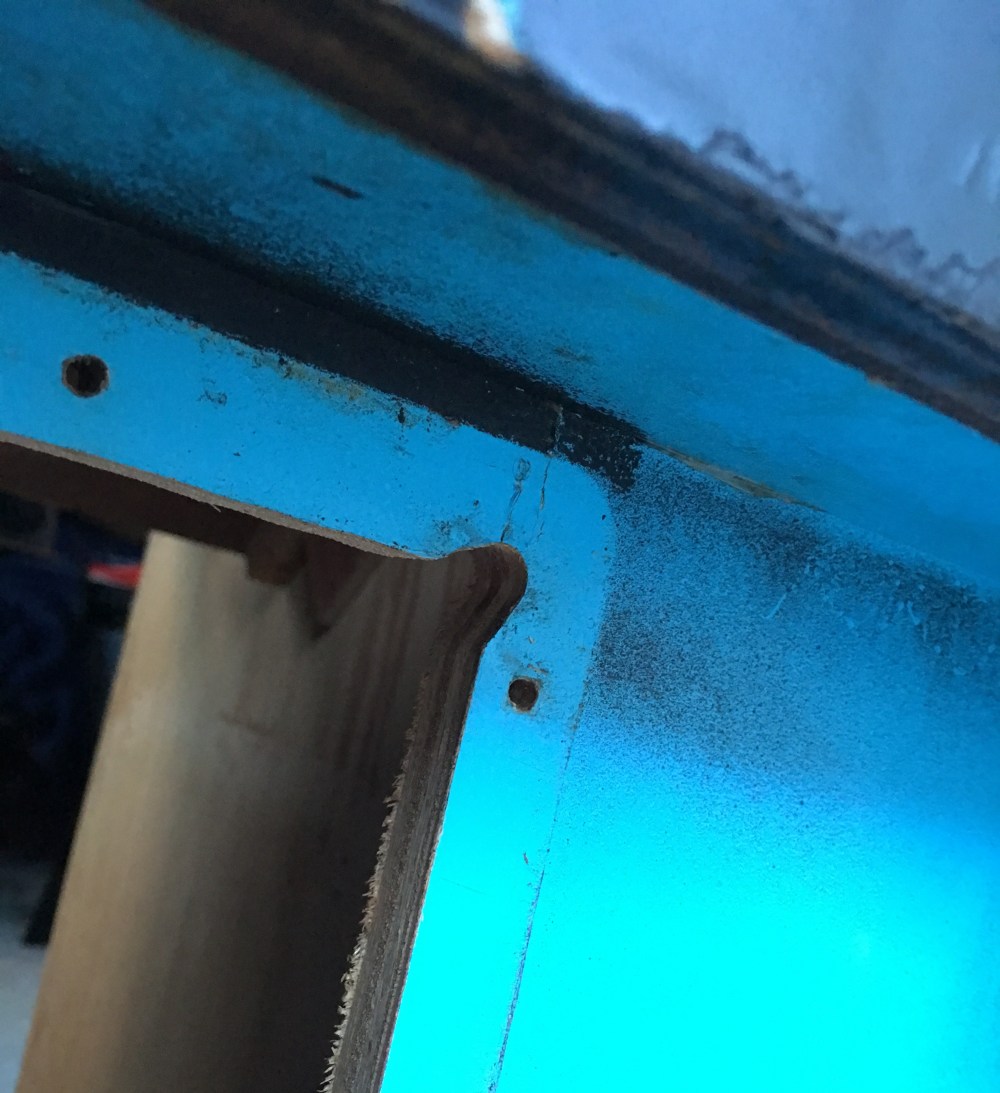
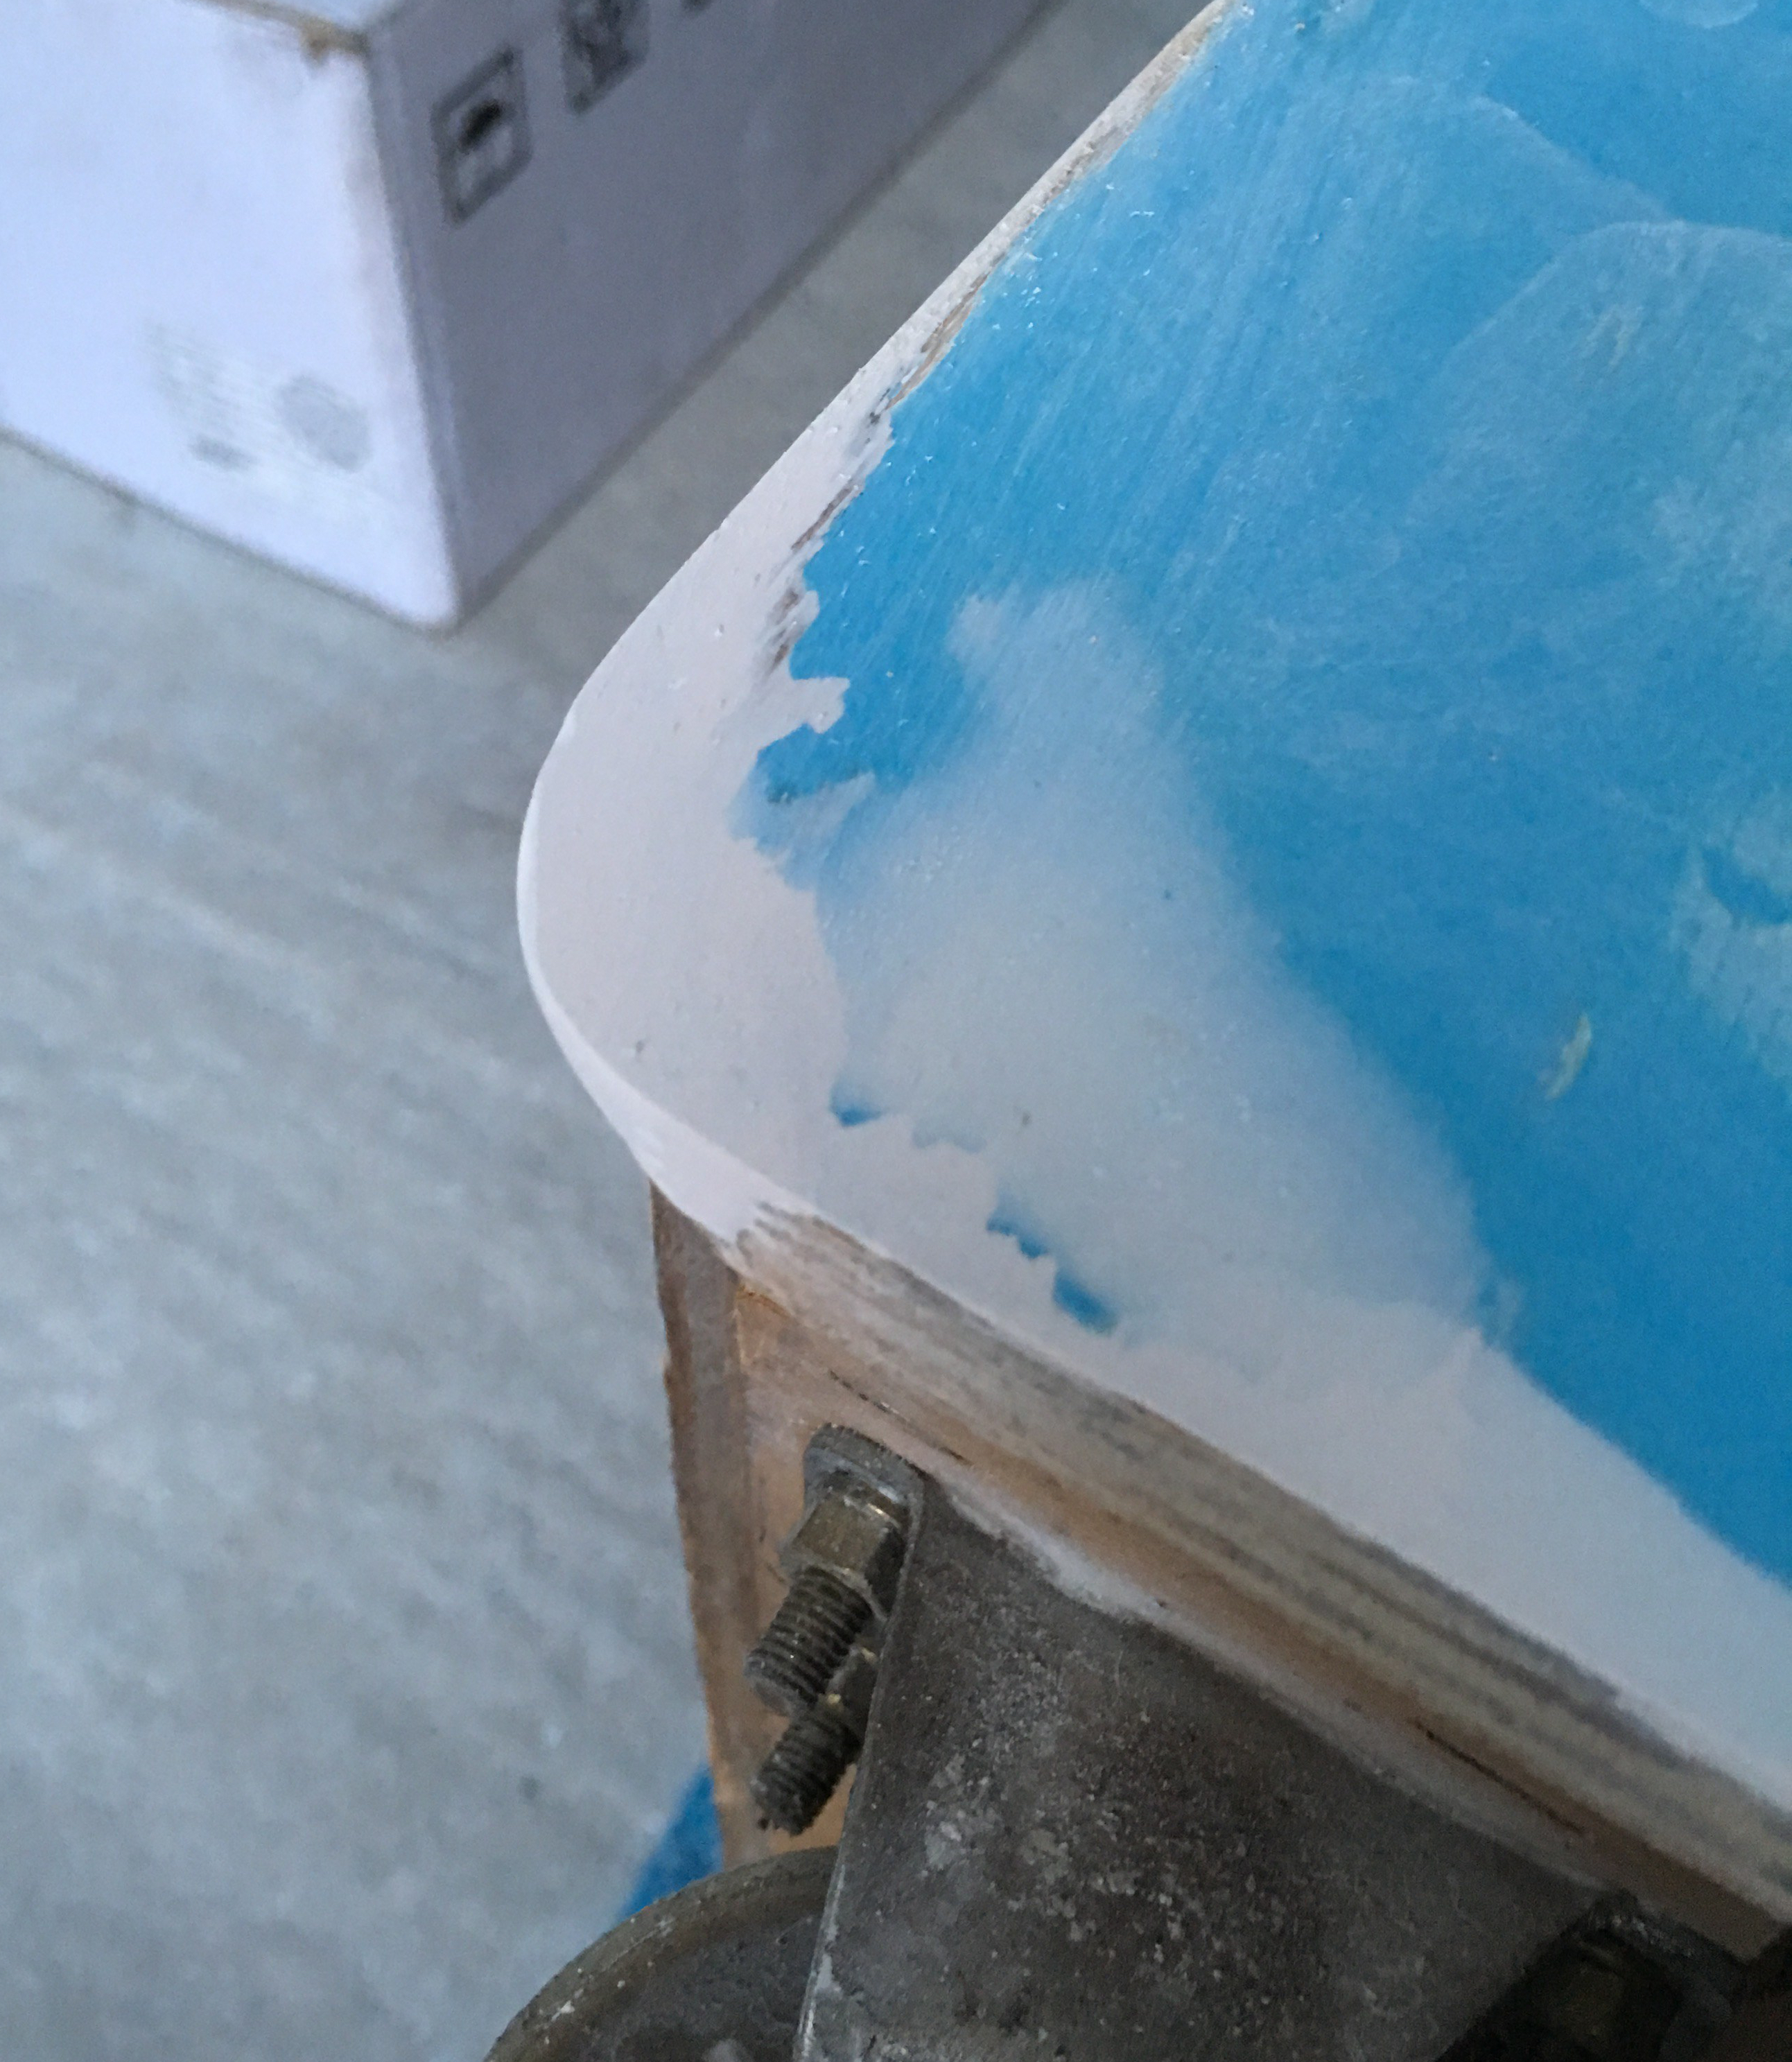
As you can see, there are a number of corners that will need to be rebuilt and some holes filled. It didn’t look all too bad, so out came the filler (bondo) and I started on one side. It became clear very quickly this wasn’t going to be as simple as I’d hoped:
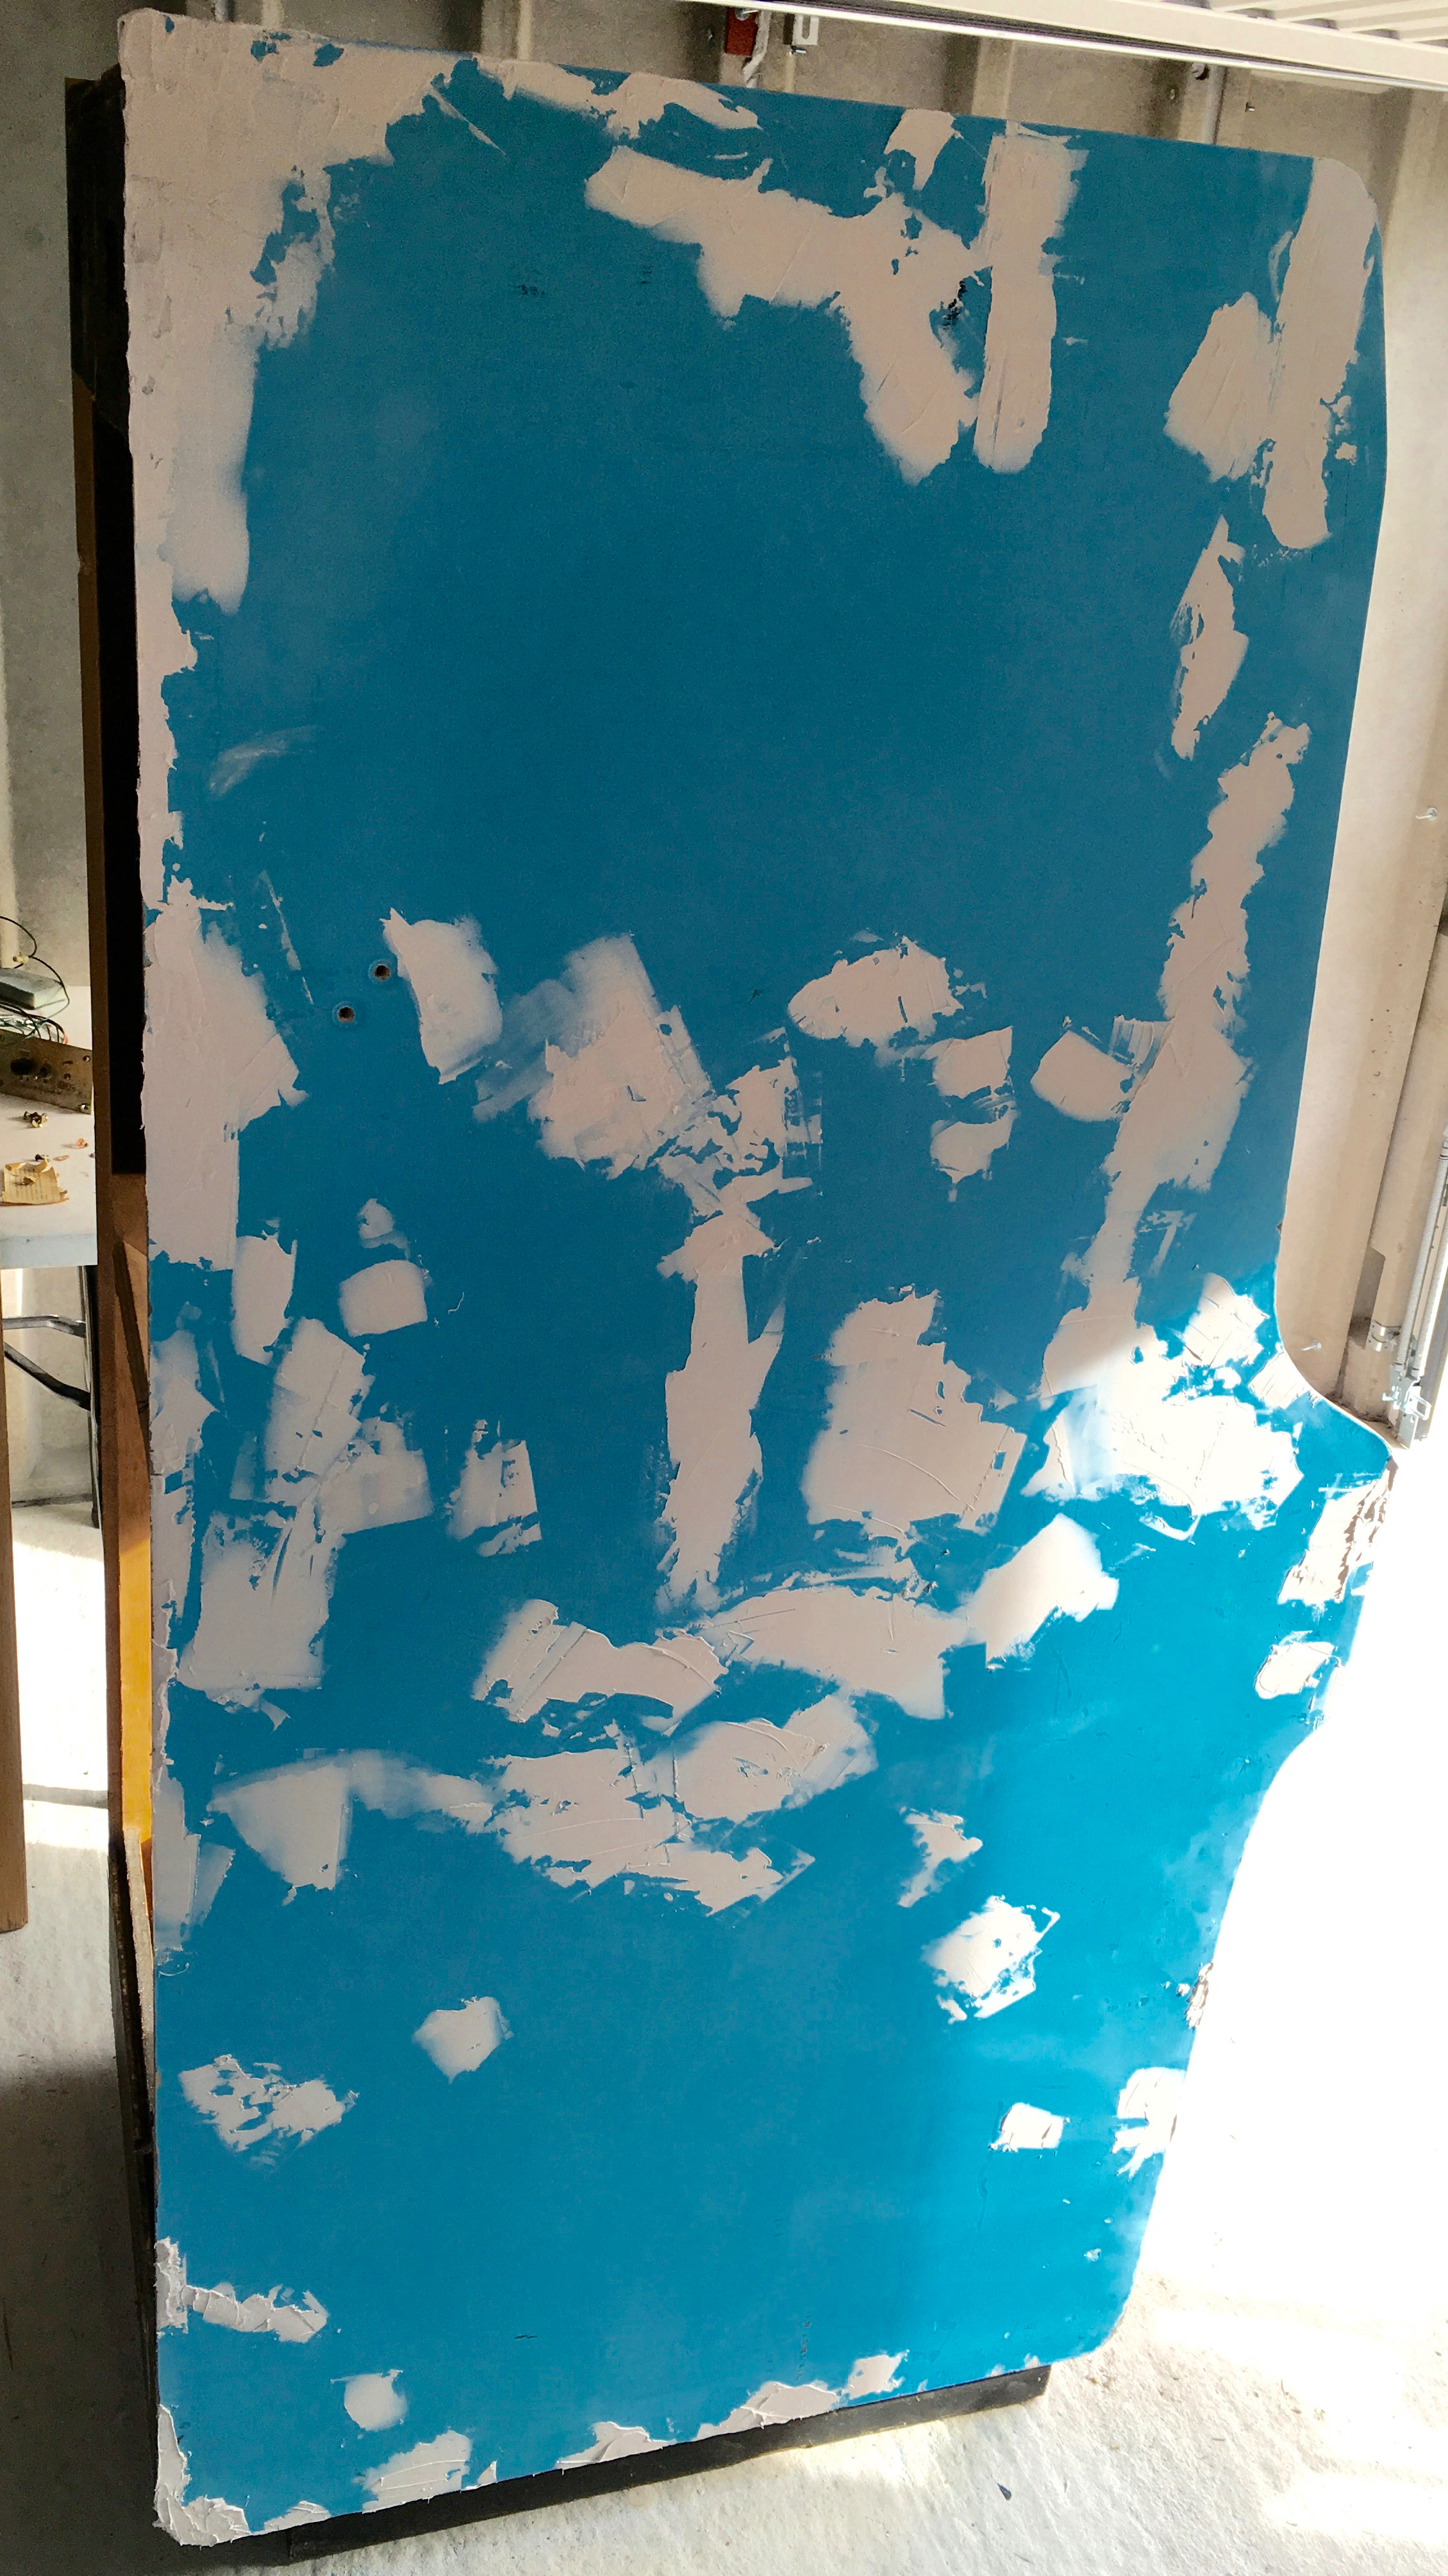
Yes, I’ll admit, I got a bit heavy handed in some areas, but nothing that couldn’t be sorted during the sanding phase. Both sides of the cabinet got the same treatment and after an Amazon delivery container my new handheld sander, the sanding began:
I think each side was sanded and had filler re-applied about three times, building up damaged corners and working my way around the whole panel trying to get as flat a surface as possible. Below are some pictures of the repaired areas:


With both sides done, I started work on the front coin door panel and speaker panel. Both had taken a lot of abuse over the years and needed some time to get that flat:
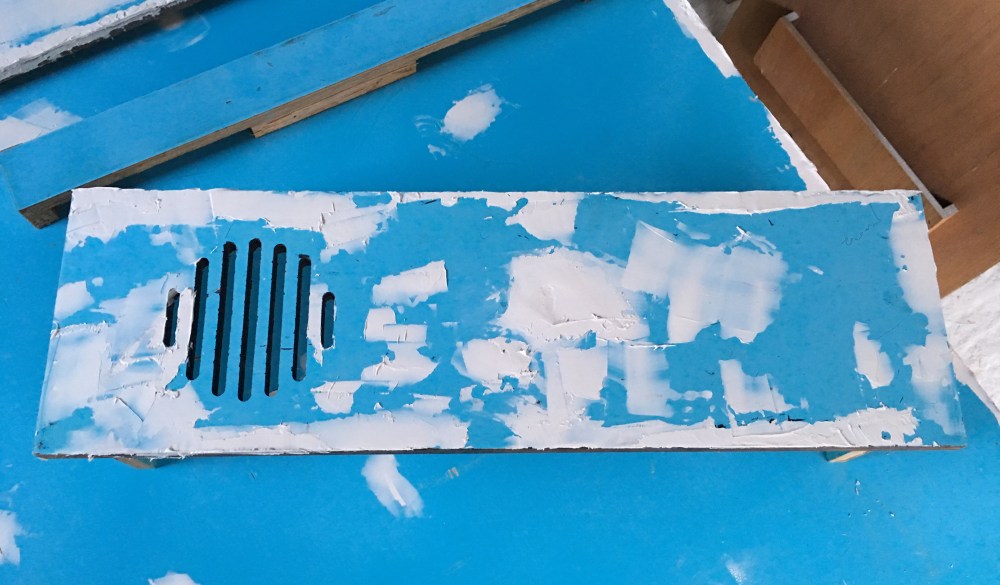
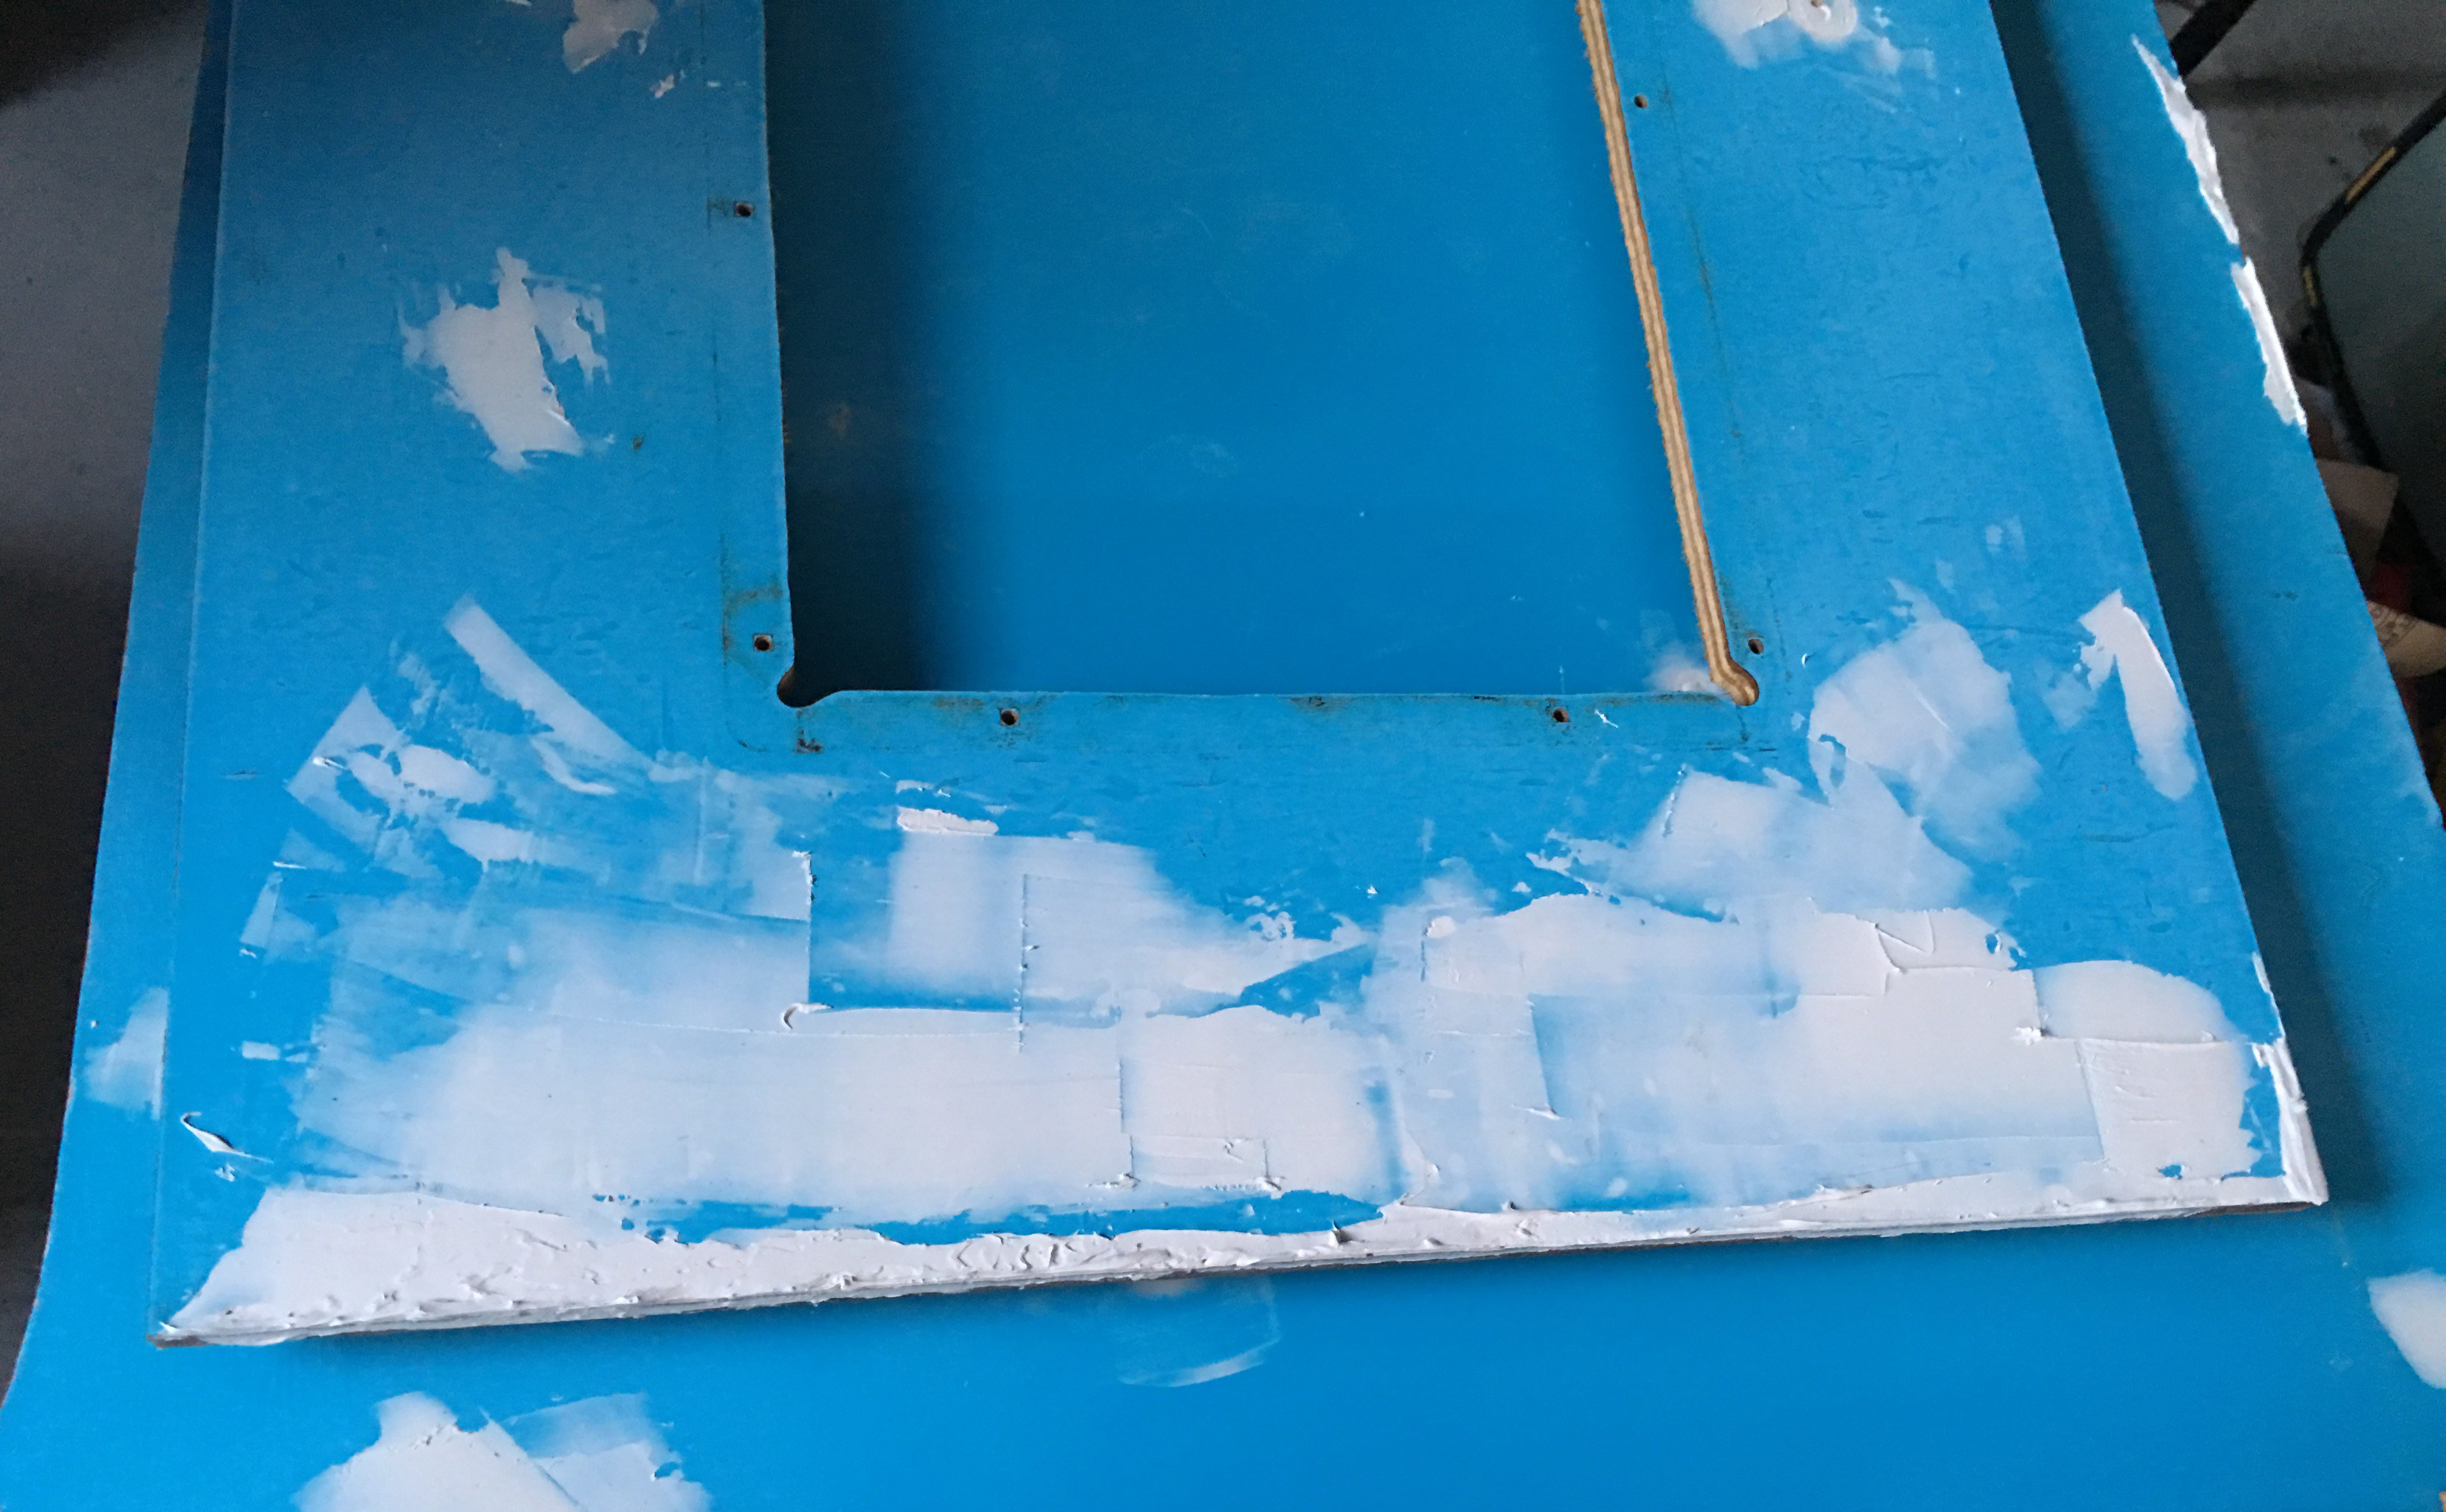
Again, these panels took 2-3 goes of sanding and filling before they were ready for paint, due to the number of dings, dents and scuffs:
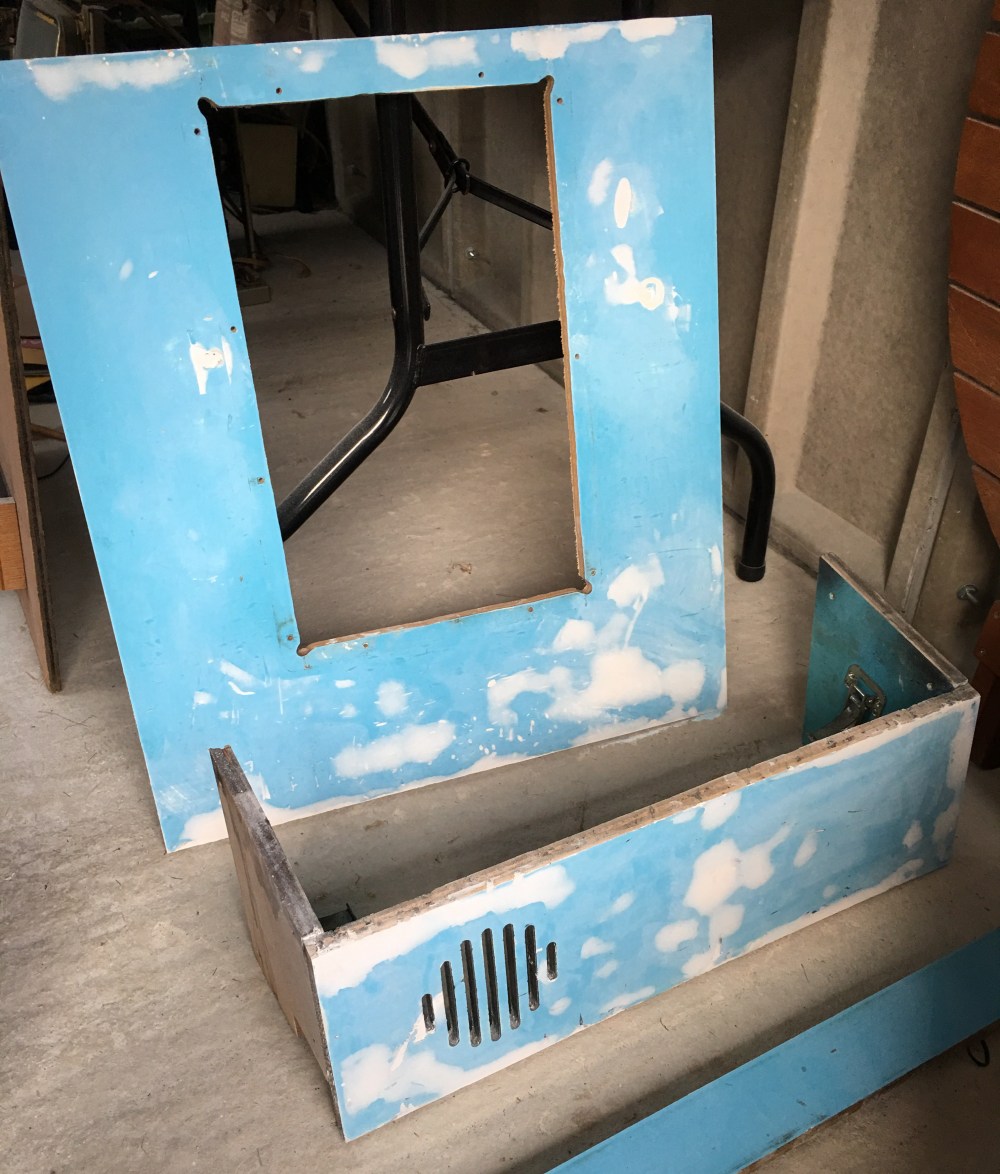
Out of all the panels, I probably spent the most time of the bottom edges of these two as I knew they’d be the most visible edges when the cabinet was reassembled.
Now that all of the major filling and sanding was done, I could start with the primer.

Ah yes. The filler stage. You never know just how much there will be, until you start…….
LikeLiked by 1 person