There’s going to be a common theme all the way through this post, wood glue! Numerous areas of the cabinet had splits in the plywood; either through knocks and scrapes or by forcing lock cams (instead of trying to work out why the rear door lock was a bit stiff!).
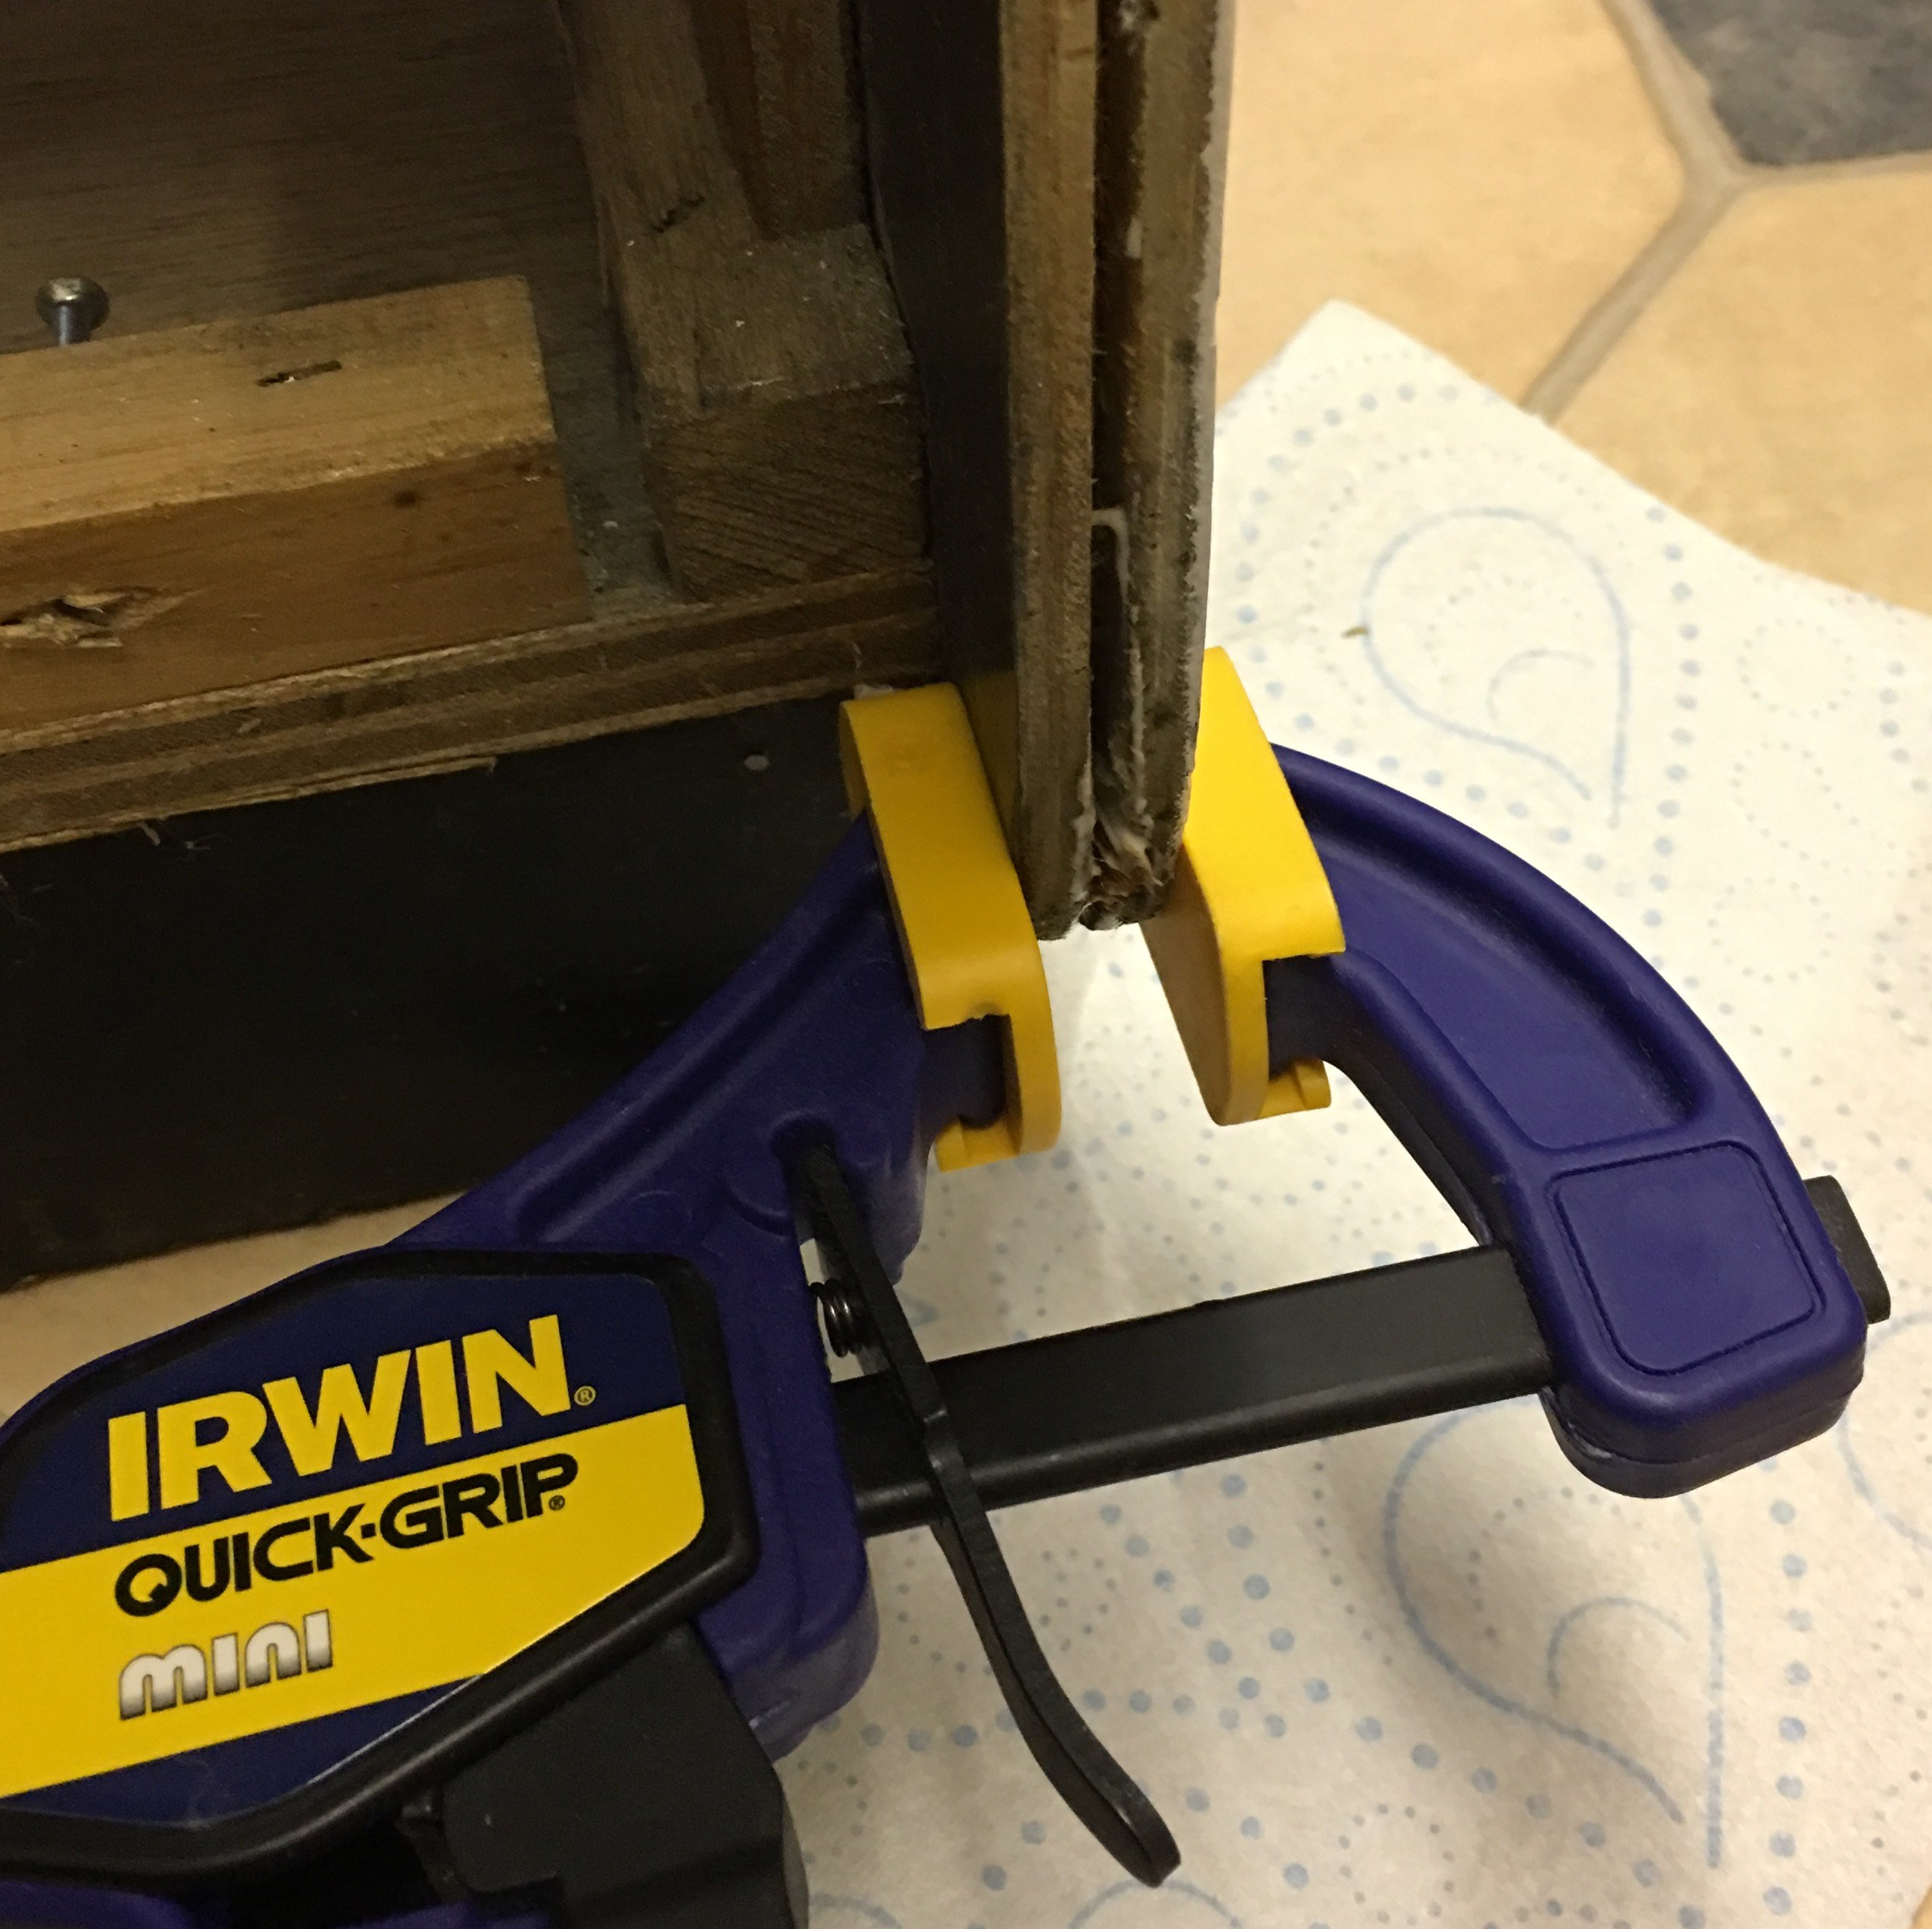
The first area I attacked was the front coin door panel, which as mentioned in previous posts, had split at the top. I didn’t think just glueing the splits would help much as the panel had been weakened, so I decide to add some bracing too. Cue a trip to B&Q (other DIY stores are available!) and I returned with a piece of timber for the panel. After a liberal amount of Gorilla Wood Glue, I clamped the bracing timber in place:
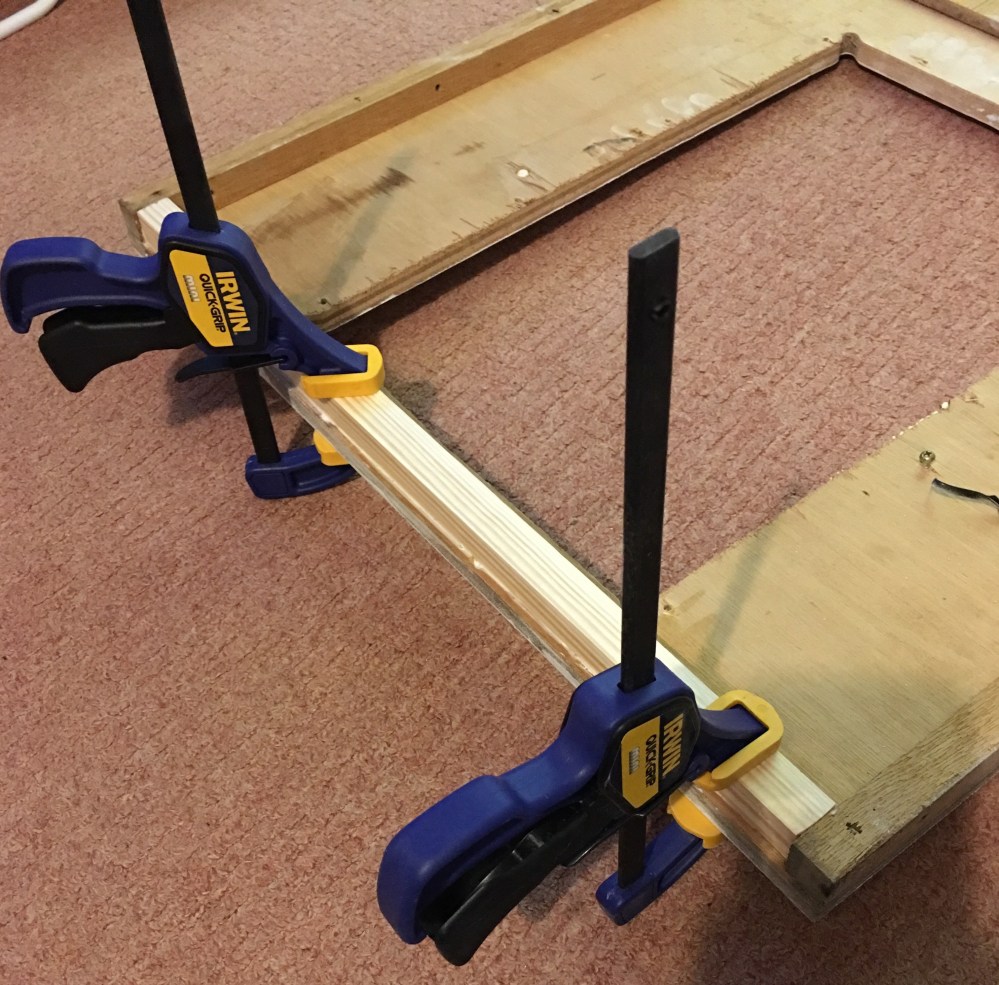
As you can see above, the timber is almost identical to the bracing used at the sides of the panel. This was a very tight fit after cutting the piece and sanding to size. Being as tight to the side pieces as possible aided the support, ensuring this piece would not shift.
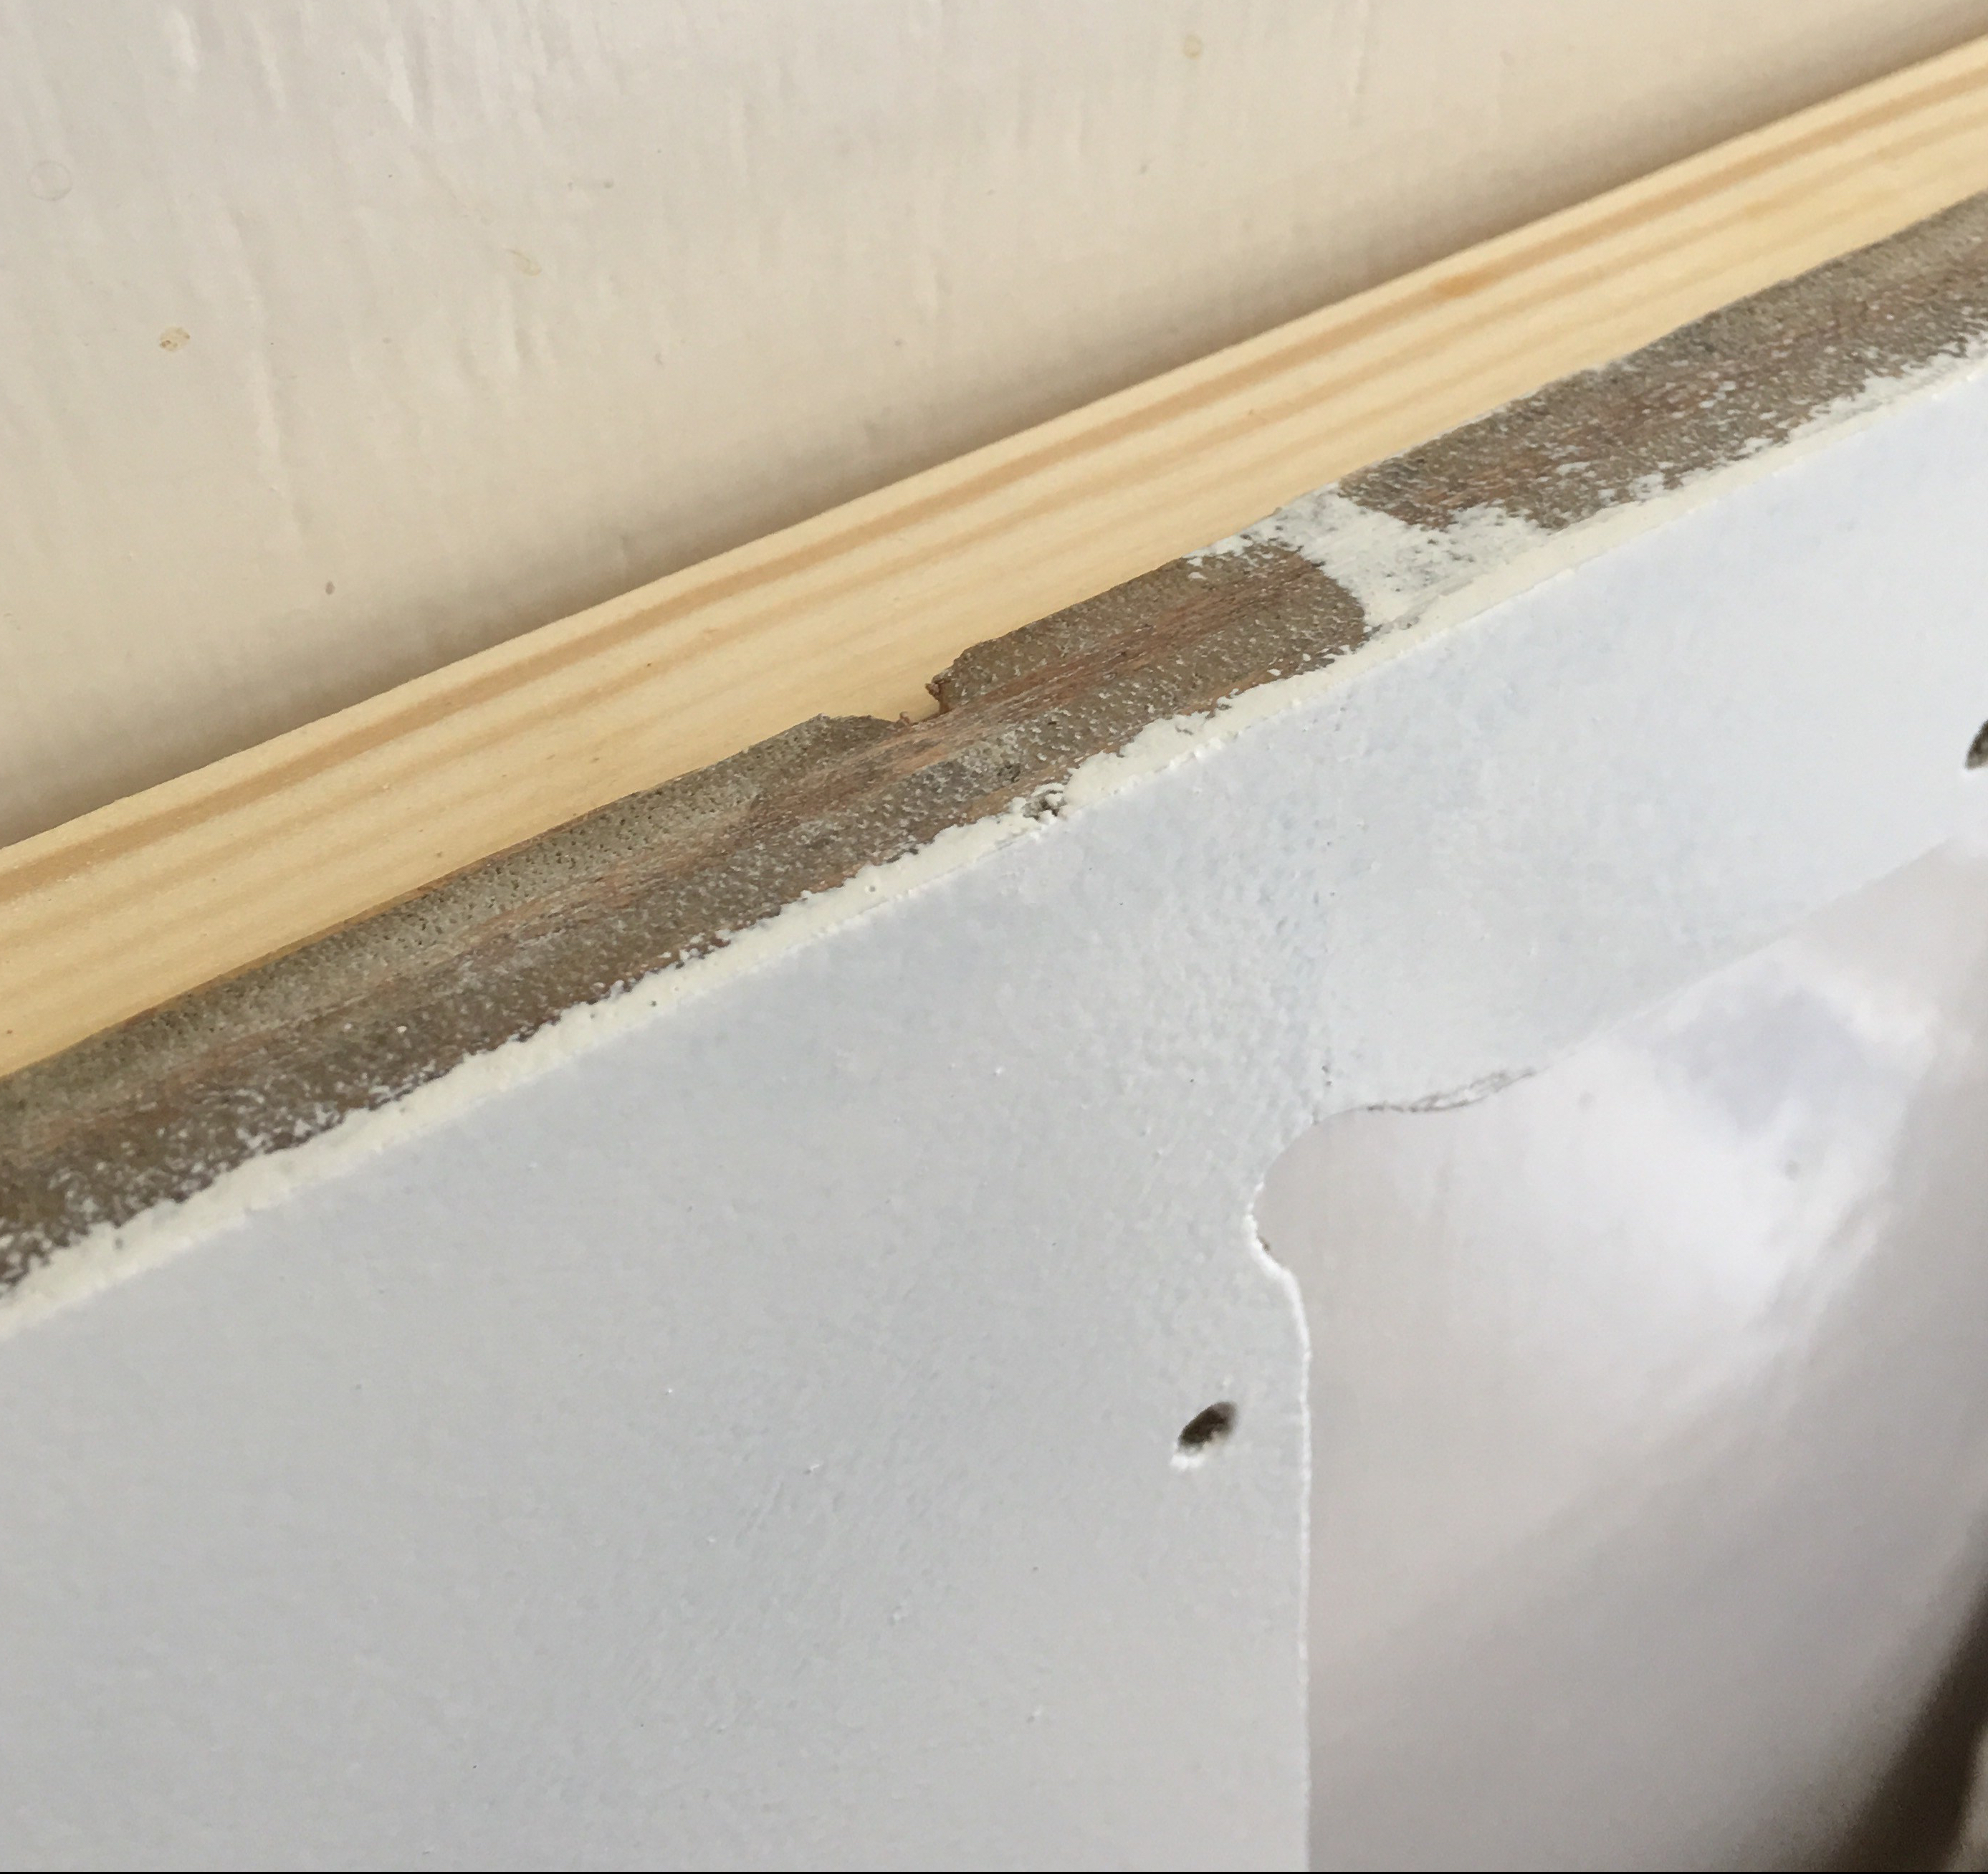
I let the glue set overnight and removed the clamps. The resulting piece was now sturdier than when it left the Nintendo workshop:
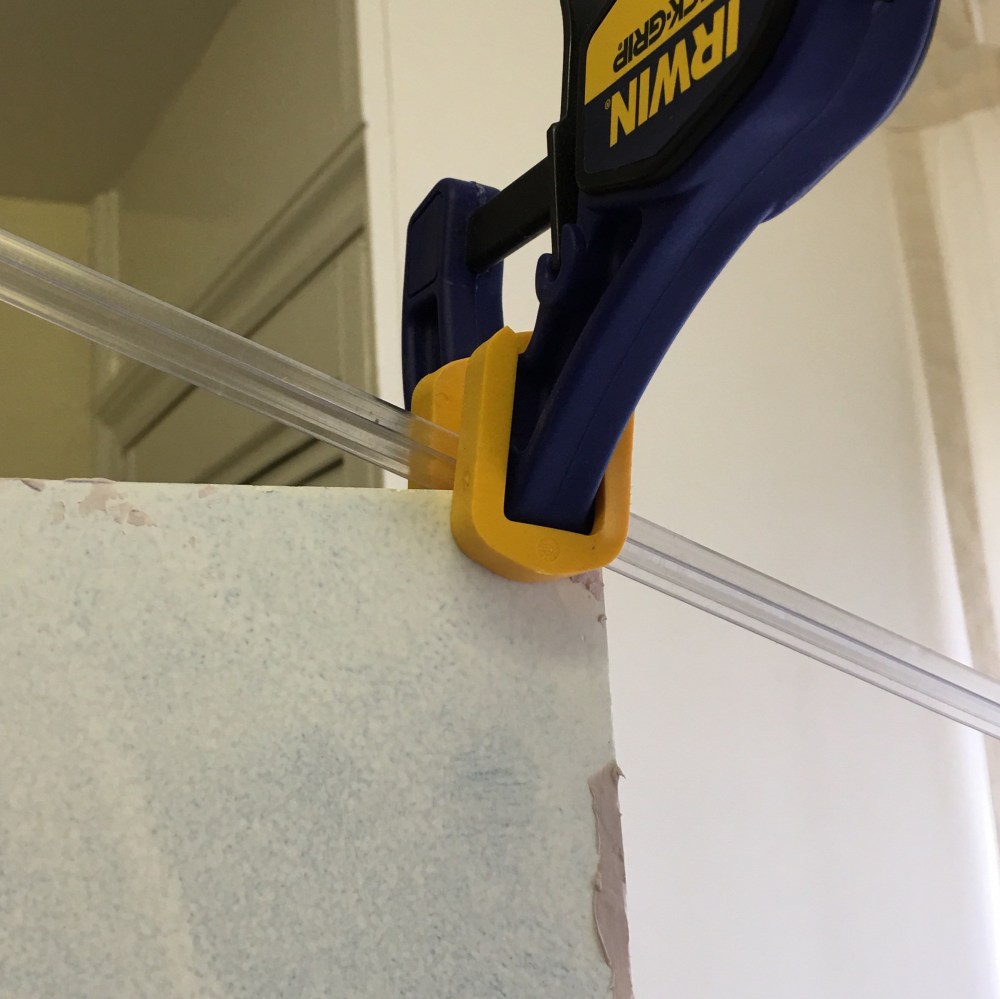
Next, I moved onto the rear of the cabinet itself. At some point in this poor games life, somebody had a right go at the lock on the back door and chewed up the top panel good and proper. As the damage had increased the width of the panel (through multiple splits/ holes), I had the get as much glue in as possible and clamp the piece back flat. In order to avoid glueing my clamp to the panel, I cling filmed (cling wrapped) the panel after glueing and then clampled a straight piece of timber it:
After leaving it to set overnight, I removed the clamp, timber and cling film and was left with this:
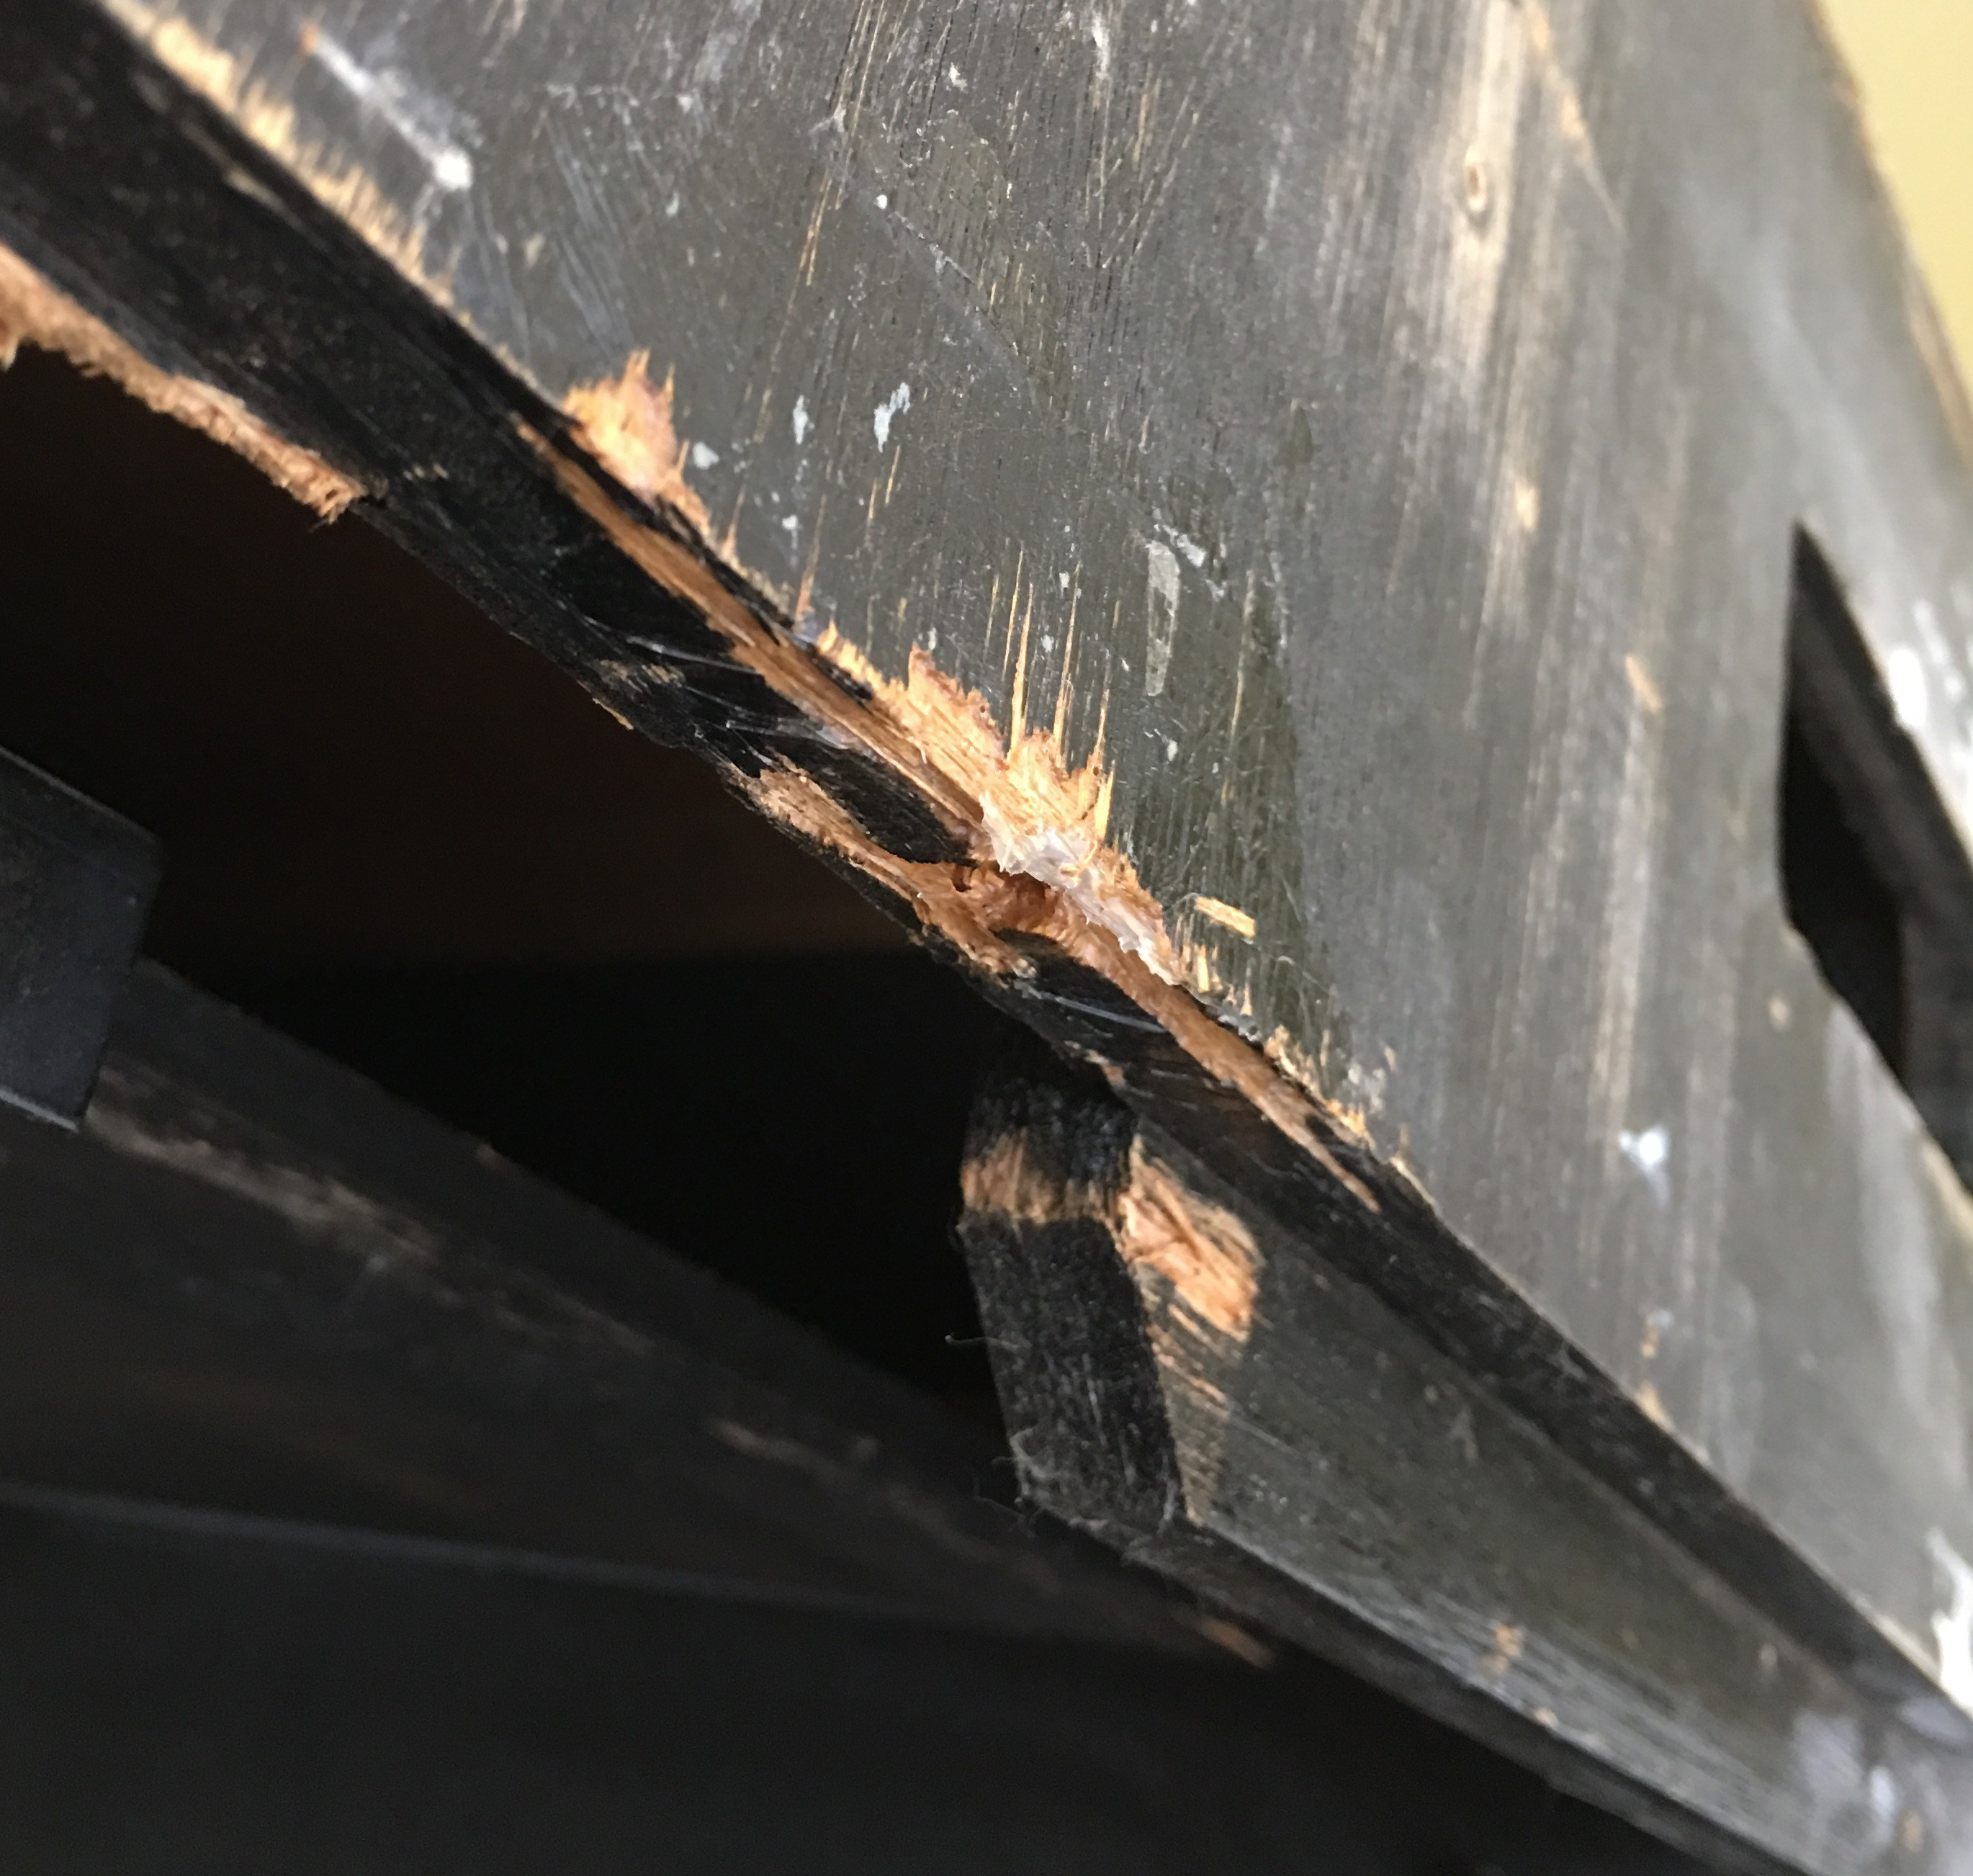
Now I appreciate it doesn’t look pretty, but it’s solid! Nothing a bit of filler can’t fix later on.
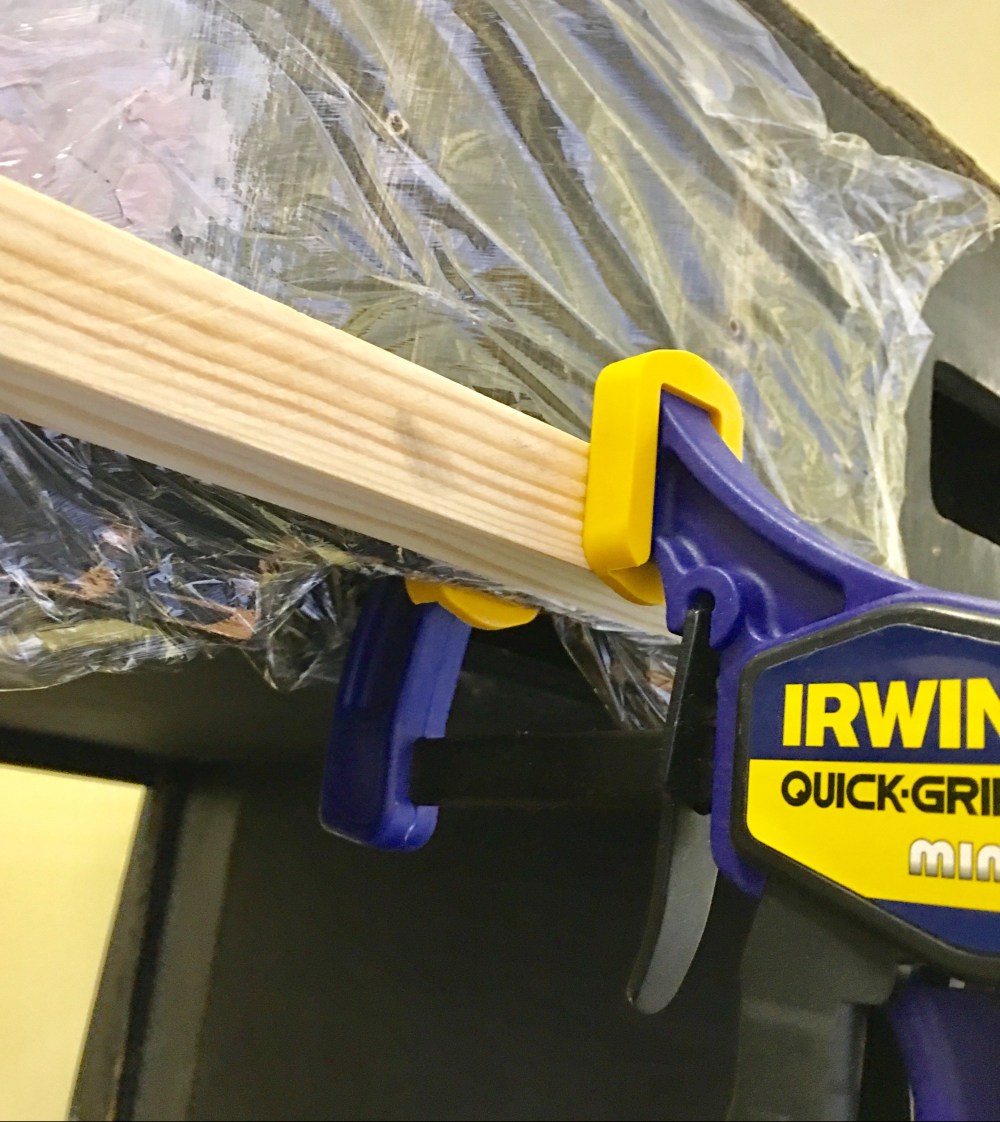
There were a couple of other areas that required a bit of glue. When moving the cabinet into the house we caught the top of one of the sides, splitting it. Also, whoever added the hideous black textured t-moulding had fixed it at the bottom with a self tapping screw! Again, glue, cling film and clamps were applied:
Now that all of the damaged areas had been glued, painting could become my next focus.
