The painting stage was the one I’d been looking forward to the most! As apprehensive as I was about getting the colour and the finish right, I was ready for a task that actually looked like progress was being made.
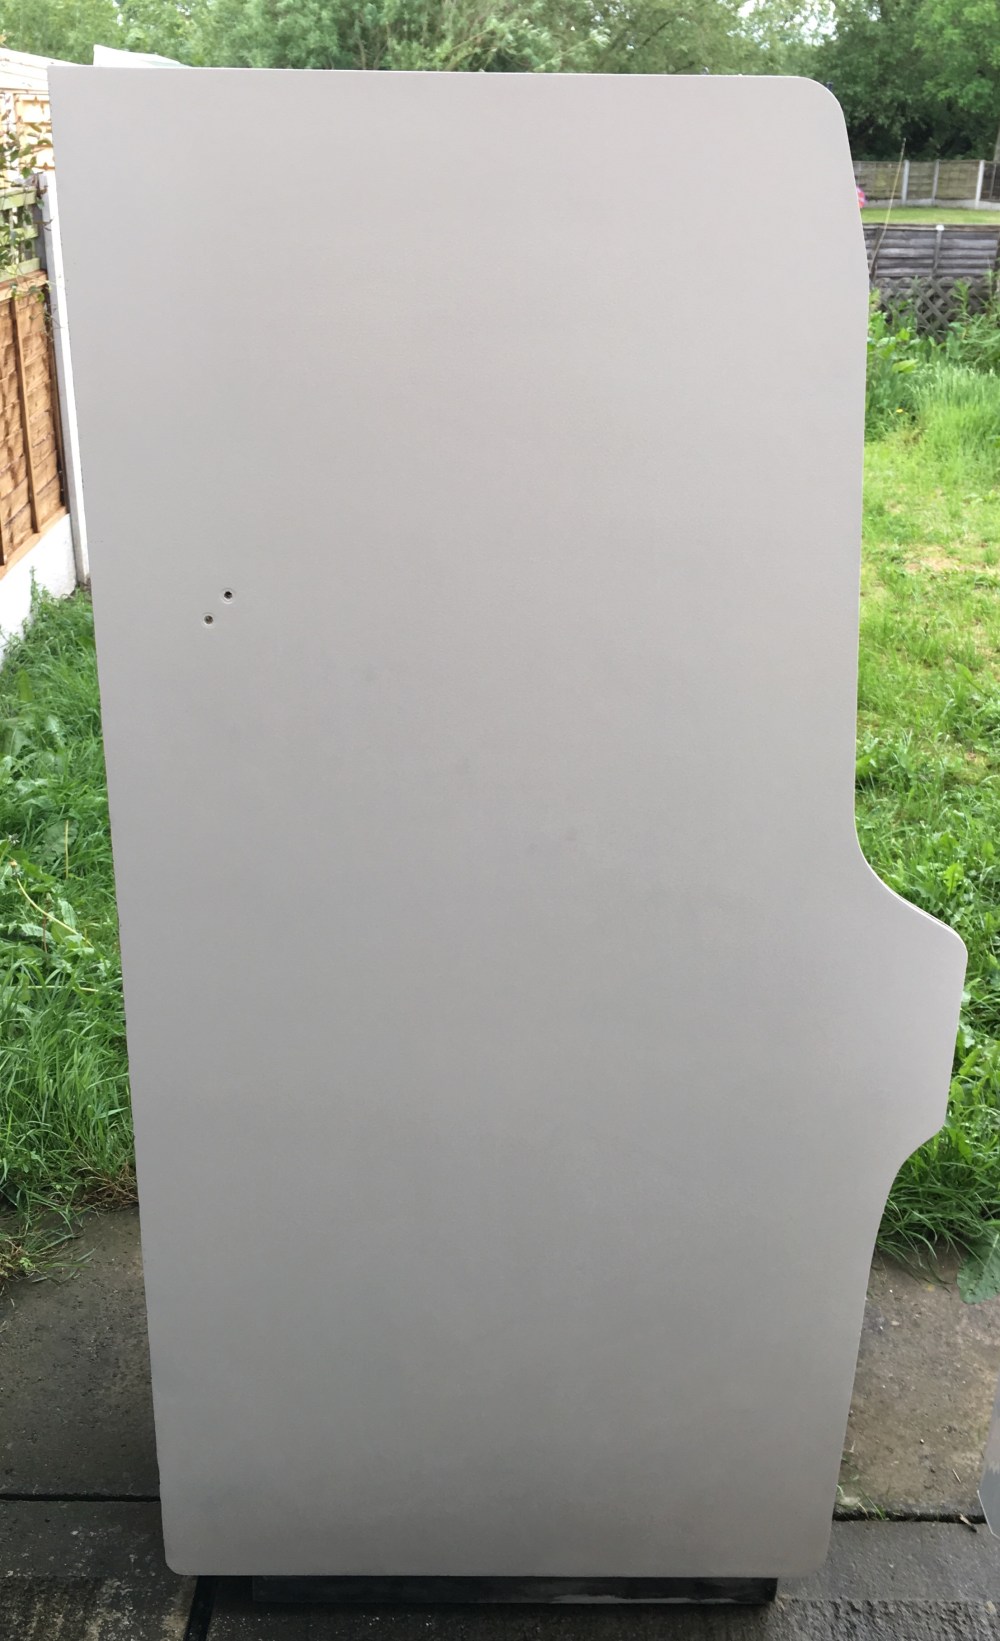
After all of the final puttying had been done and I’d sanded down the primed surface to key it, out finally came the red paint (or Flame red according to the tin). This was my starting point:
I knew, as I’d done with the primer, lots of thin coats was the key to the better finish. So I excitedly poured a fair amount of red paint into my rolling tray and began adding colour to the cabinet:
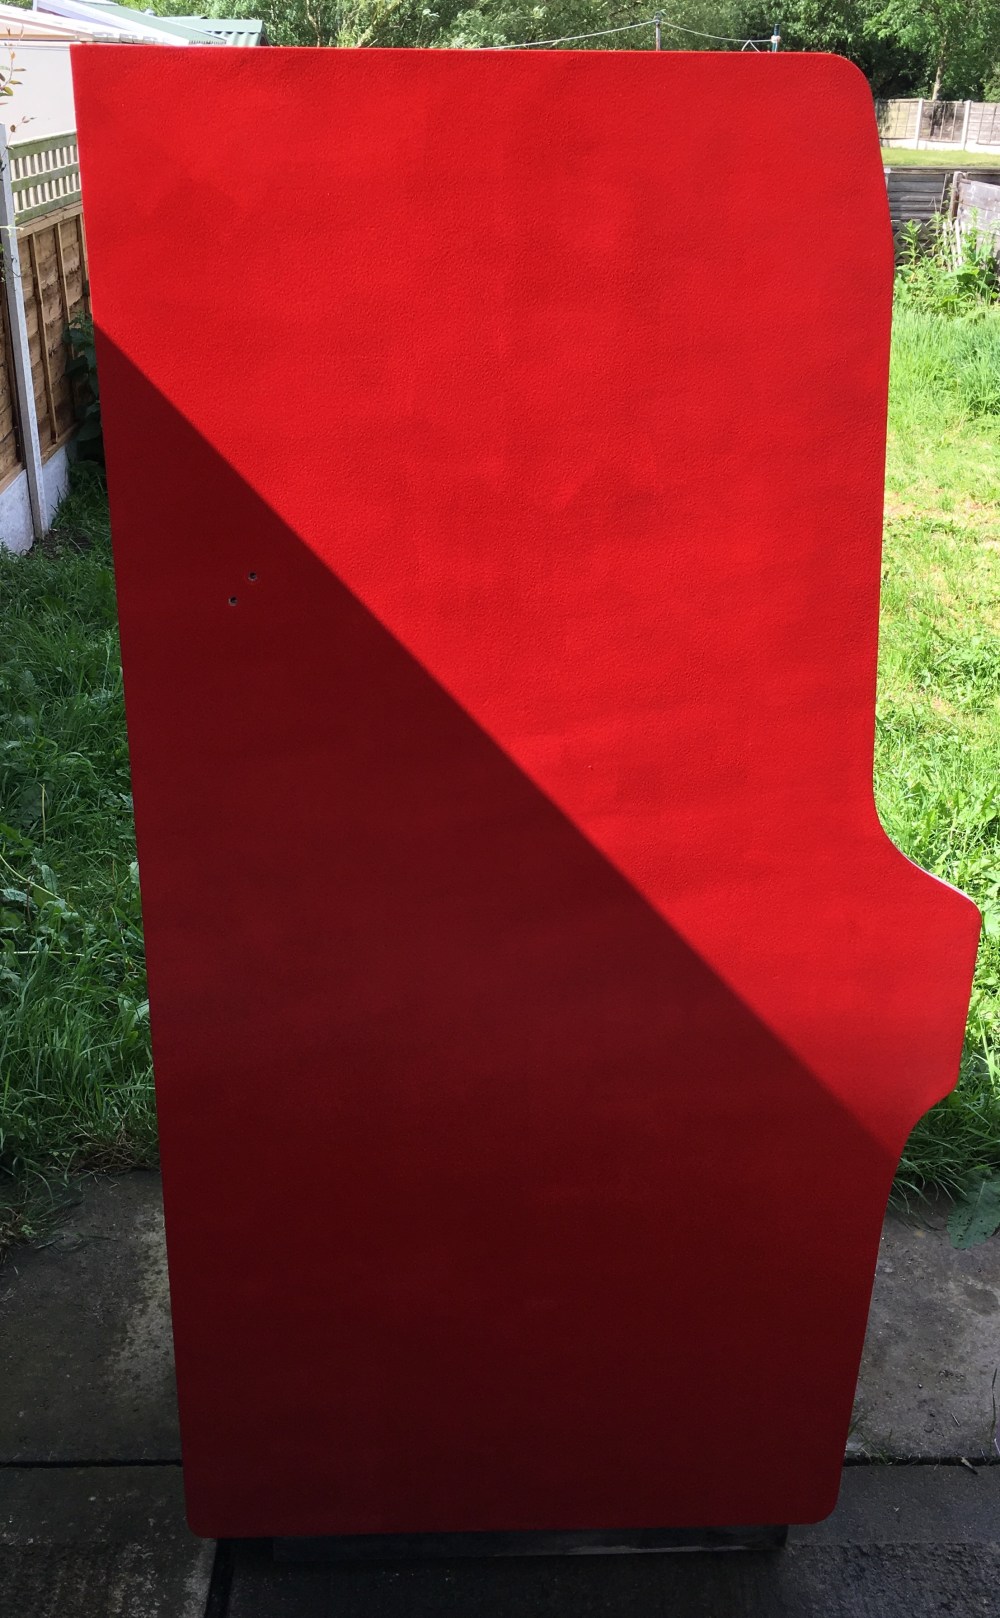
Now I expected the streaky finish with the first few coats so I wasn’t worried at the appearance just yet. I was too excited to be finally adding colour than to worry myself with finishes at this time.
In order to get best use out of the rollers (I wasn’t cleaning them!), I added a bit more paint to my tray and started work on the other panels:
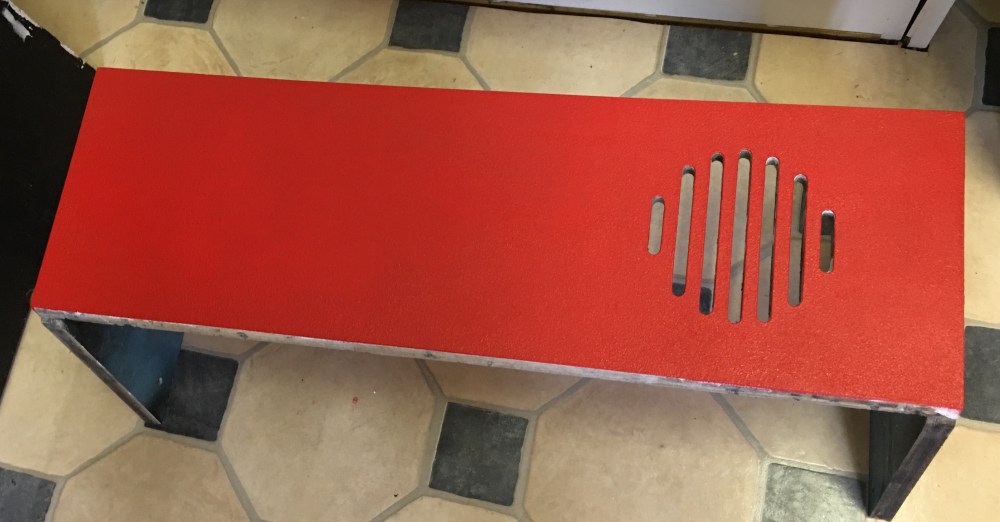
Painting outdoors came with its own problems (as we’d encountered with the primer) and numerous bugs had decided my freshly painted surface should be home. This was rectified (by removing the bugs carefully and lightly sanding the area) and a good number of coats were applied to the cabinet over a couple of days!
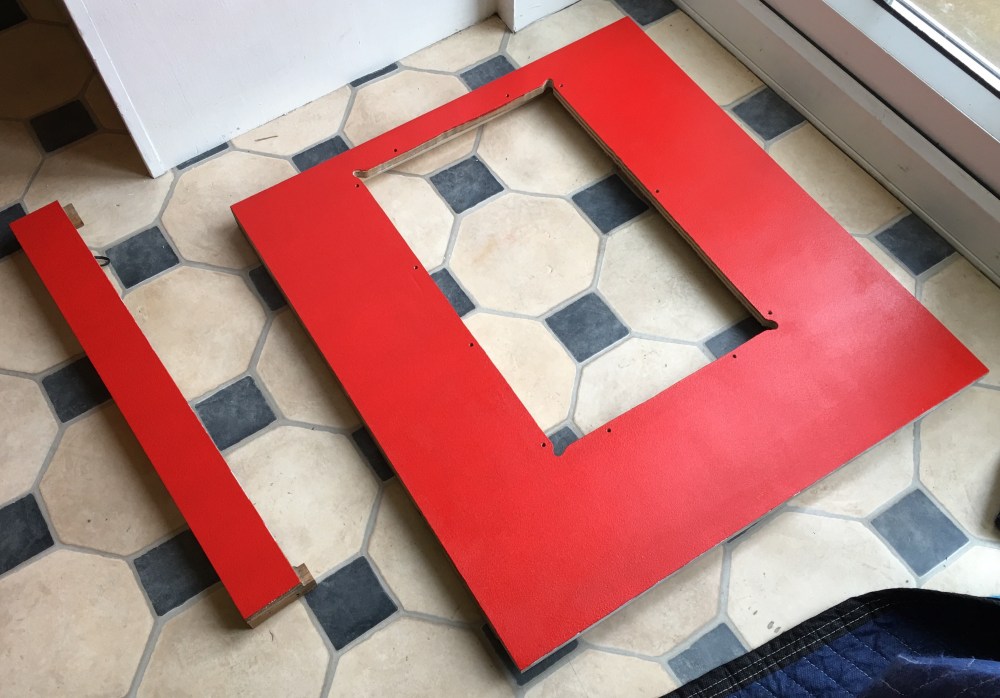
Once I had 4-5 coats of red on and was happy with the overall finish, I moved onto the black paint. The areas I would be painting included the inner front, top, back and base. After finishing off the rear of cabinet in black, I moved onto the other panels:
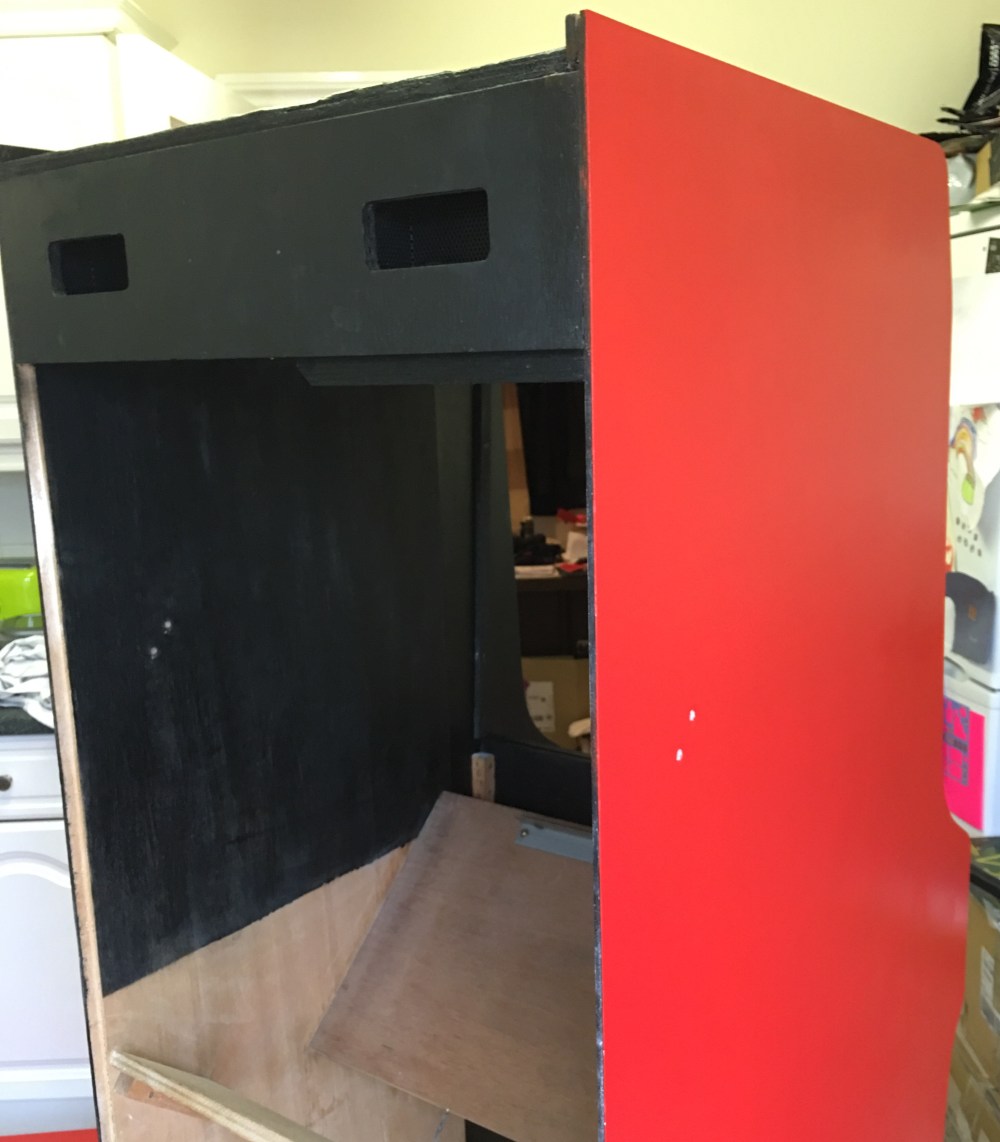
I spent a good evening going over all of the black areas with the black paint, ensuring a uniform colour and even surface. Once all the black paint was complete, I had this:
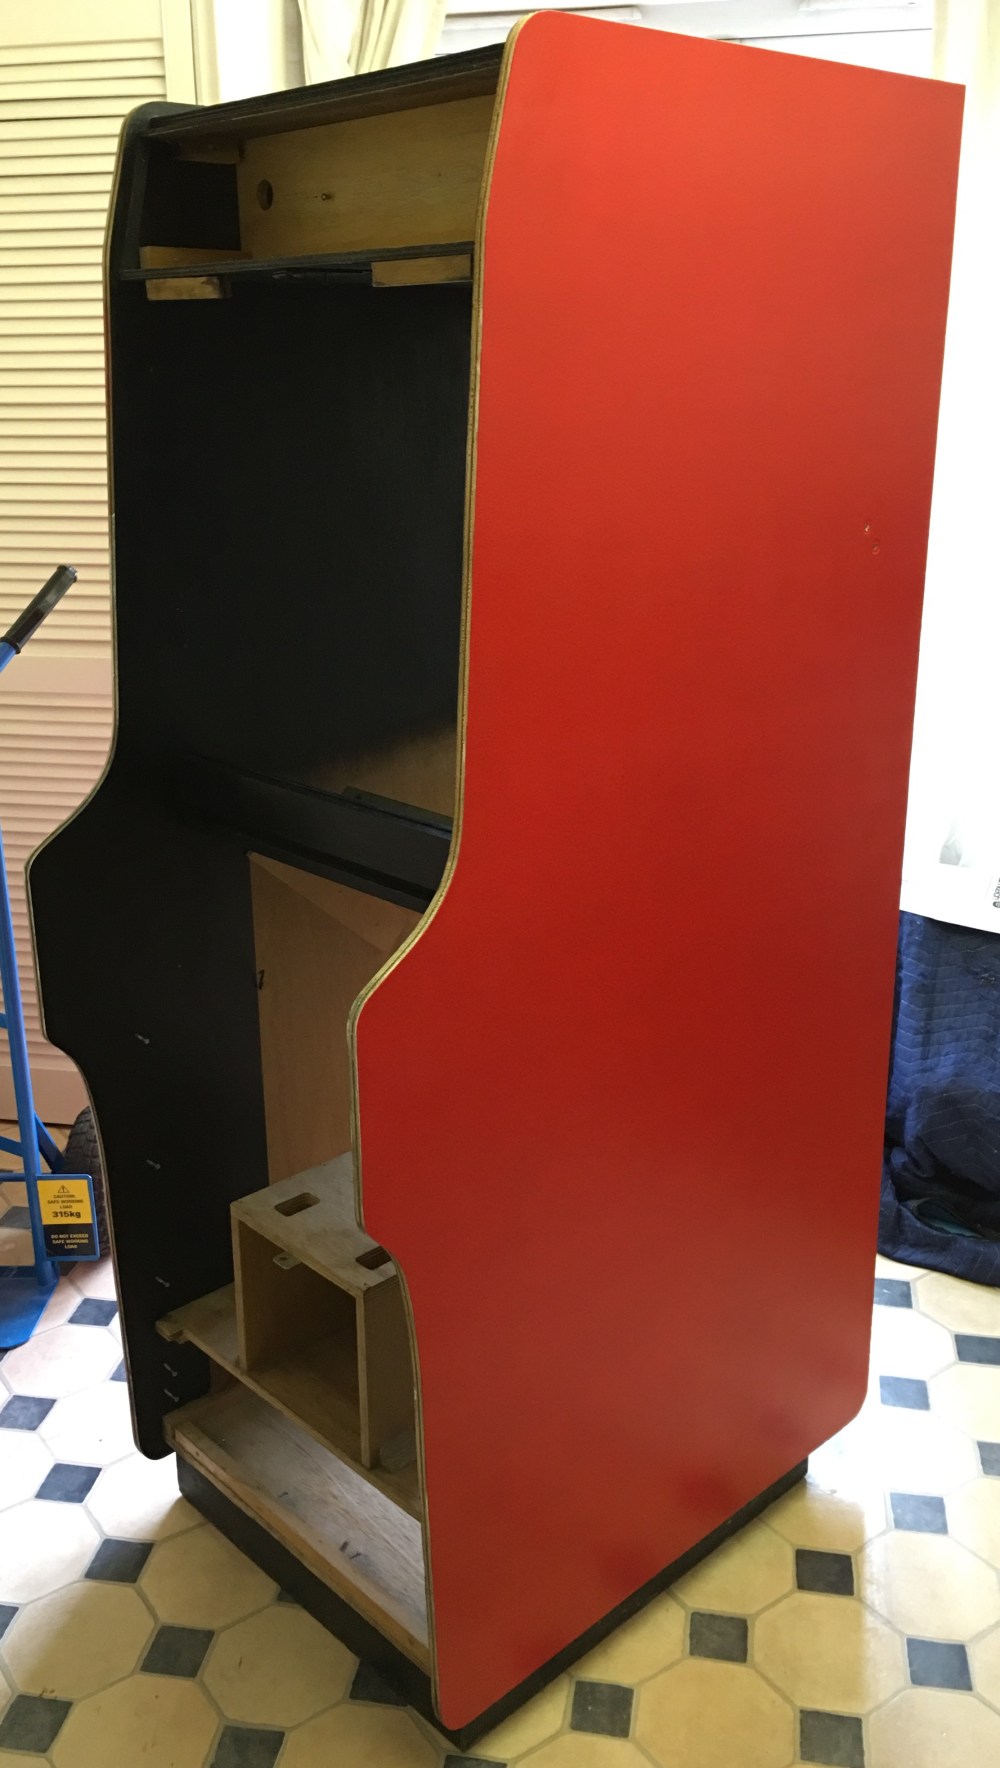
With the cabinet painted, it was time to look at re-assembly.

Really starting to come together now. Looking very nice indeed.
LikeLiked by 1 person