Now I started to feel like I was on the home stretch. I think just being able to actually play the game was the big turning point. Unfortunately, due to the broken pot, when I say play the game, I can coin up and move Stanley about and fire at Kong; but the scrolling screen makes the game unplayable.
The broken V-POS pot meant that the screen continually scrolled from right to left. Messing with the pot itself did nothing (there was no resistance), even after soldering the leg back to the board. I could stabilise the picture for a short while using the pot on the monitor. However, that could only hold it for so long and then the scrolling would start again.
I started the hunt for a suitable replacement, noting the likes of MikesArcade had them, but shipping from the US for just a pot didn’t seem sensible. I posted a wanted add on my go-to forum (UKVac) and a fellow member replied saying he had some and I could have them for the price of postage! Some postage (and beer) money was transferred and the replacement pot was with me, ready to be installed.
It’s been a long time since my last venture into soldering (circa. 2003) but I wasn’t deterred. Firstly, the old pot had to come off. It put up a good fight but it was soon off the board:
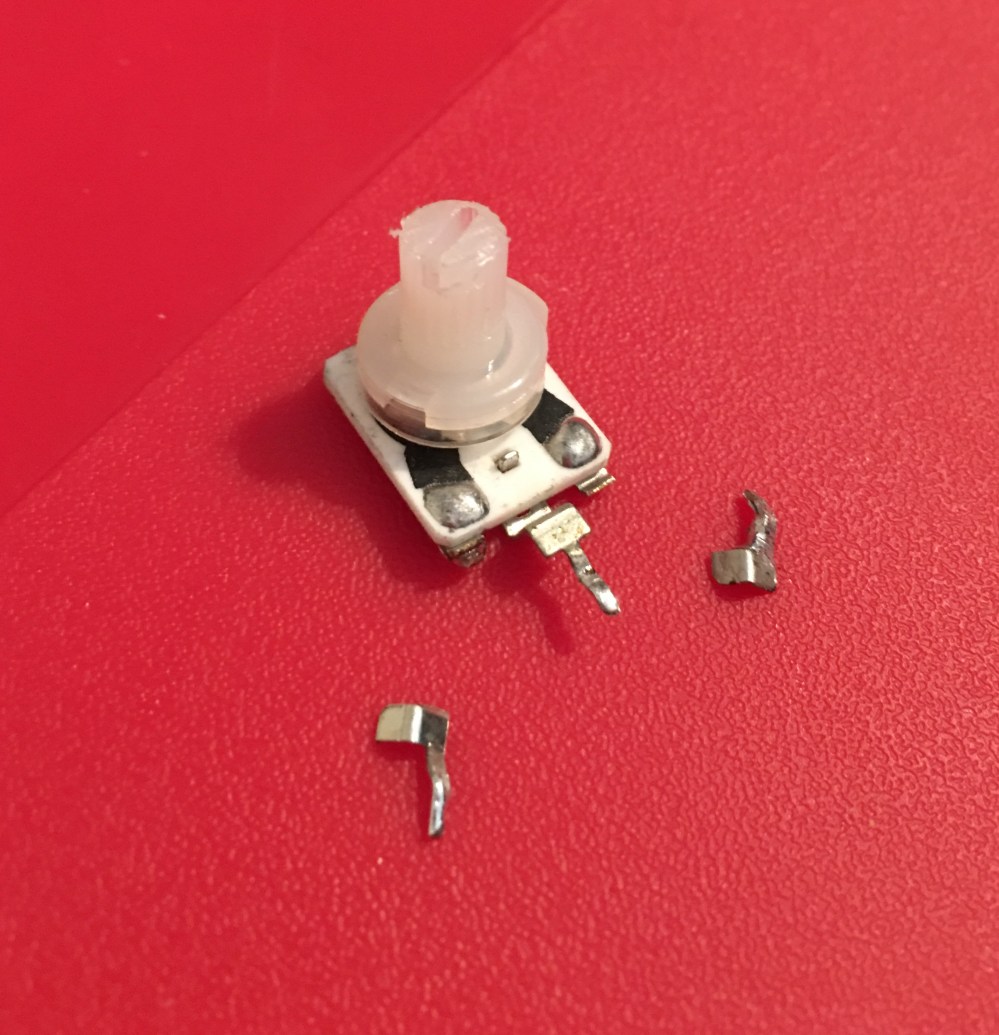
In my defence, one leg was broken before I started! The other snapped during the extraction process. Either way, as turning the dial did nothing, the pot was broken internally.
I tidied up the board where the new pot was going to be positioned. The legs of the new pot needed bending to match the staggered pins of the old one. A quick test fit and three solder joints later we were done:

The pot didn’t match, but at the end of the day it’s a working pot that will be inside the cabinet (inside another metal cage). All that mattered was that it worked!
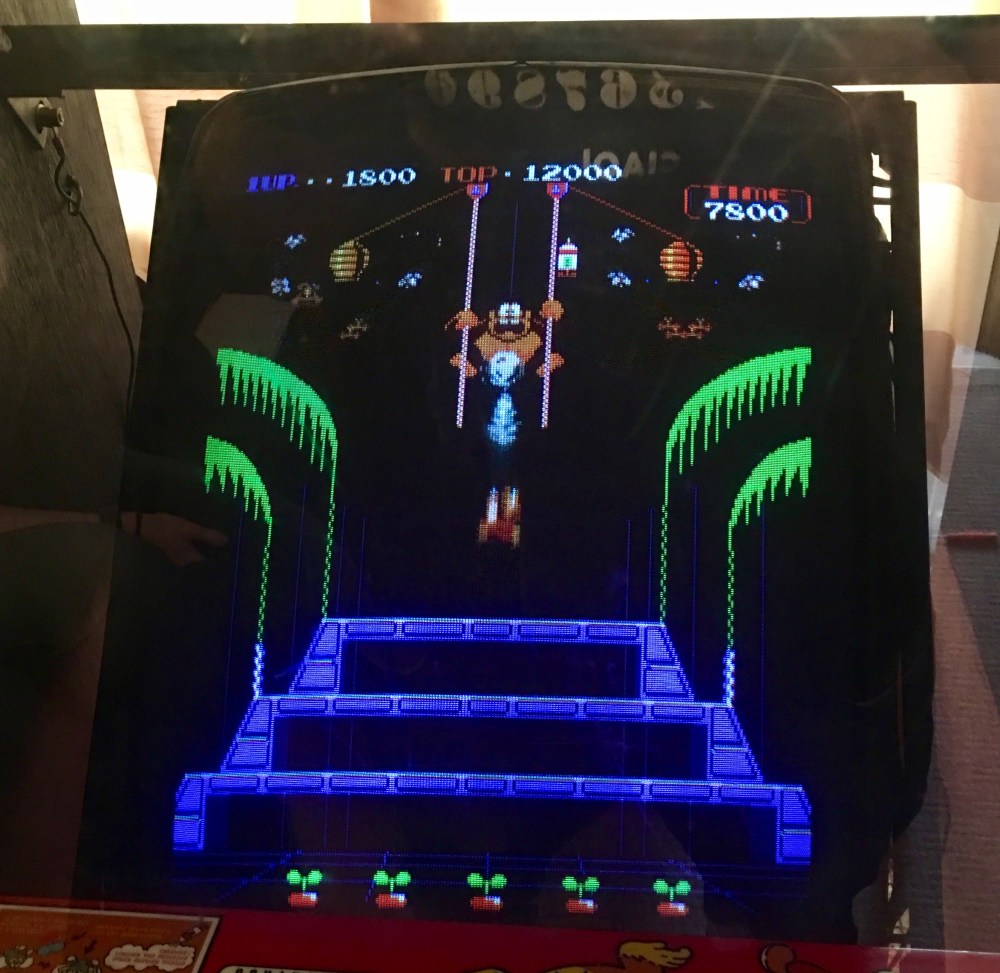
After double checking all the solder points, I put the board back in the cabinet, connected everything and crossed my fingers! I flicked on the power switch and my heart sank… the screen was still scrolling! I adjusted the new pot, but it made little to no difference. At this point, I remembered how much I’d been playing with the pot on the monitor to try and stabilise the picture. I dialled the monitor pot right back and instantly the picture stopped scrolling. Now I had full adjustability using the pot on the board. Just two minutes of playing with both pots meant I had a beautifully stable screen bang in the centre of the monitor:
After this success, I was spurred on to sort the final piece. As I’m sure I’ve mentioned numerous times throughout these blog posts, the control panel I had was functional, but ugly! I’d managed to source a much cleaner empty panel to transfer all the parts over to.
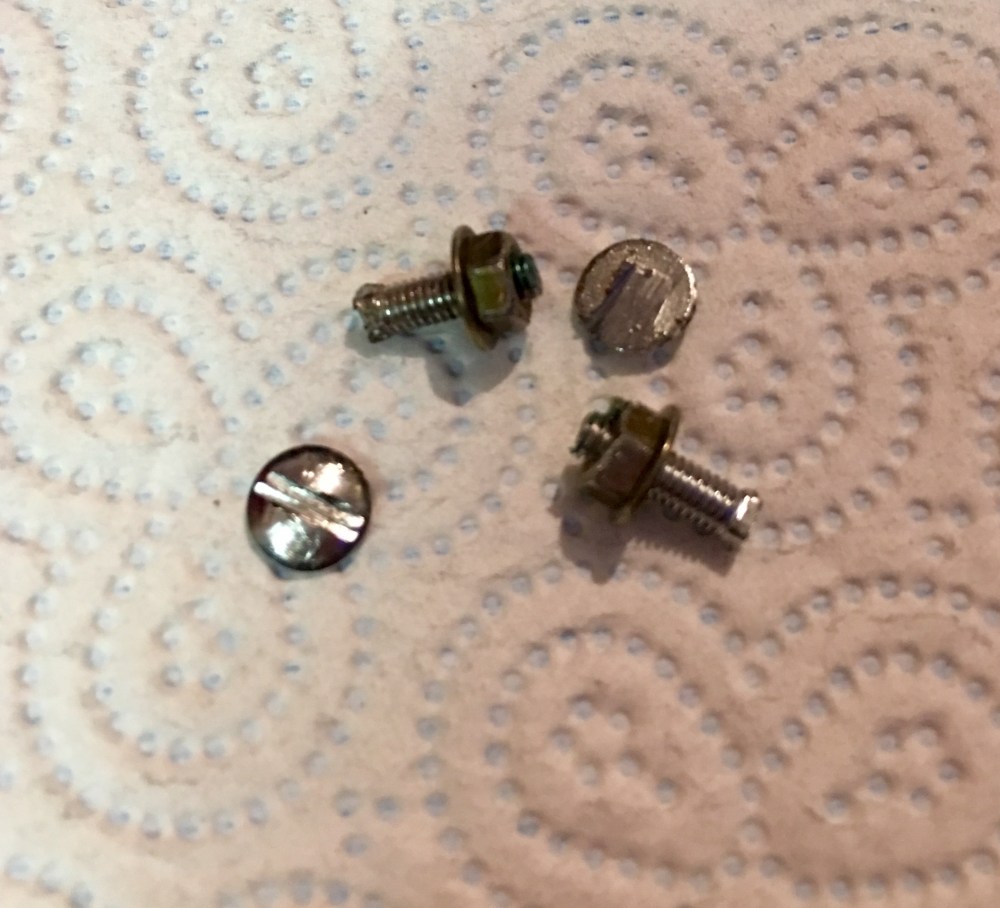
This task seemed like an easy ten minute job, but unfortunately this wasn’t to be the case! The bolts holding everything in place had round flat heads so as not to ruin the aesthetics of the top of the panel. However, this lead to a major problem. Every time I started to undo the nut underneath the panel, it would start to spin the bolt. Due to the design of the bolt head there was no way to grip it to stop it spinning. This lead to drastic measures:

Every bolt required the same treatment, but luckily there were only eight. I started off with the theory that I could create a groove to insert a flat head screwdriver. Frustratingly, the bolt heads were that shallow the screwdriver would just slip. I managed to loosen the bolts enough with the screwdriver technique to get a hacksaw blade under the heads and saw them off:
It took a good half an hour of sawing until all of the parts were free and ready to be transferred over to the new panel. Even though this job was much more involved than I first thought, the end result made it so worthwhile:
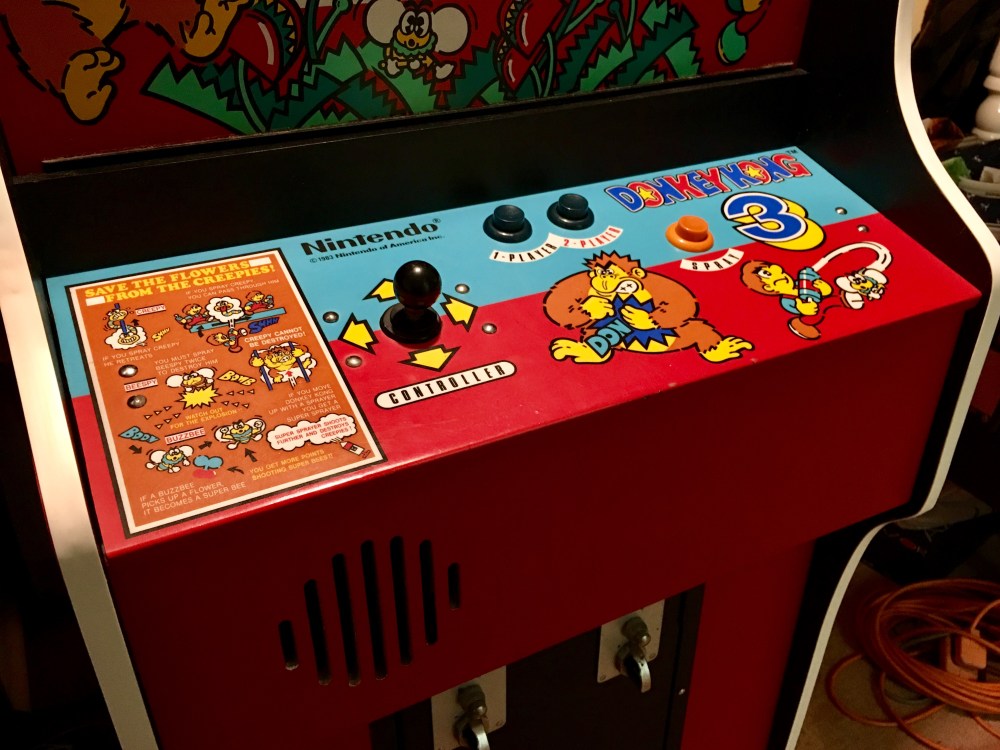
It’s amazing how just a simple change can make such a difference to the look of the cabinet. All that was left to do was to fit a lock to the freshly painted back door, move it back into the lineup and pick the next project.

Ooh! Minty fresh!
LikeLiked by 1 person