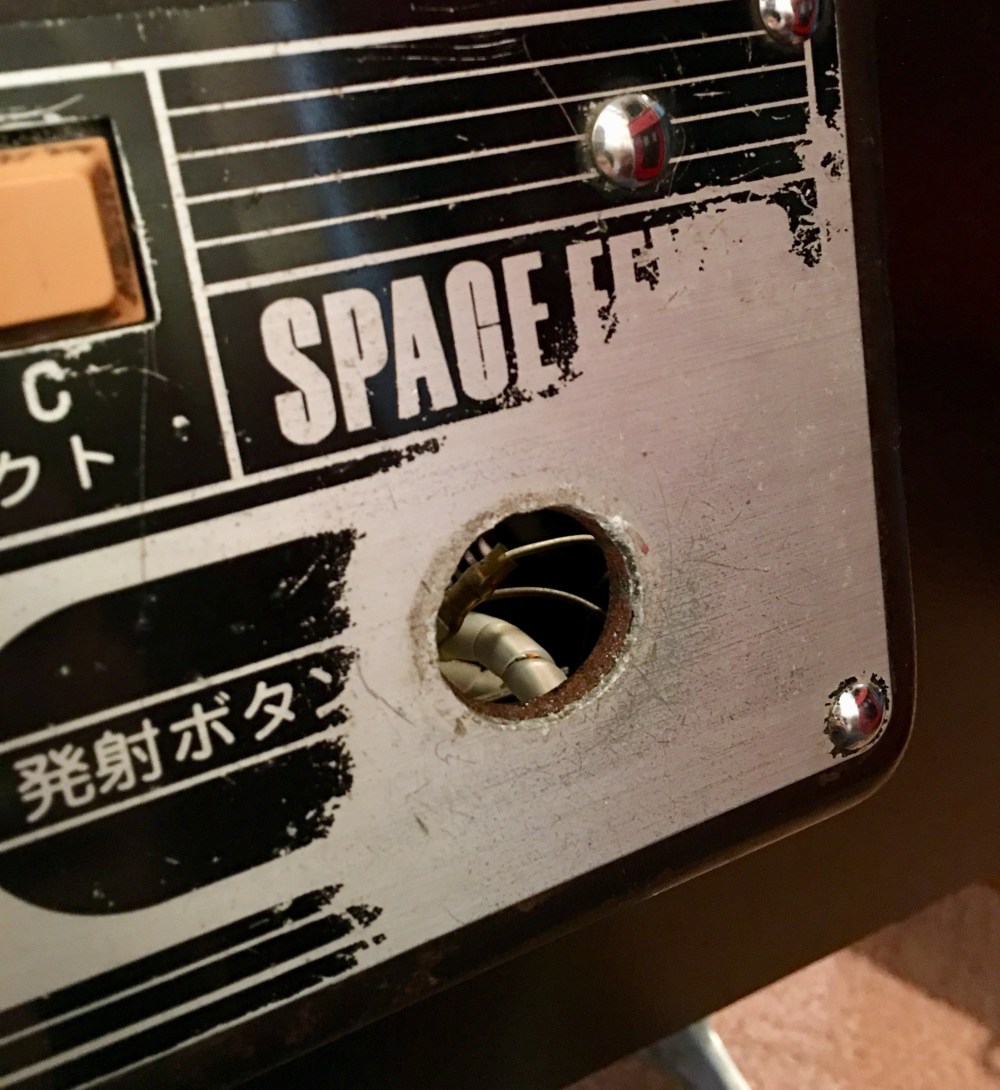
I got a few moments this weekend to have a look at a few more ‘areas of concern’ on my Space Fever Cocktail. The one thing that has bothered me since collecting it was the hideous non-illuminated, illuminated buttons that had replaced the fire buttons:
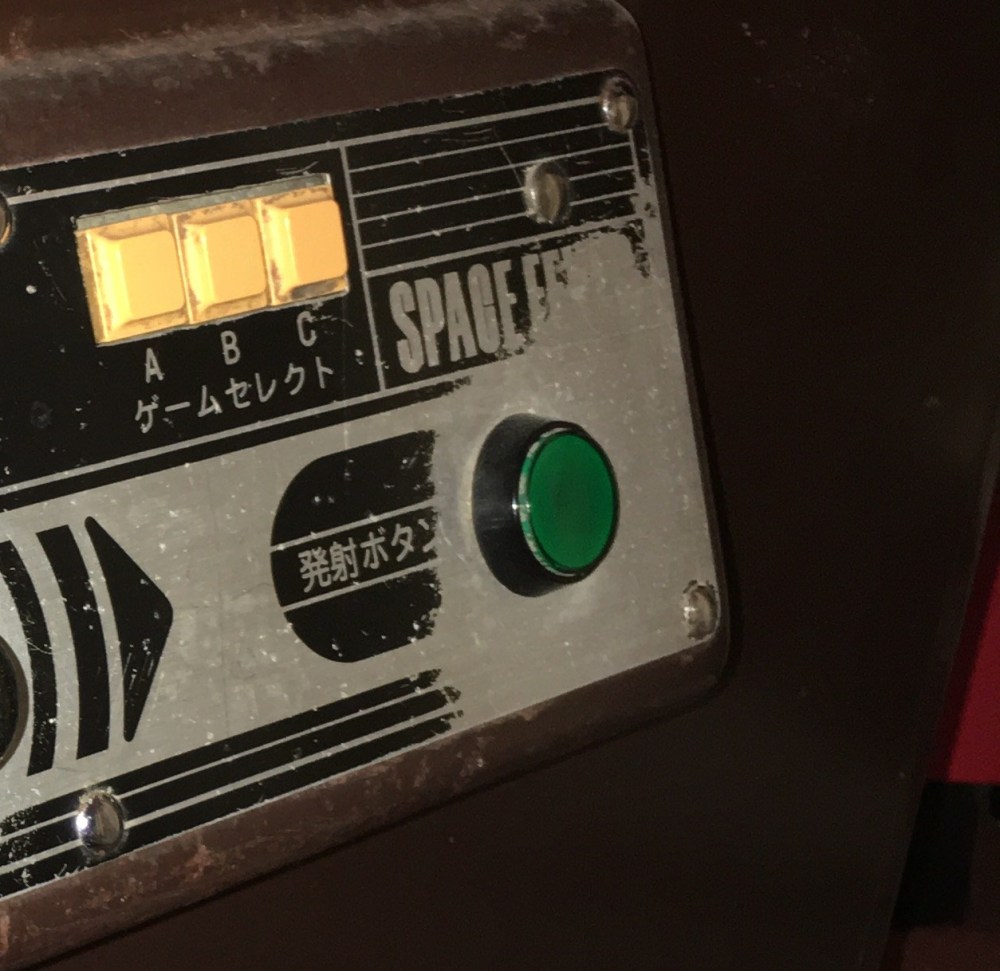
Now, the worn CPOs weren’t the prettiest, but these buttons are ugly! There was a small part of me that hoped that the operator that had fitted them had gotten fed up of the original buttons going missing (they pull out really easily) and had just placed these in for convenience. I knew I was wrong, but I still hoped…
To confirm my worst fears, I had the remove the screws securing the control panel to allow it to pivot on its lower hinges. Now, clearly the operator that had this cocktail had a habit of loosing things, as the screws holding the P1 control panel on were not factory:
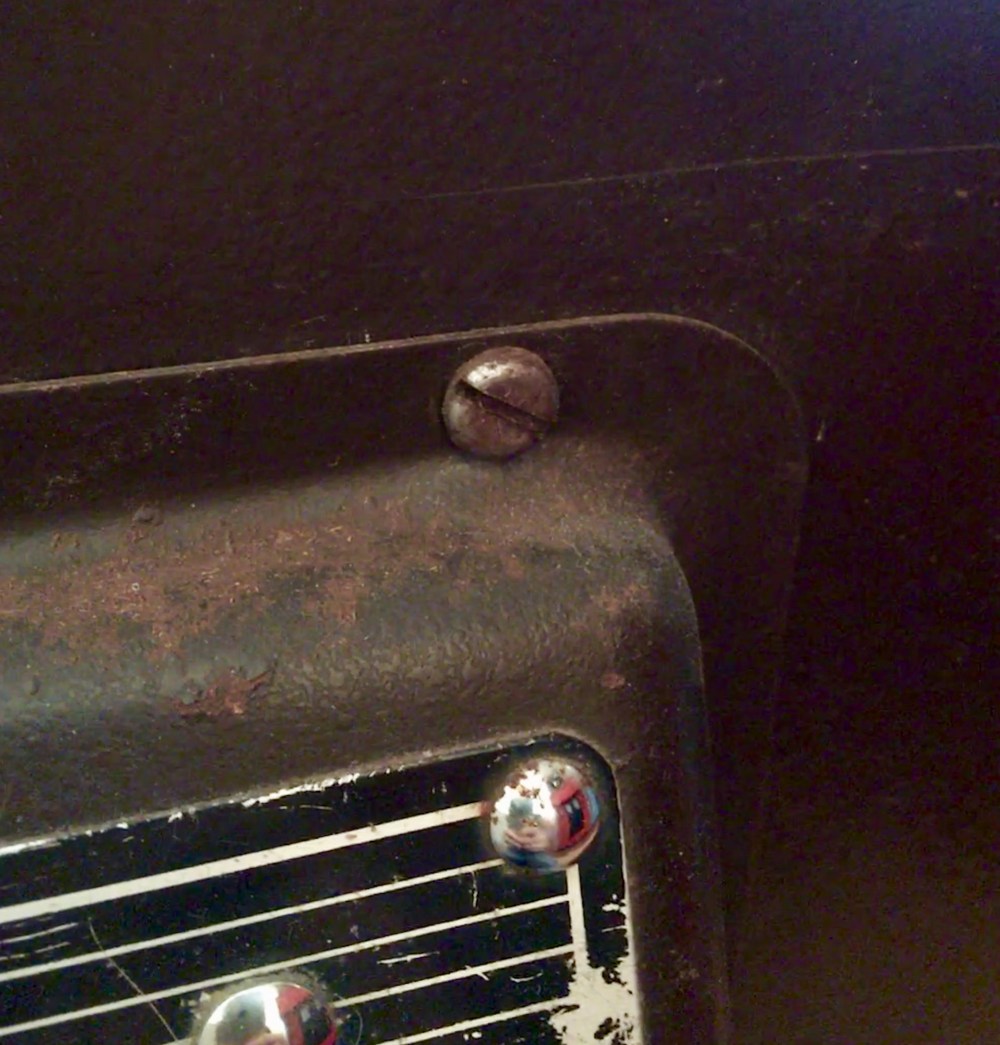

Two of these held the control panel in place and once completely unscrewed, I was able to view the full extend of aftermarket ‘repairs’:
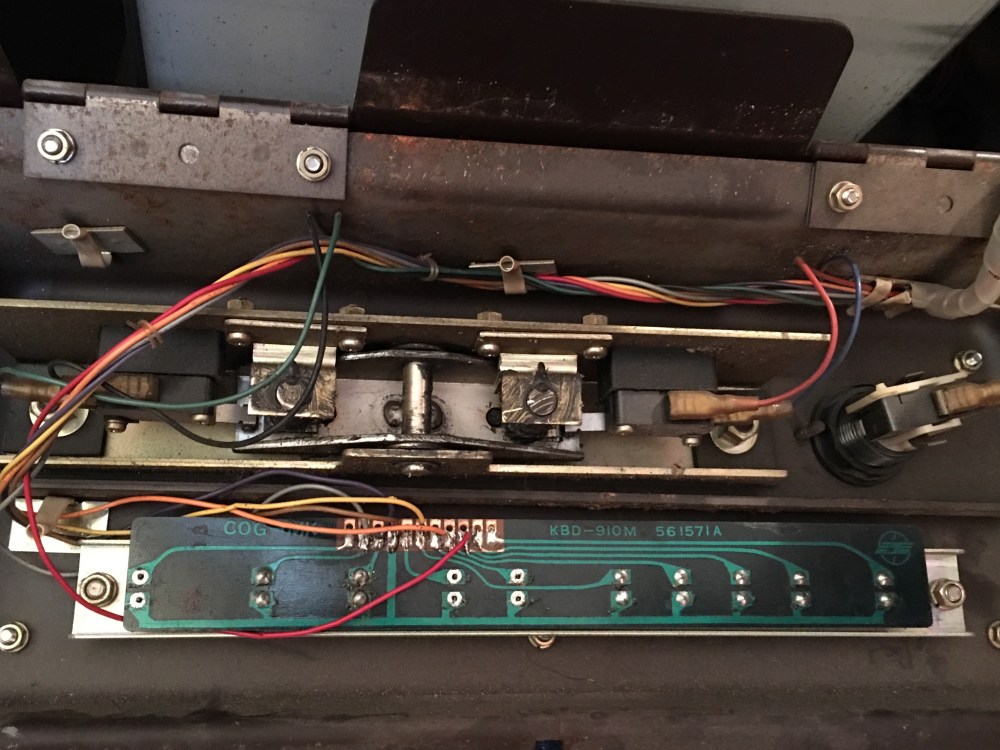
There are a number of horrors in that image, but my focus was drawn to the amazing over engineering of the joystick. I was expecting a regular Nintendo joystick with a couple of switches (just like the Mario Bros joysticks), but I was not expecting this:
I love the whole ‘see-saw’ over engineered mechanism purely for a two directional joystick. I know my HeliFire joystick looked complex, but that was an 8-way joystick. Now the eagle eyed of you will have noticed some seriously dodgy looking wiring on the button PCB. I’m assuming these wires have been accidentally pulled off the PCB at somepoint and then badly soldered back on:

Those joints will definitely be getting some attention before we sign off this restoration!
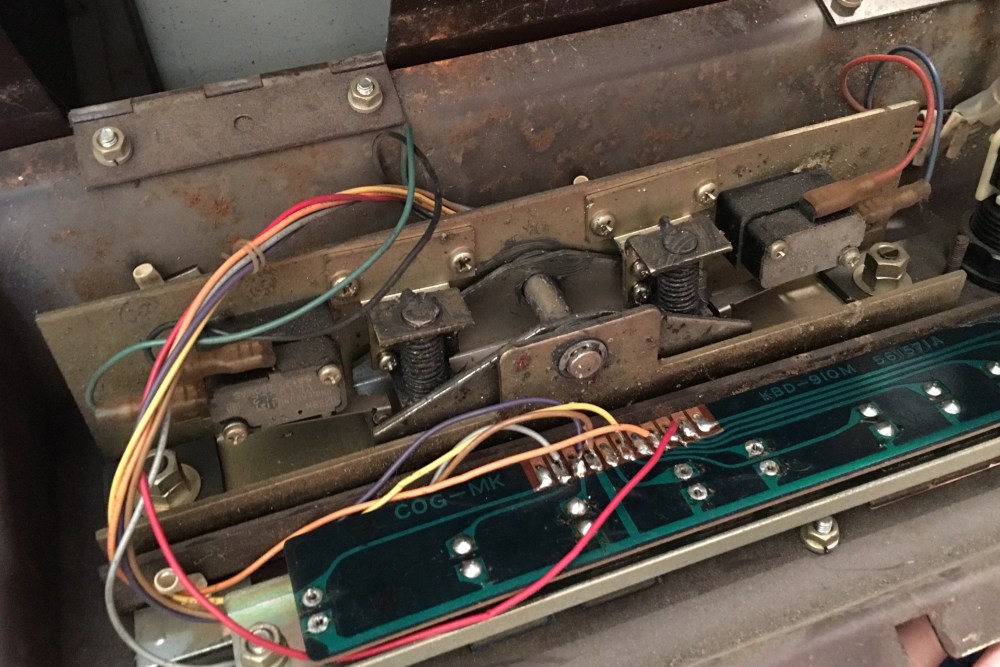
Now onto the reason I started taking the control panel off:
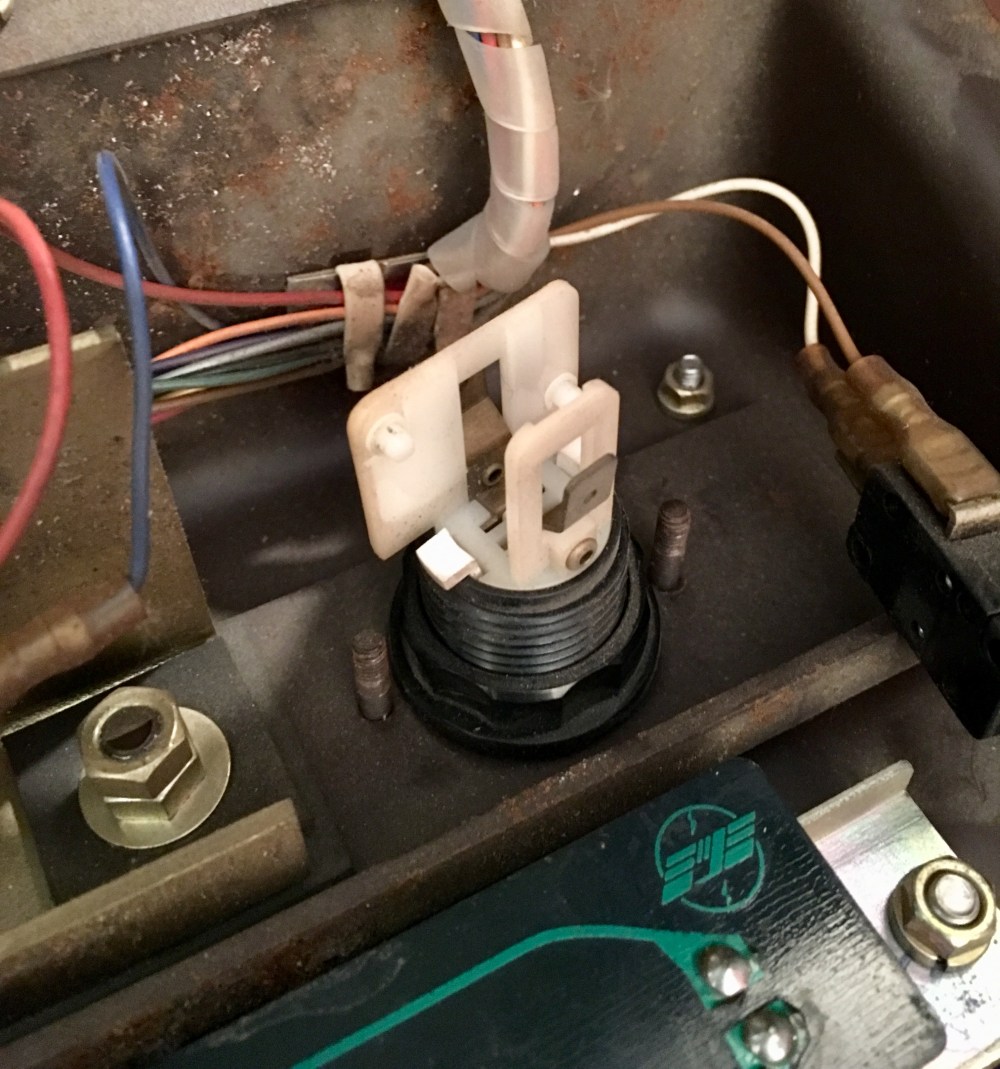
This looks as out of place on the inside as it does on the outside. Unfortunately, it appears the operator removed everything to do with the button meaning I’m missing more parts that I’d anticipated. On top of the button, I’m also missing the button switch assembly and the metal bracket to hold everything in place. I have some spare button assemblies so may be able to just fabricate a bracket to hold everything together.
After a small fight with the plastic nut around the button, I figured out how to remove the top white section to allow the full removal of the nut. I had hoped at this point that I could wiggle the button loose, but it would not budge! Cue a couple of ‘gentle’ taps and the button was free and the horror of its fitting was revealed:
I don’t think I’ll ever understand why people do this, but in all fairness I know how much operators struggled with keeping these old boxes of joy up and running and profitable.
I did suspect that this had been done and had prepared myself for it. So onto the already growing shopping list goes two sheets of aluminium (as I don’t think it’s a massive stretch to assume the other side matches, considering the same button has been used).
There was one more surprise I discovered when I opened the lid to start attaching the control panel. I knew both locks had been drilled by the previous owner, but he’d clearly gone a bit trigger happy with the left hand side:
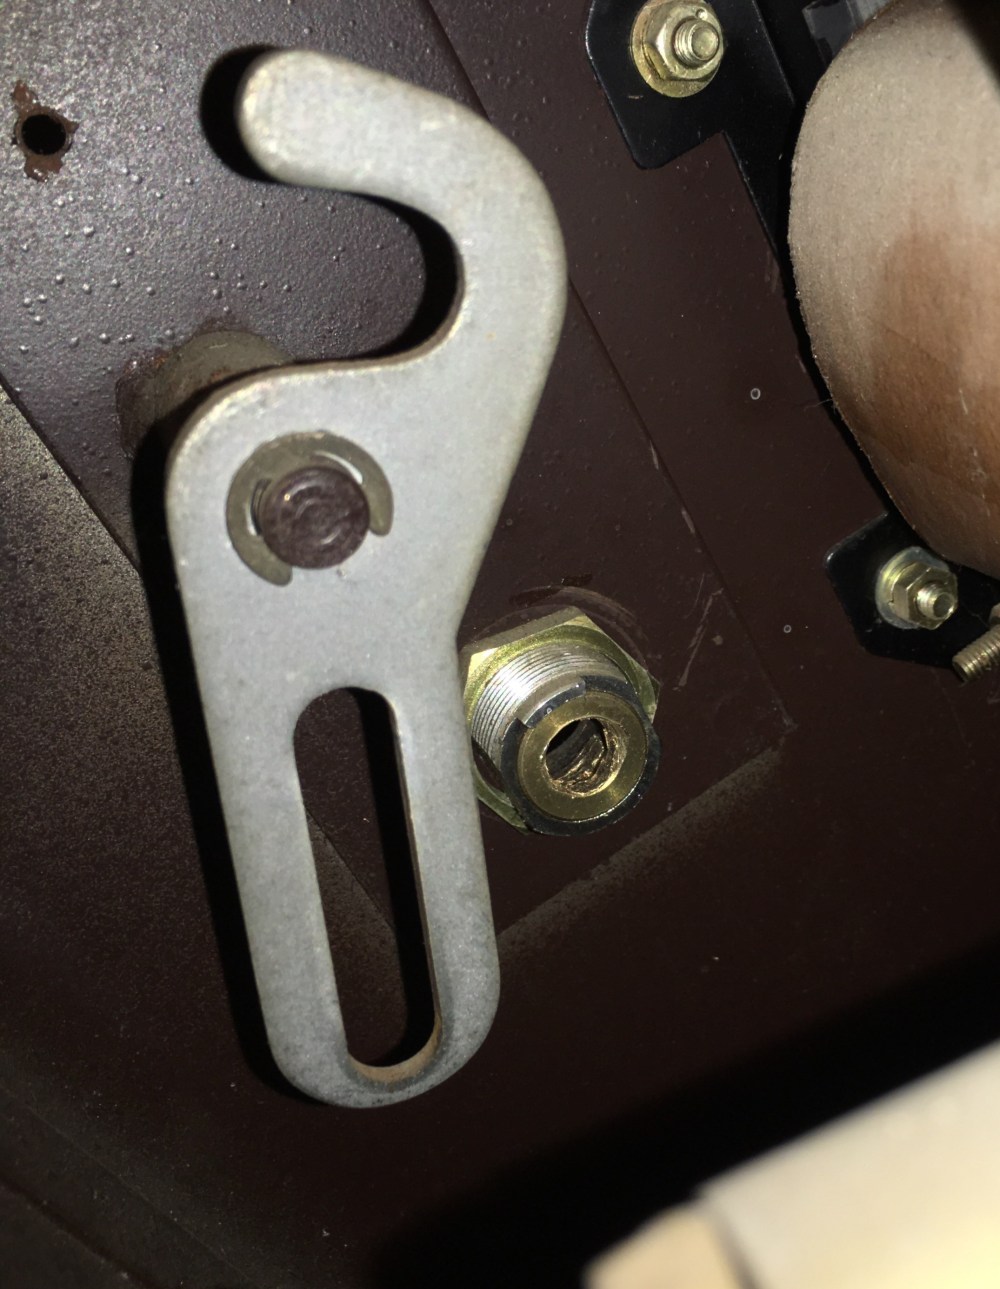
Through and through! My main concern here was the missing piece that connected to the locking tab. I checked all of the bottom of the cab (amongst the shavings!) but to no avail. I had one last thought and opened the coin door and pulled the coin box:
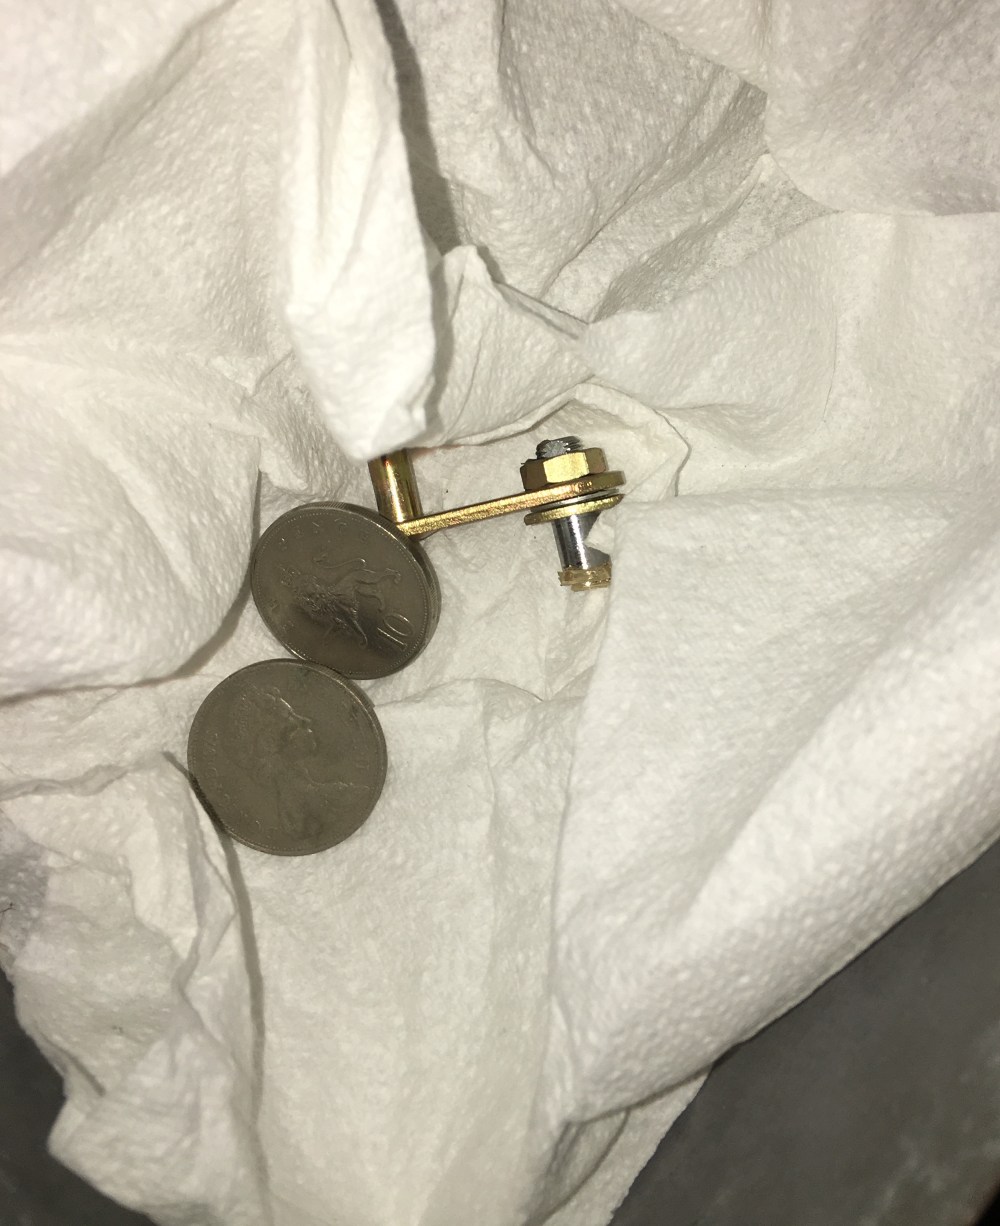
I only checked here as I knew this would have been where I’d store a loose part.
So with that, we’ll end on a slightly positive note. Lots more to do, but at least I know where I stand with the fire buttons situation now.
