I appreciate it’s a very long time since “Part 1” of the Sheriff cocktail blog, but I have been caught up with life (moving house, buying a house and moving house again! Plus work!).
Now we’re just about settled in the new house (and after a very disappointing arcade delivery, more on that in another post…) I decided it was about time to start work on an arcade again. As this Sheriff cocktail was closest to the door in my storage unit, it was the perfect candidate. Now if we cast our mind back to the first entry in this restoration (I know, I know, a long time ago!) you’ll remember that this cocktail had a rough life. At some point in it’s life, the original PCB had been removed and replaced with a complete PC setup:

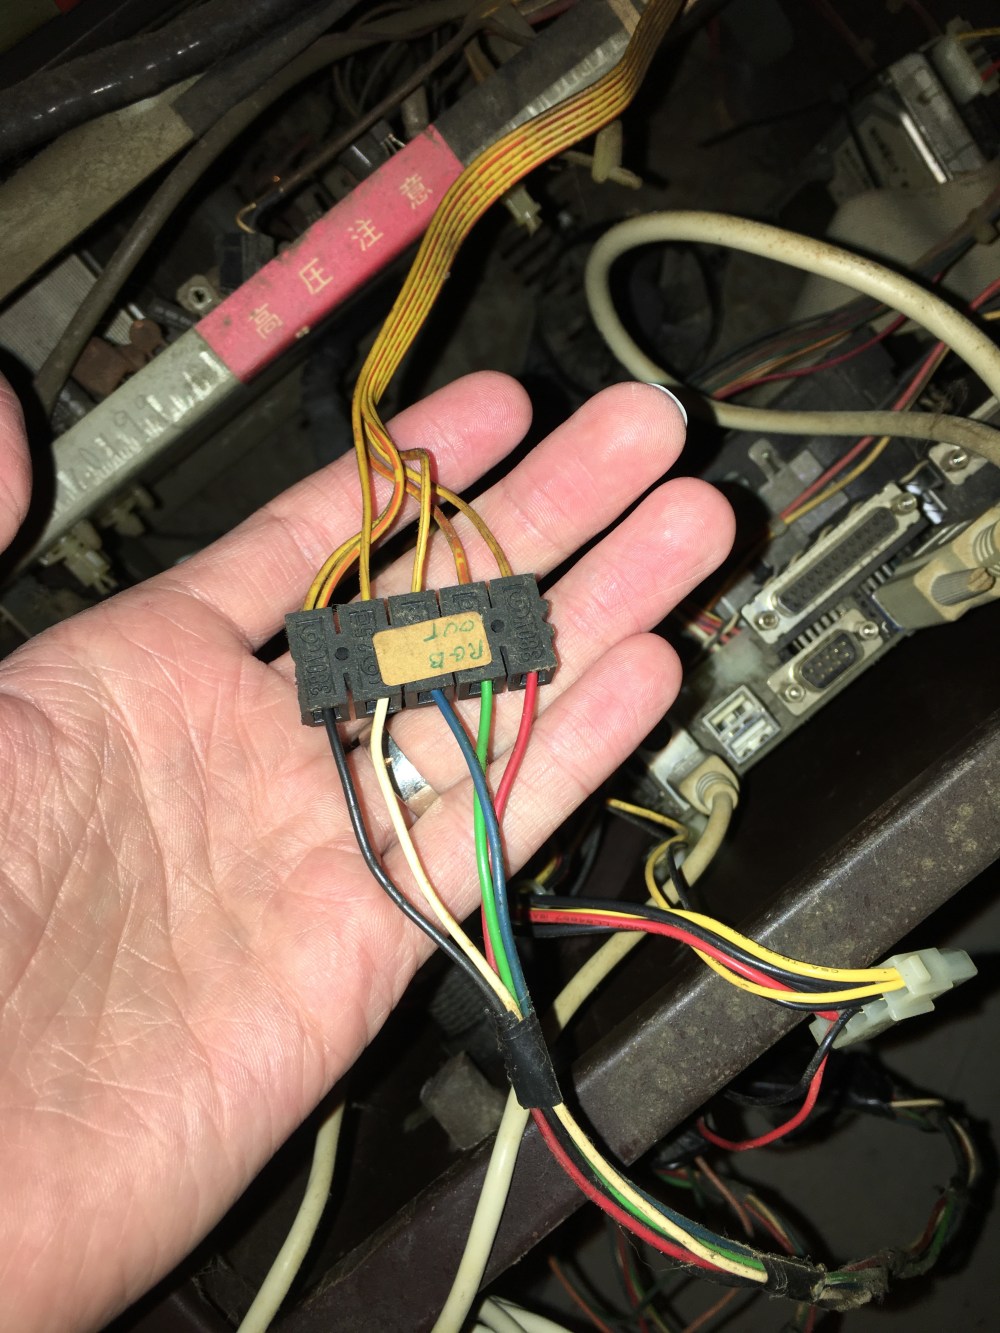
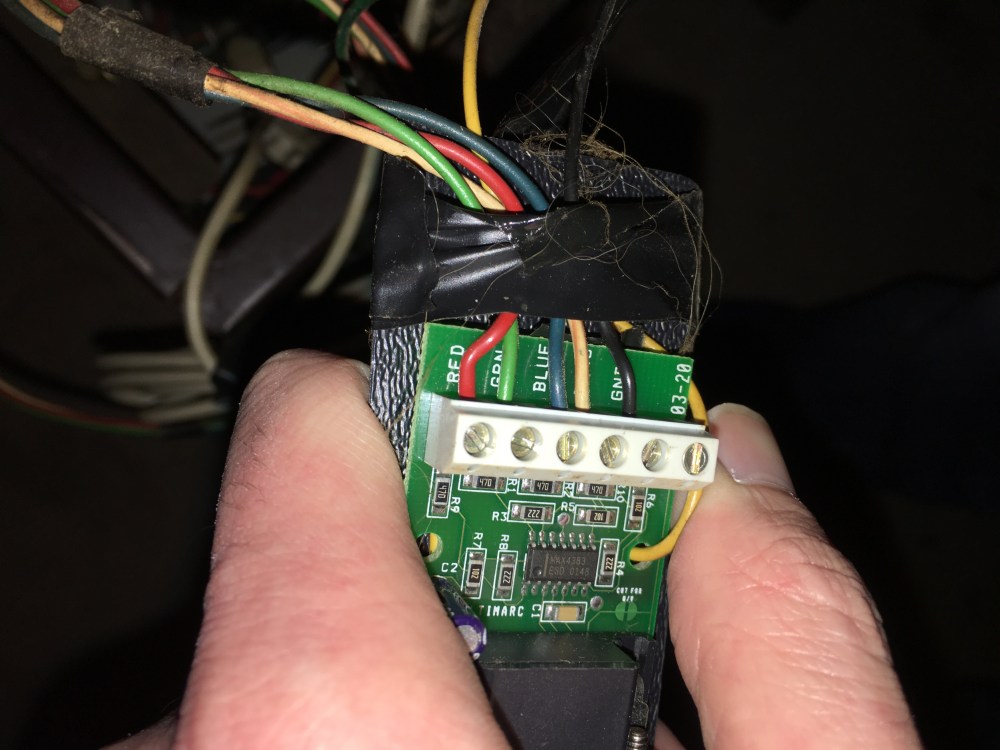
During this transplant, pretty much every part of the original loom has been chopped to hook the original controls (minus the Sheriff dials!) and monitor to these new internals. Even the monitor cable, which is soldered at the monitor end had been chopped and rigged up to a VGA connection:

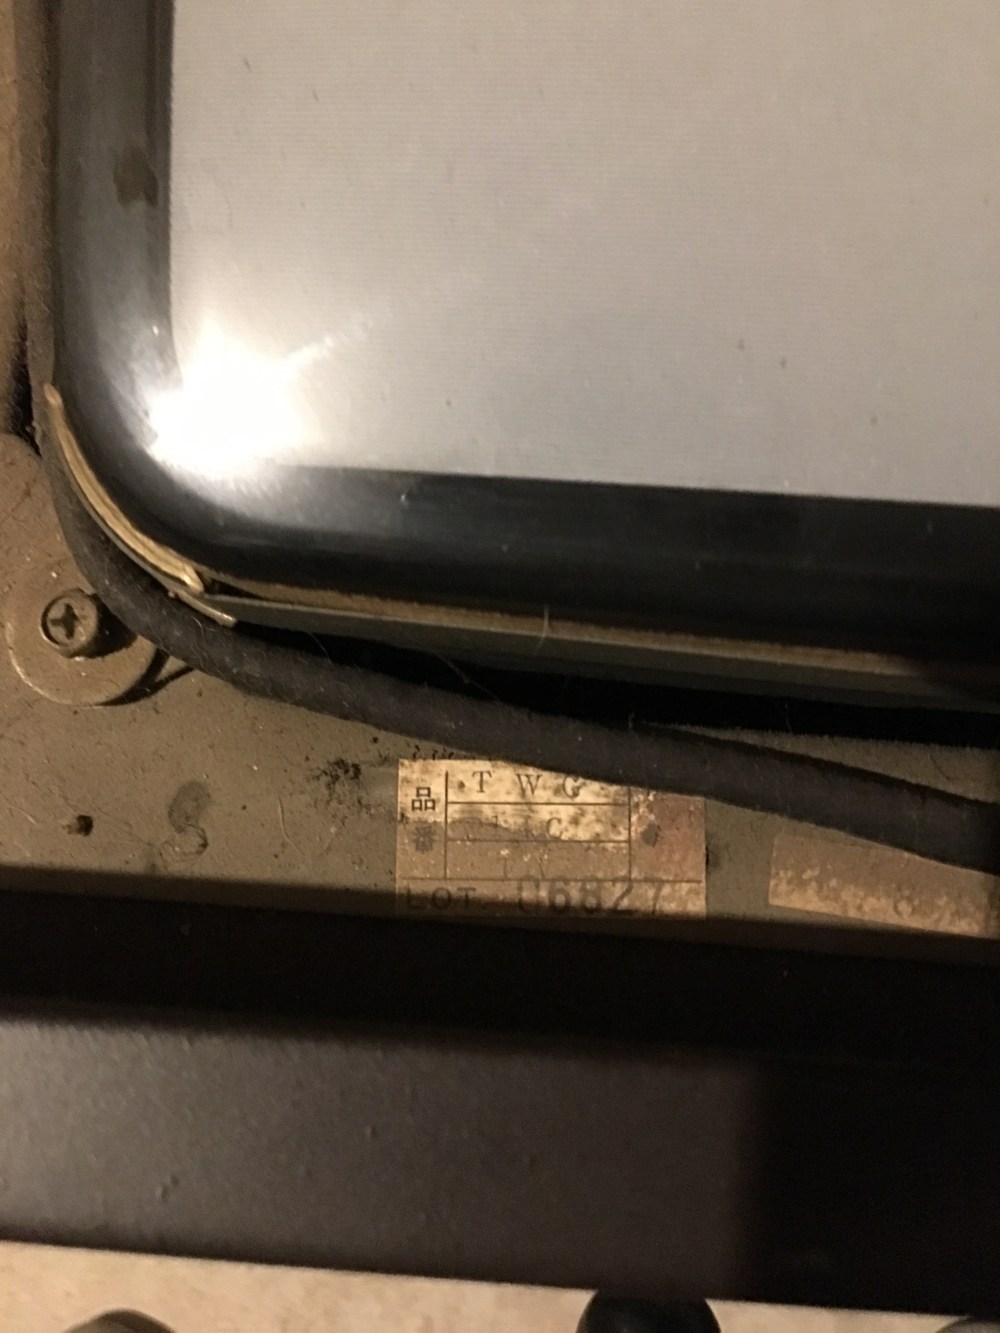
Just the monitor alone is going to require some major surgery to get back to it’s factory state. Some might argue that it would be easier to replace the whole unit, which might be true. The problem being my desire for originality and the fact that the monitors are tagged as per the game they are installed in:
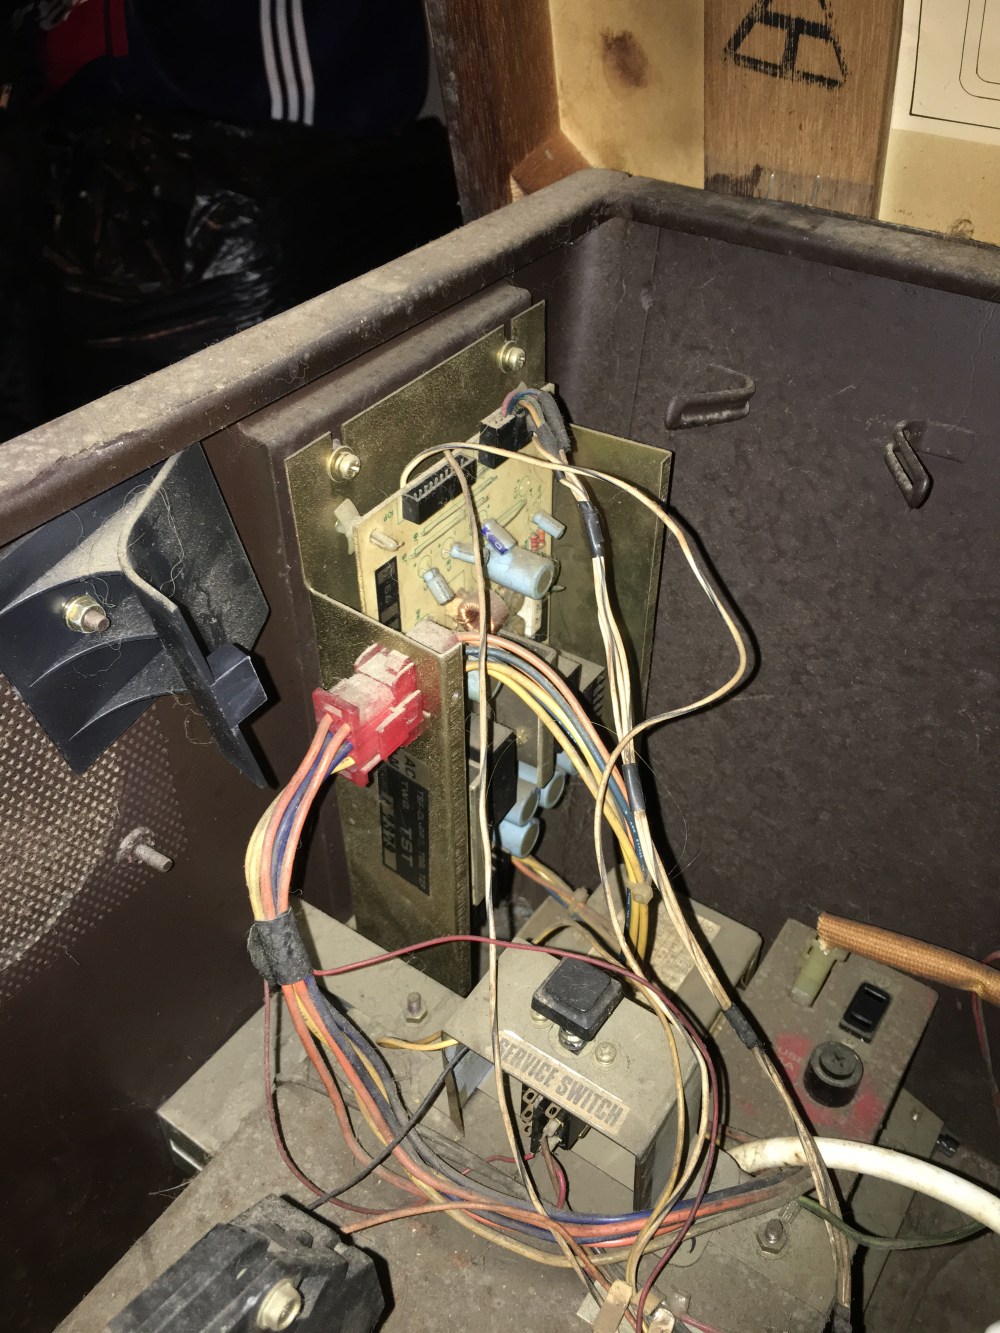
So if we put the monitor to one side (which is exactly what I did), I needed to start removing all of the new “additions” to get to a good starting point. So after pulling the monitor, I got to work unhooking and removing anything that didn’t belong:

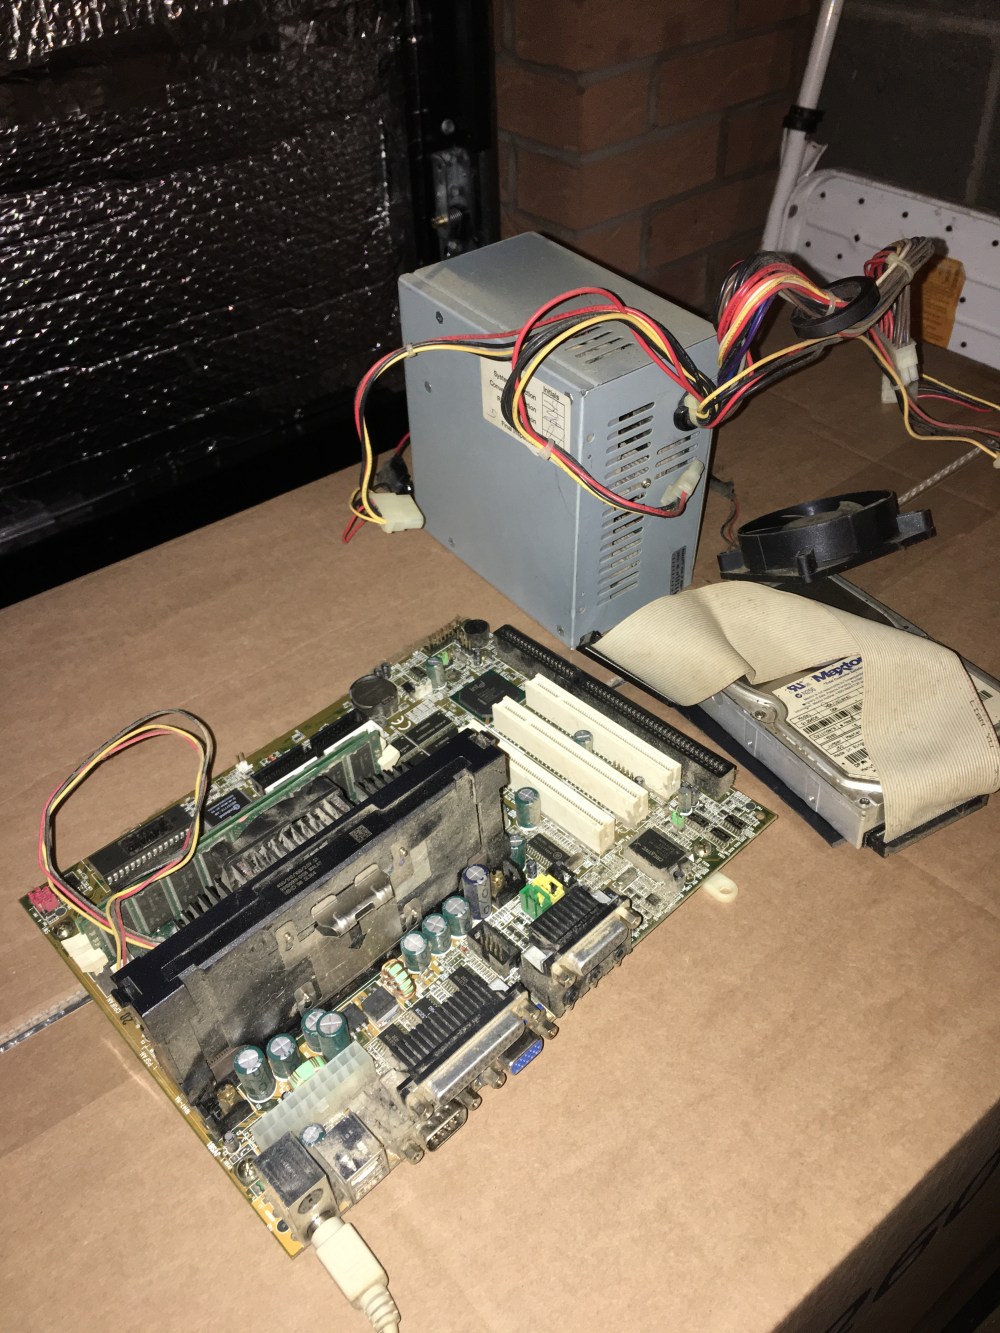
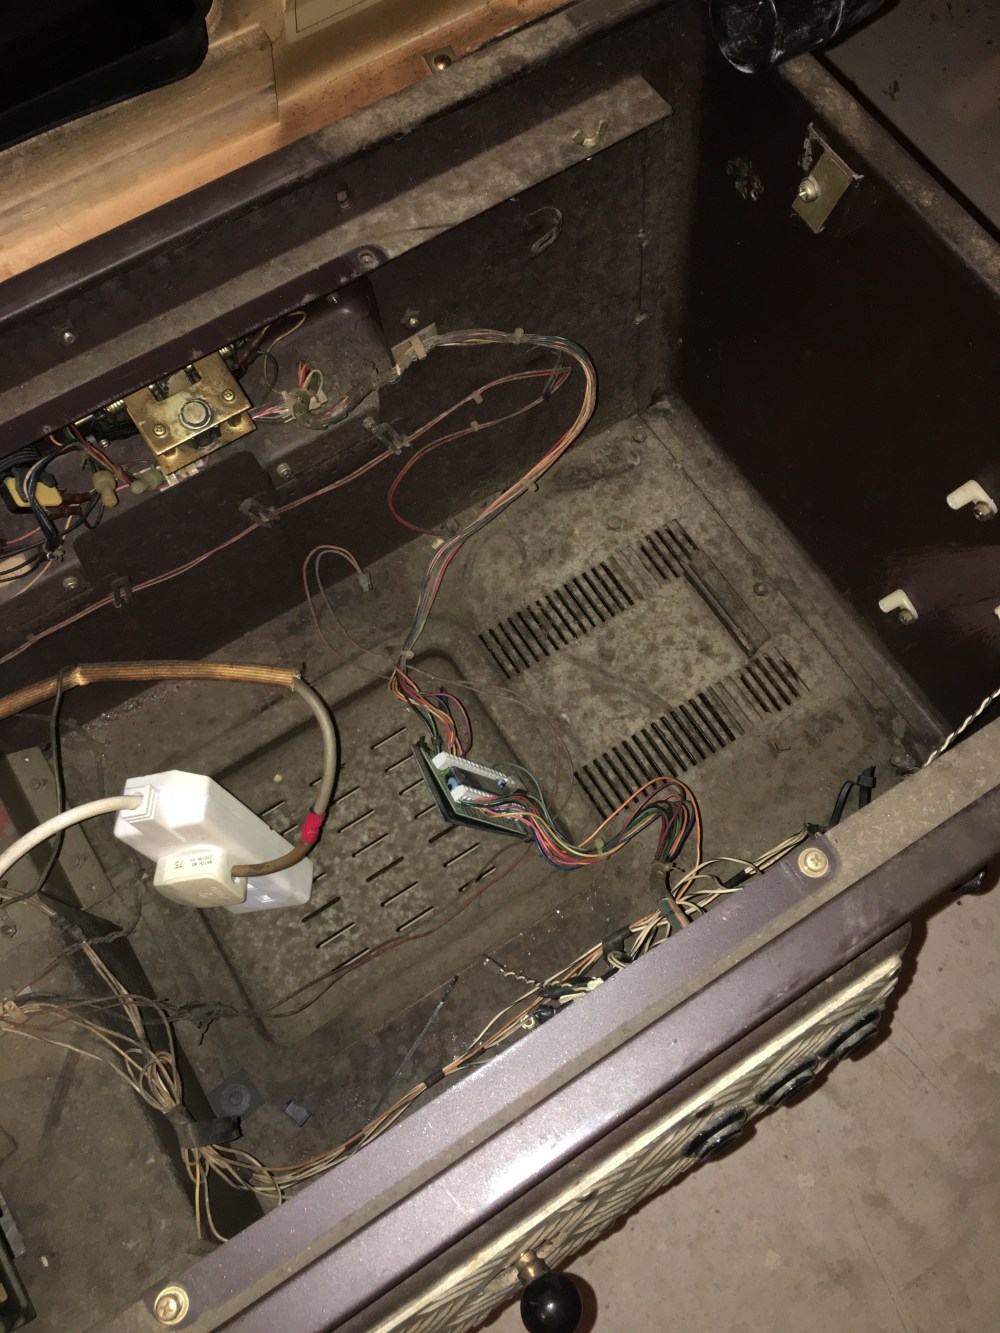
I left the board that the control panels (IPAC) are wired too just incase there’s any chance of saving the looms (so I can quickly work out what cable runs to what). You can see in the above picture the “genius” way of providing power to the original power supply and the ATX power supply connected to the PC components. Oddly, the original power supply was still in the cabinet, but I couldn’t work out what it was supposed to be feeding power to:
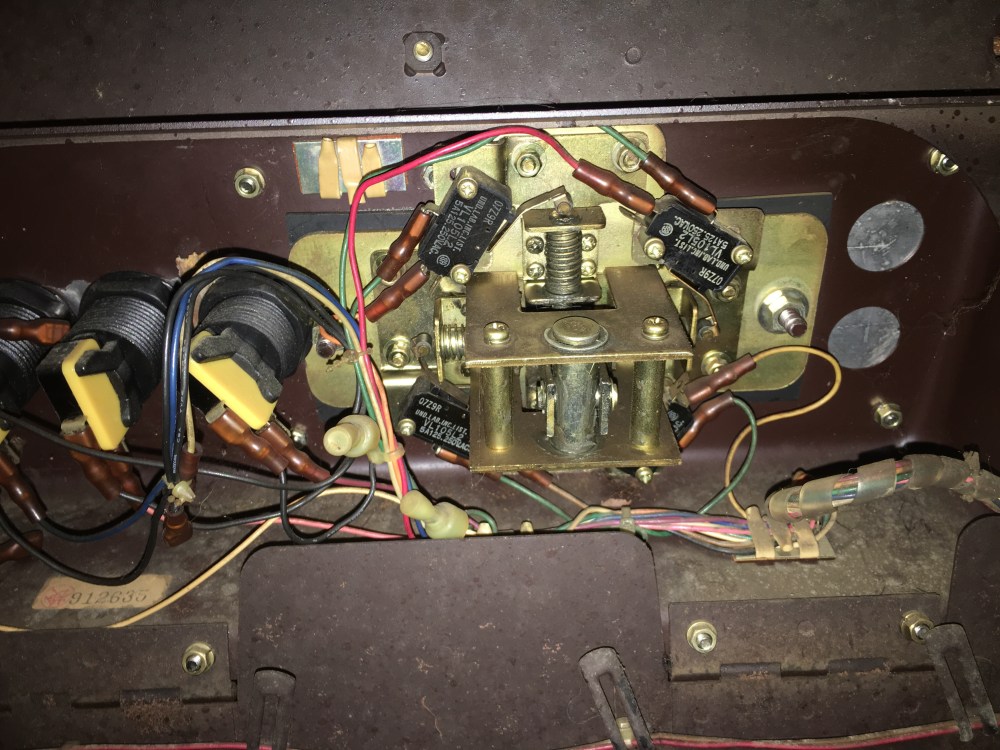
One nice point was that the original (massively over complicated) joysticks were still in the control panels:
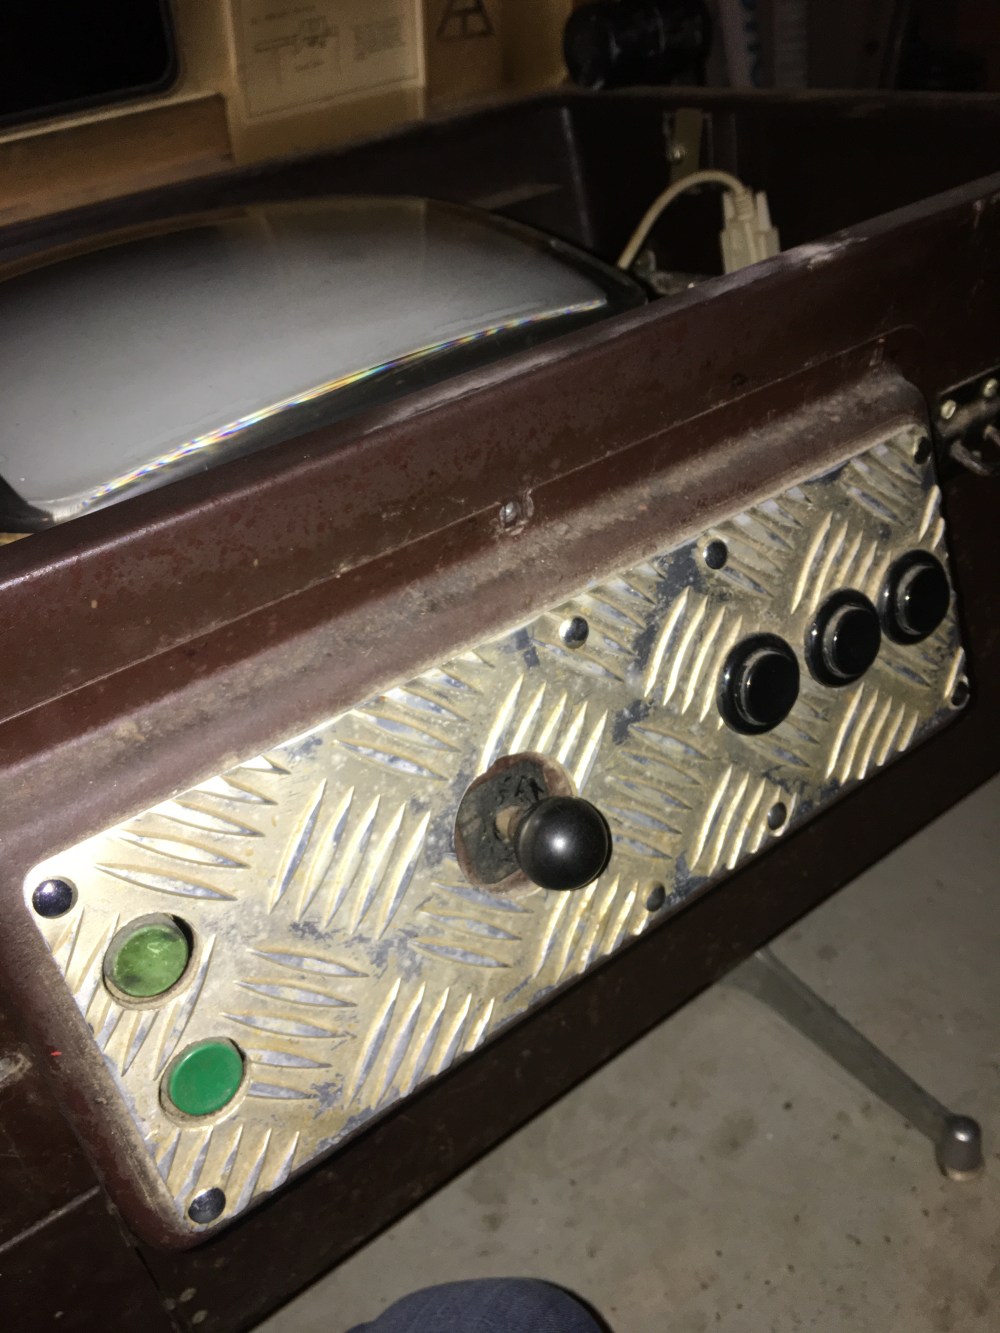
Unfortunately, the cooker dials were long gone. Torn out to make way for three oversized black buttons, clearly installed to compliment the “new” control panel covers:
Luckily, I had another set of Sheriff control panels that came without the original joysticks, but with the all important dials. We’ll make a good set out of two sets!
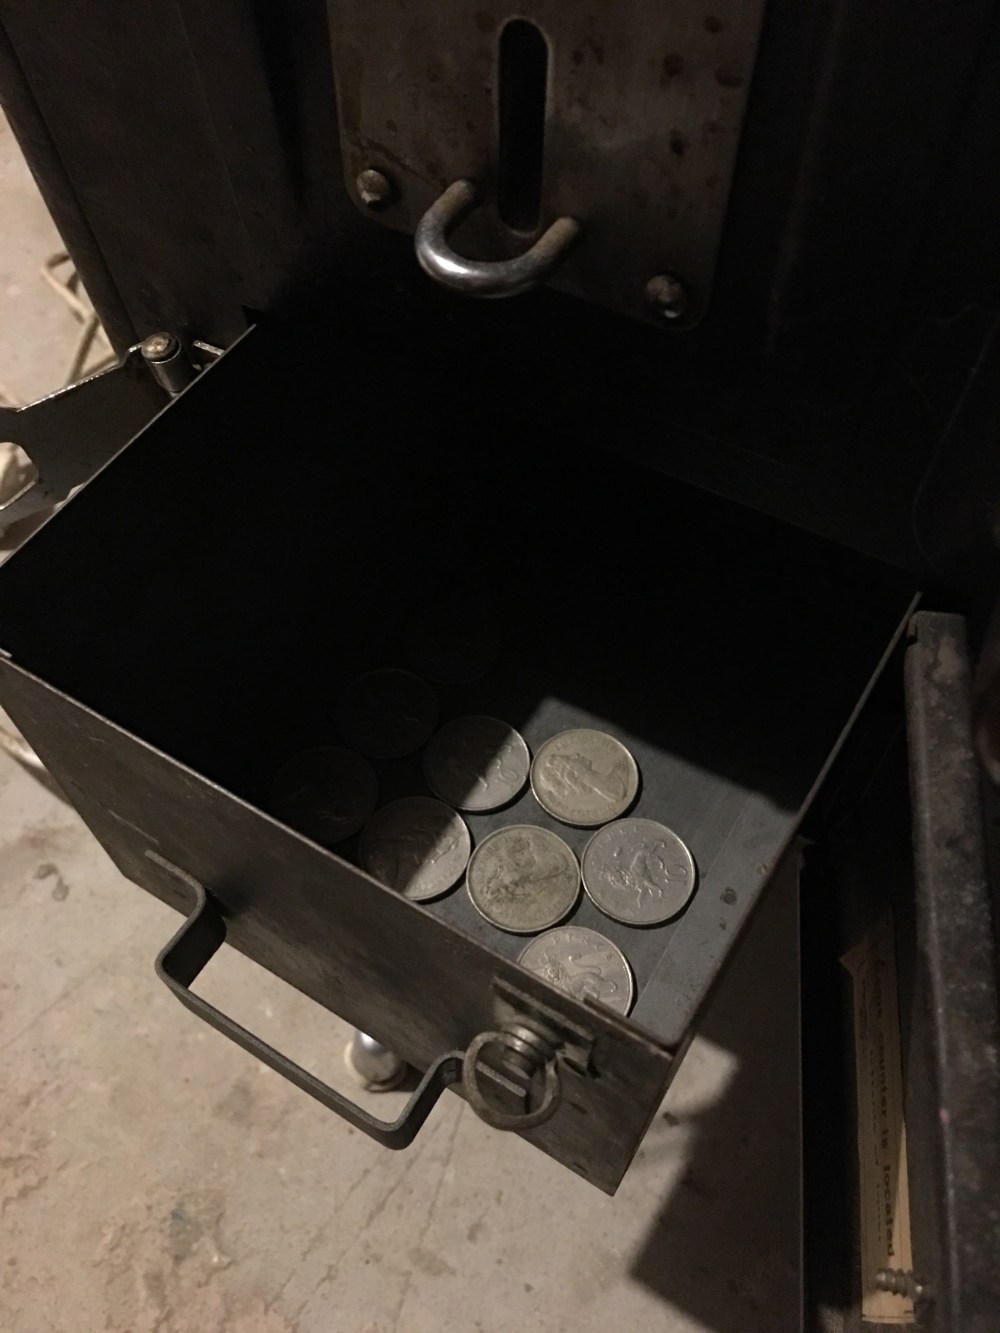
Another nice feature is the inclusion of a coin box (with a few old 10p pieces):
Although I think something may be up with the coin counter, as I’m sure this cabinet hasn’t had this many plays:
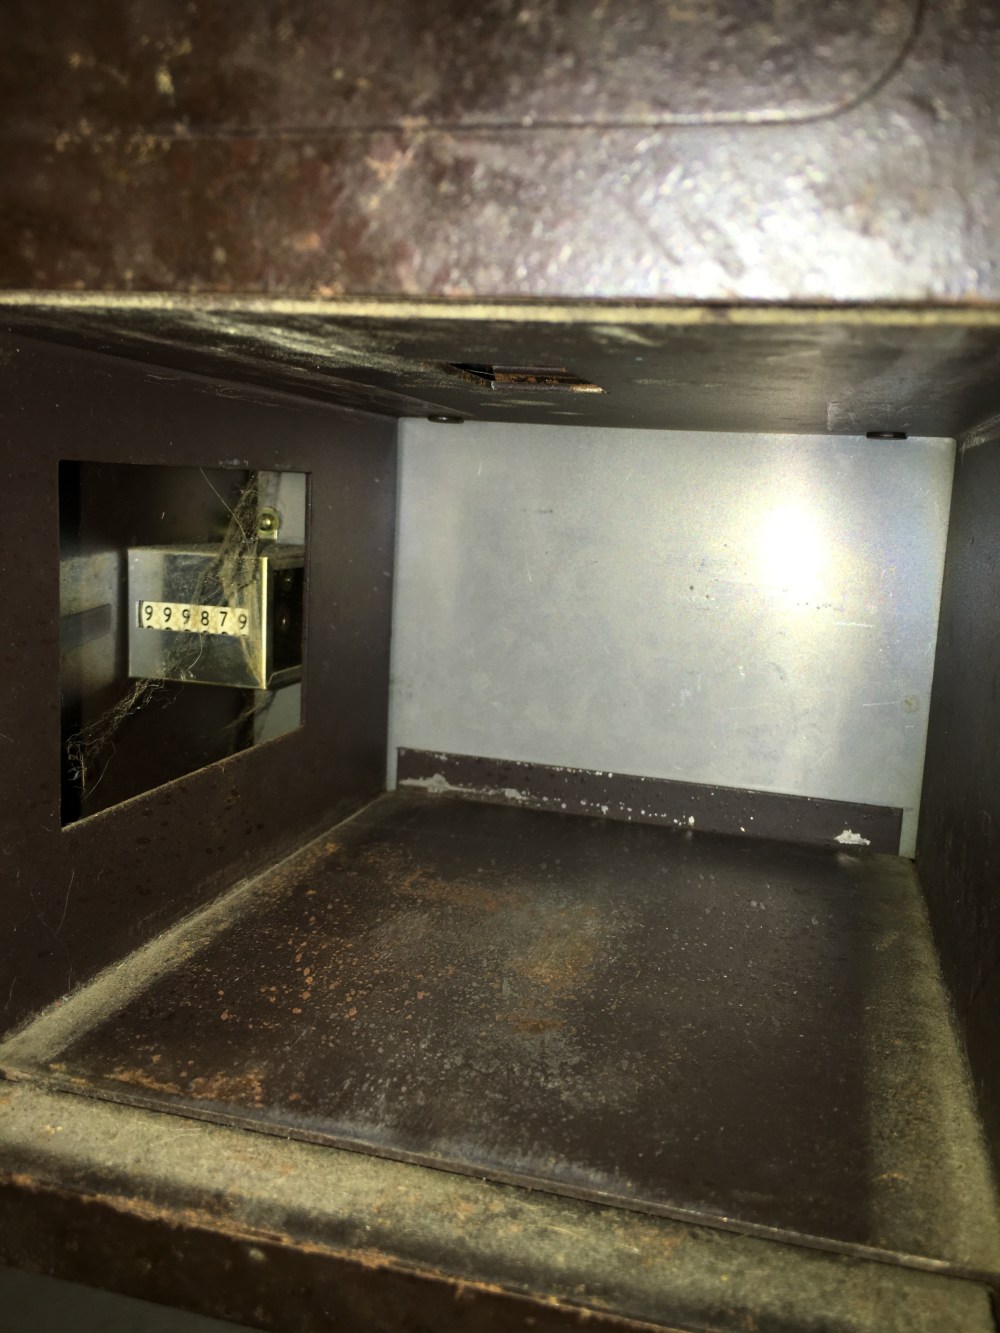
I’m certain it hasn’t had nearly a million plays, not only because of the condition of the cabinet and controls, but mainly because of the beautiful burn-free monitor:

Next step is to strip the entire cab so that I can start to repair the damage caused by all of the additional “security”:
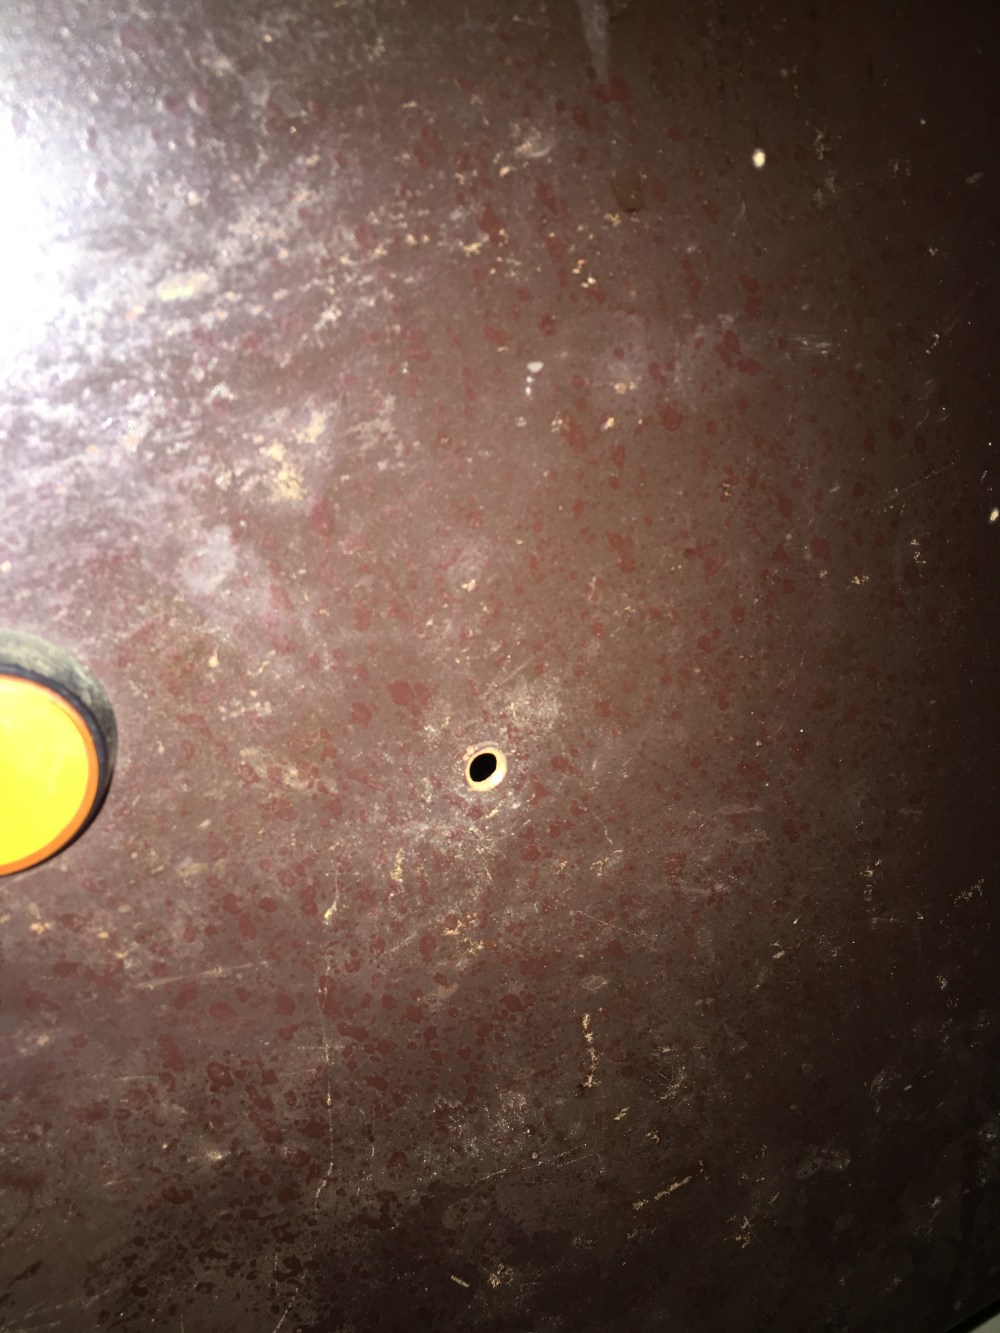
That is a picture of one of many additional holes in the main cabinet body. My current thoughts on how to repair all of the additional holes, is to screw in a similar sized bolt/screw and the cut it off at both sides. That should fill the unsightly holes and possibly just require a small dab of filler/epoxy before the cabinet gets painted/powder coated.
So that’s as far as I got this time around. Everything that shouldn’t be inside this cocktail has been removed and next will be stripping the cabinet completely ready for repair work and paint.
