As the Sheriff cocktail was nearly empty, I decided that I’d spend a couple of hours finishing off removing every thing.
As we saw in the previous post, a lot of additions were included in this cocktail. I’d torn out all of the PC parts (and took them to our local recycling centre today!) and was left with a few parts of additional wiring.
Out came my trusty lid prop again:

I set about removing everything from the cabinet so that I could work out what needed repairing/replacing. I wanted to ensure I had all of the pieces of the puzzle before I started the rebuild.
This is the stage I left it at last time:
And after a few minutes we were at this stage:

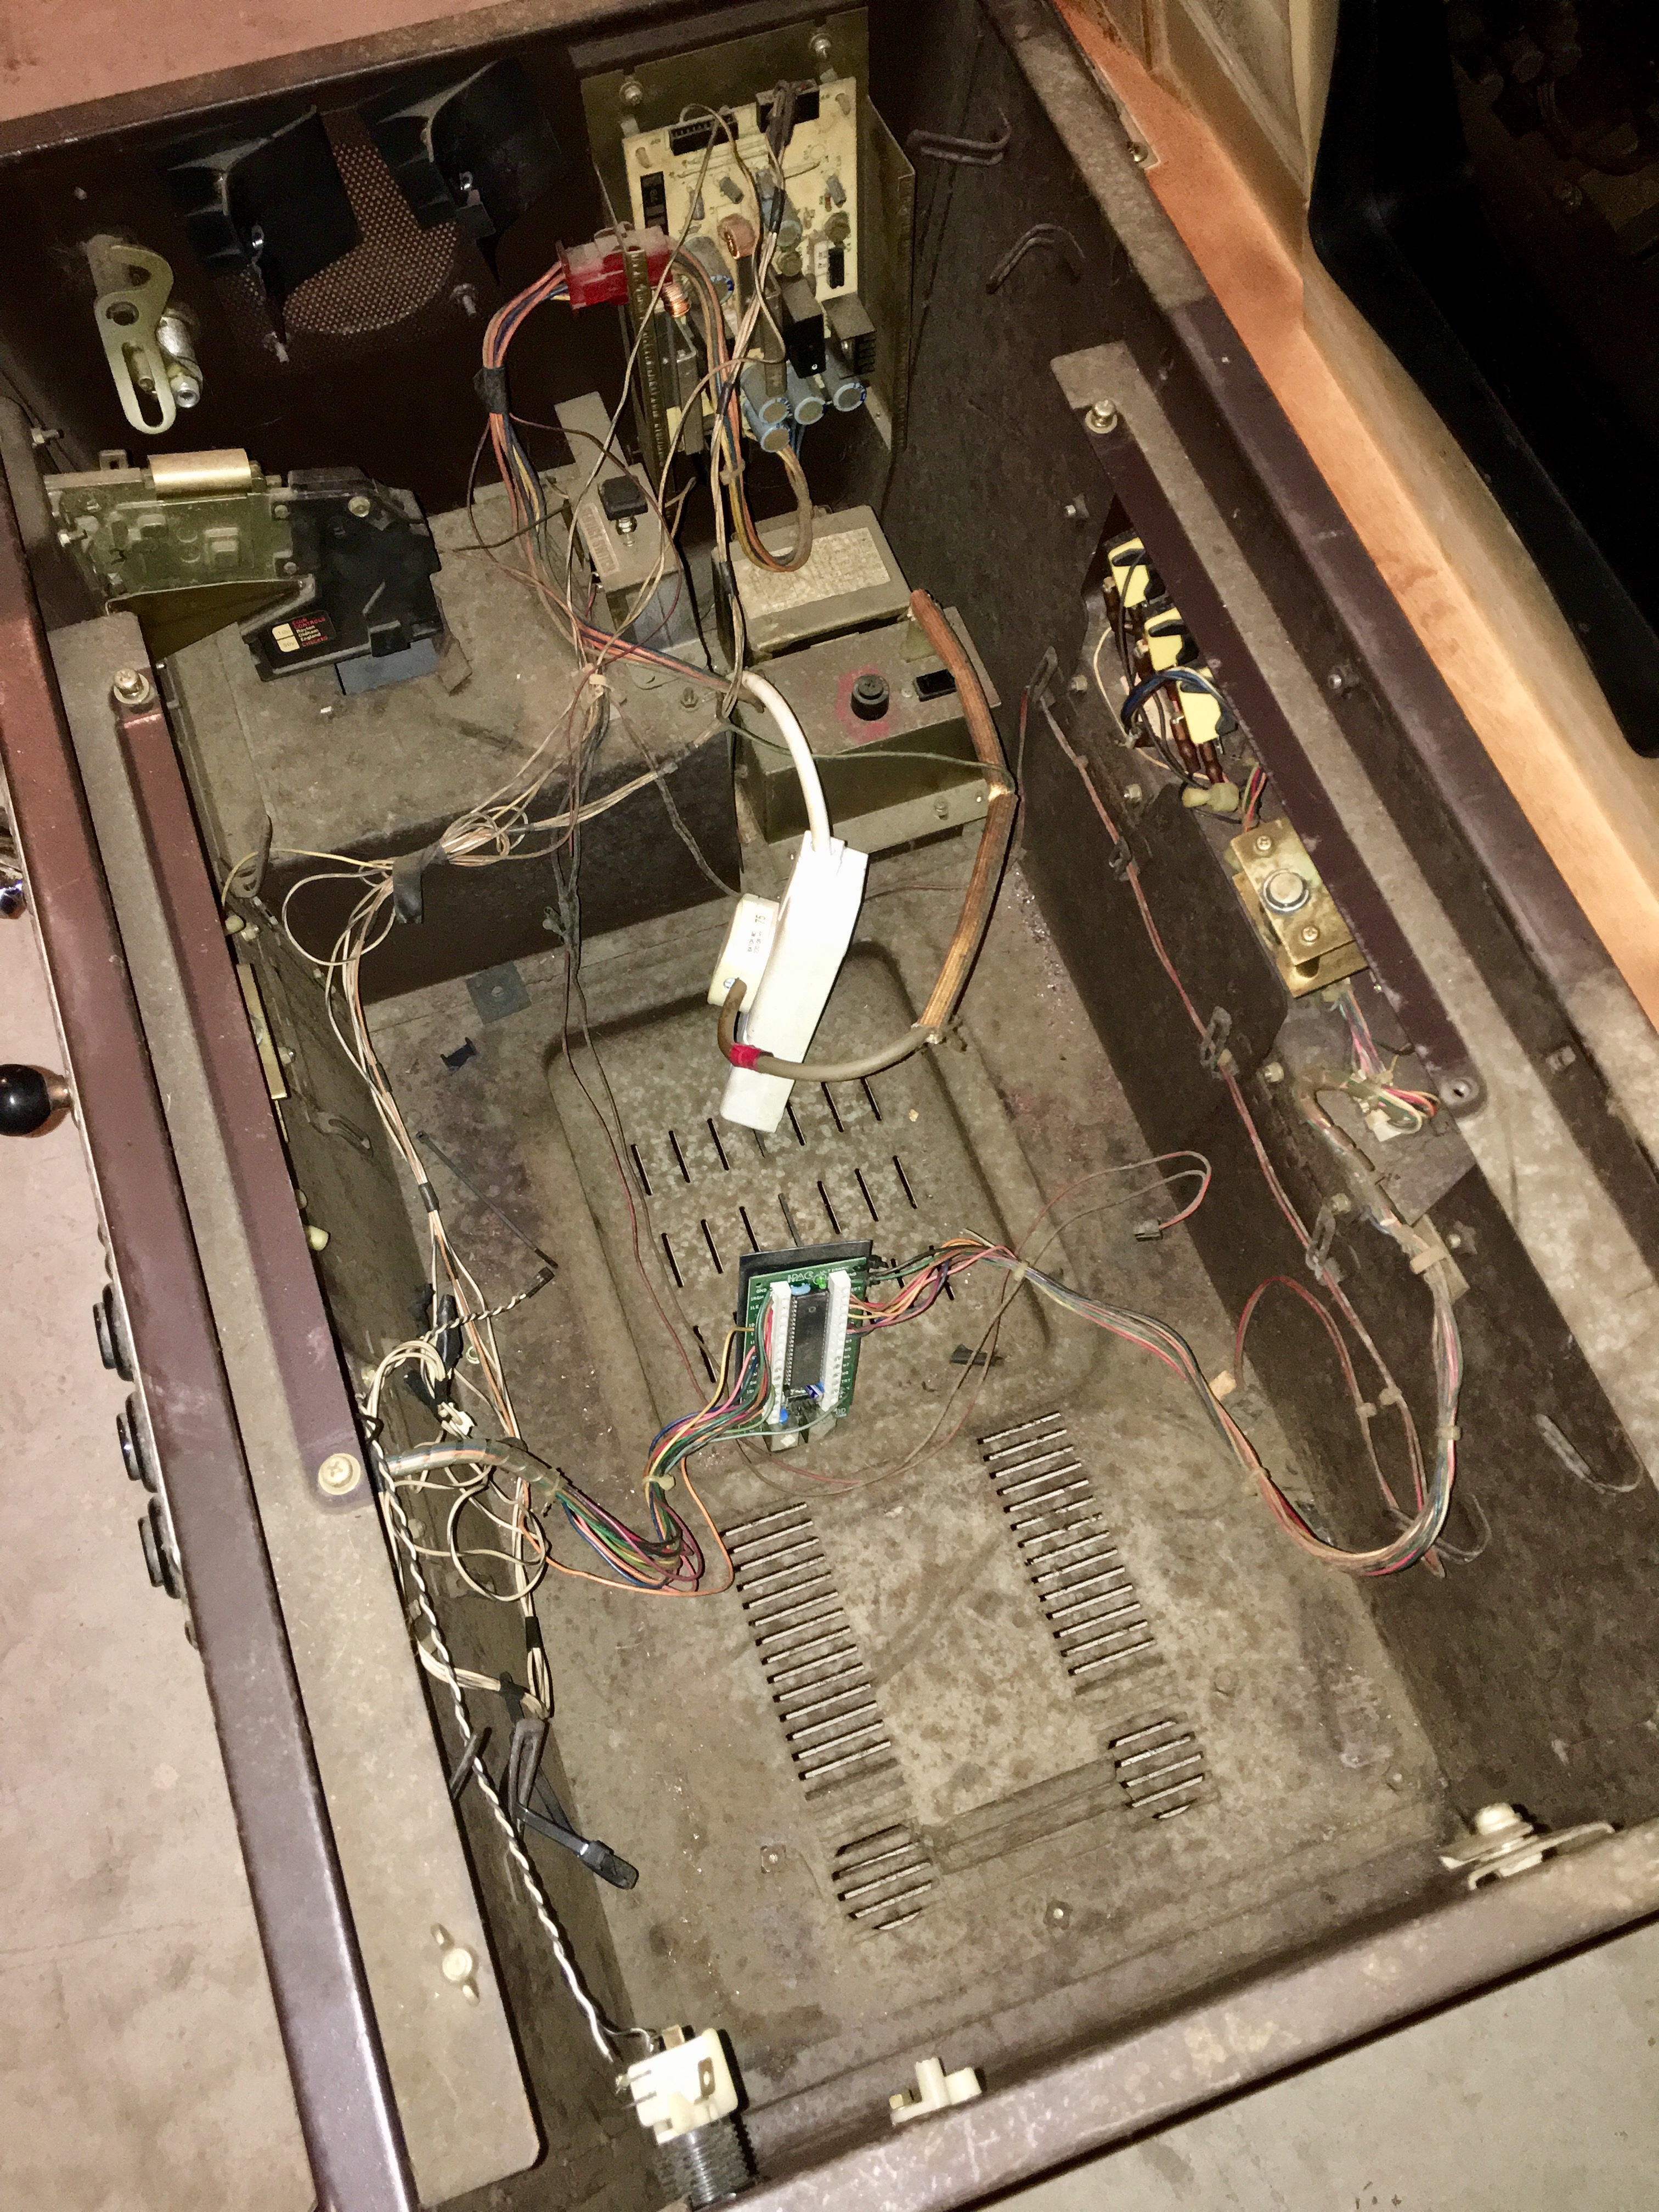
That was everything bar the coin mech removed. I couldn’t get over how filthy the inside of this cab was. It had obviously had a long stint sat in a smokey pub, going by the stinking brown, tobacco dust that coated every surface.
The original power brick appeared complete, but is definitely going to need a good clean:
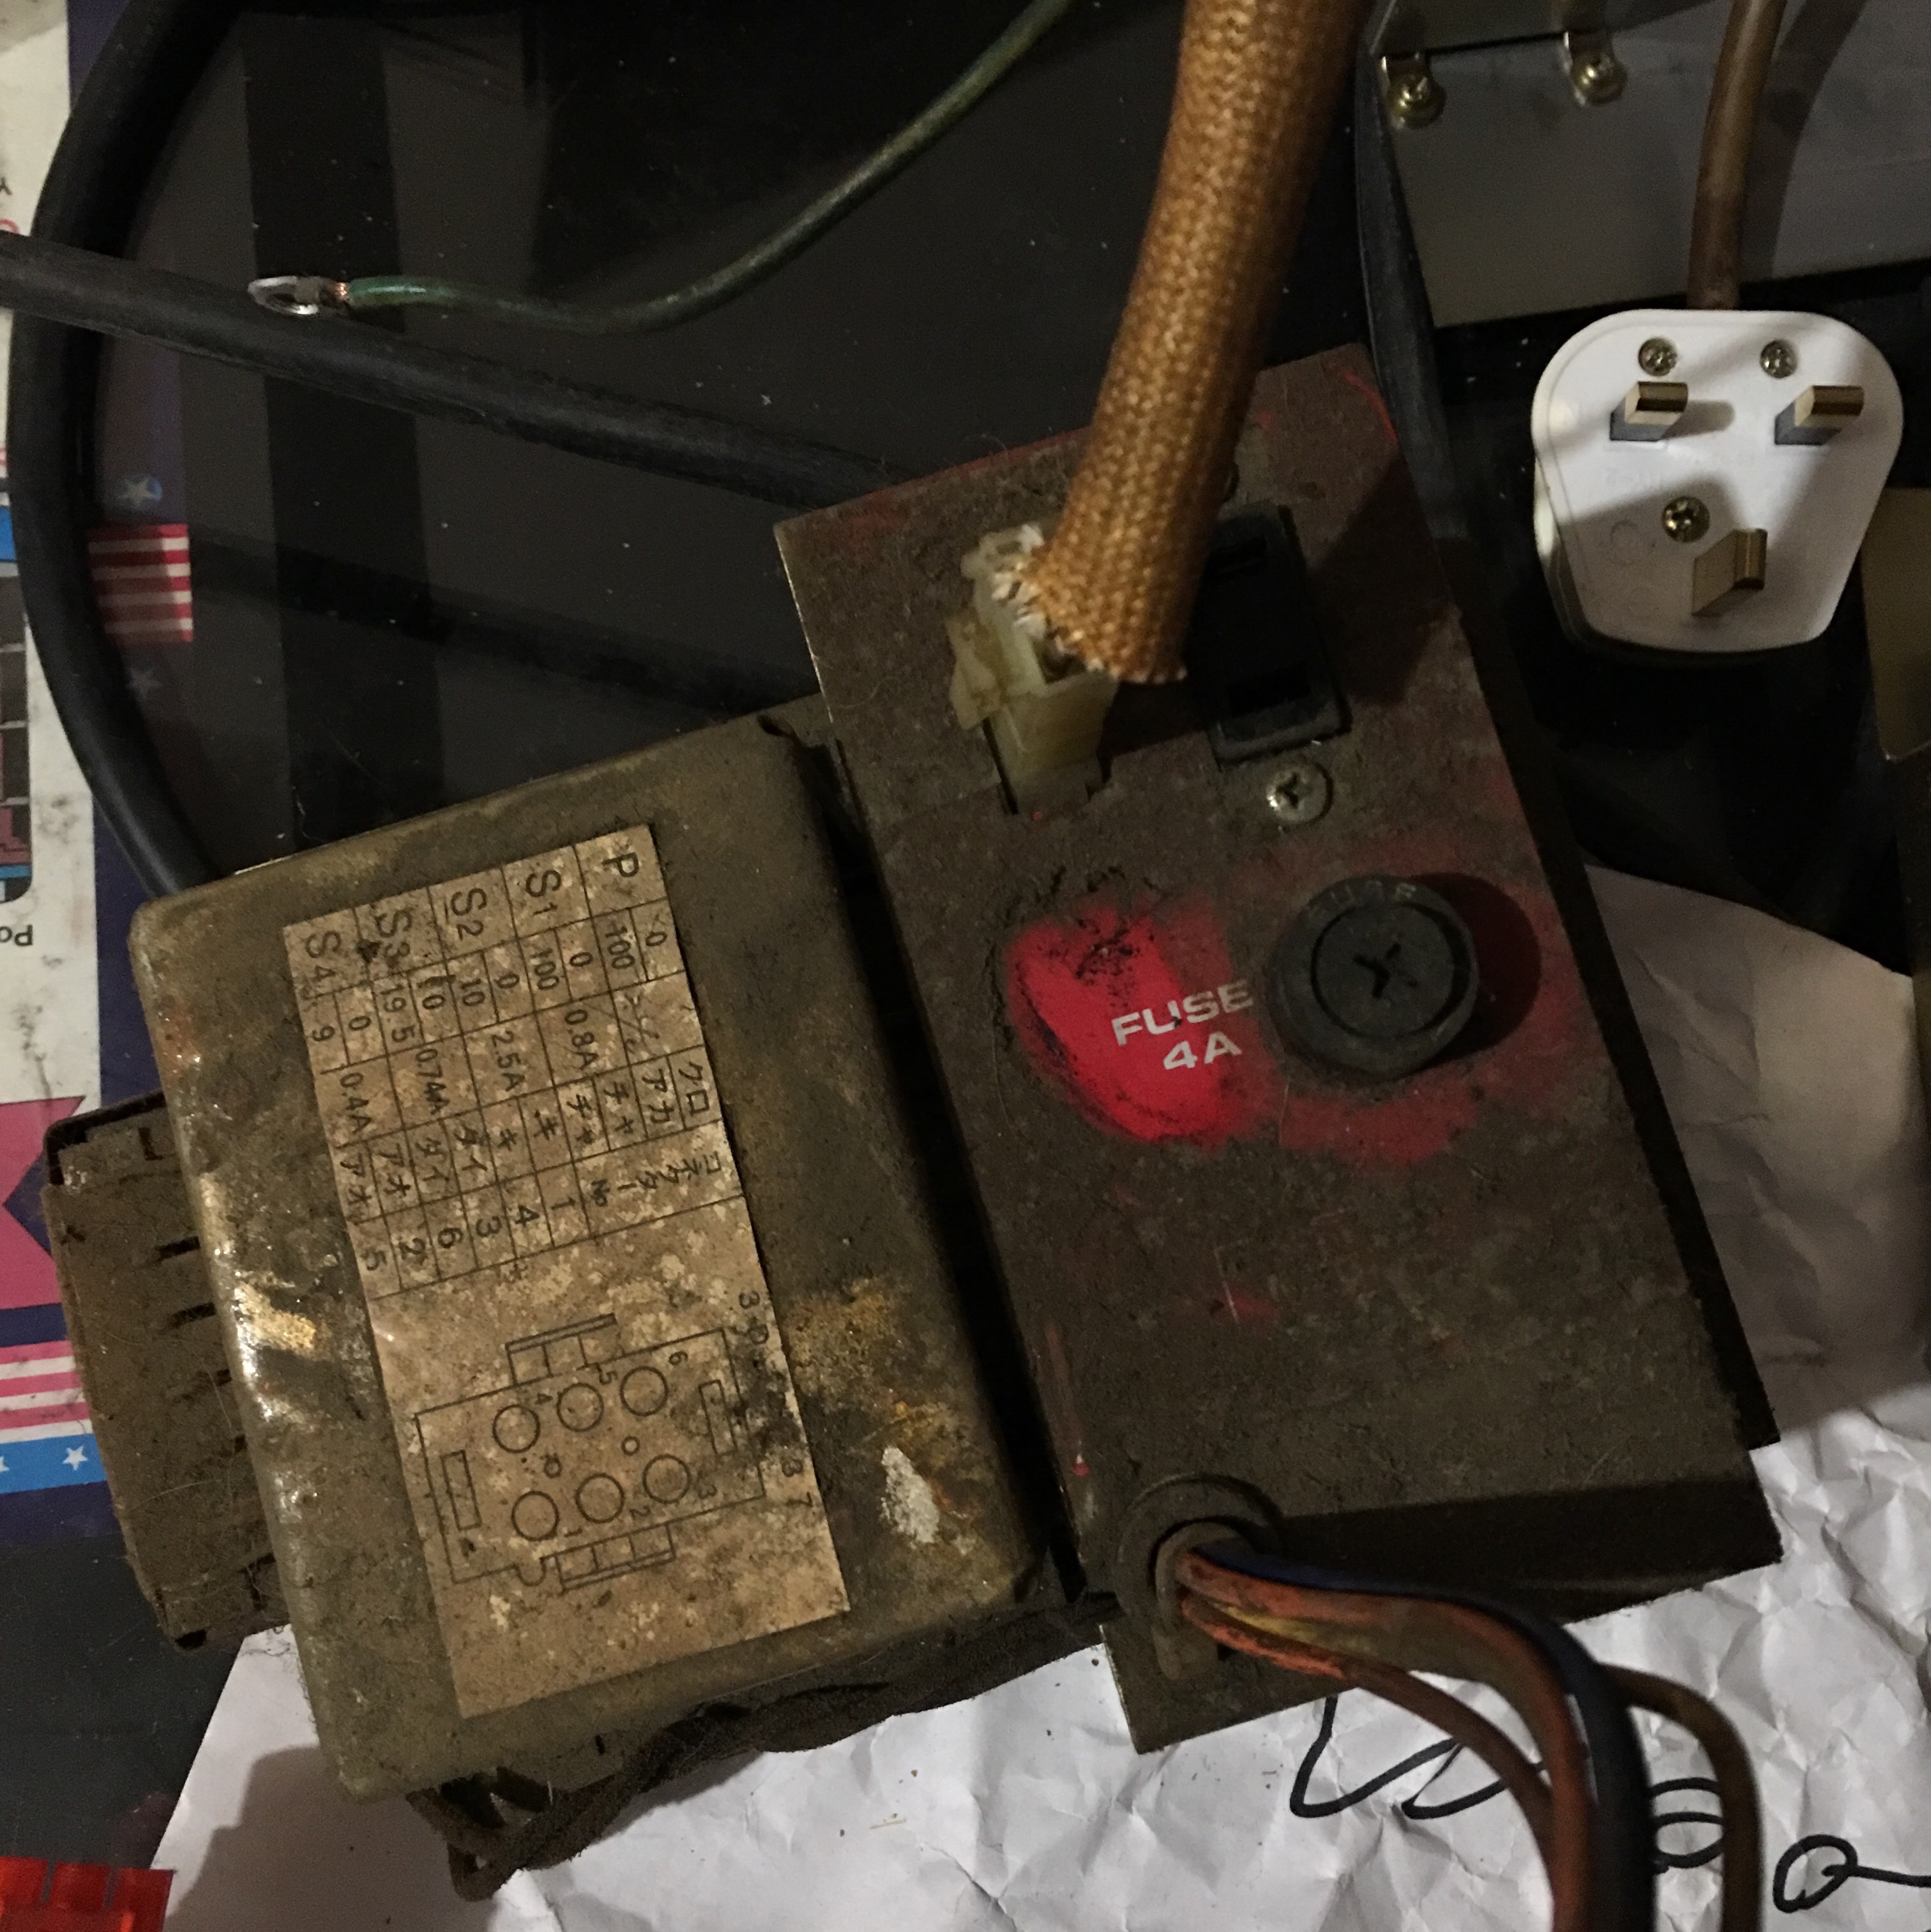

Nothing a bit of soapy water and elbow grease won’t be able to sort!
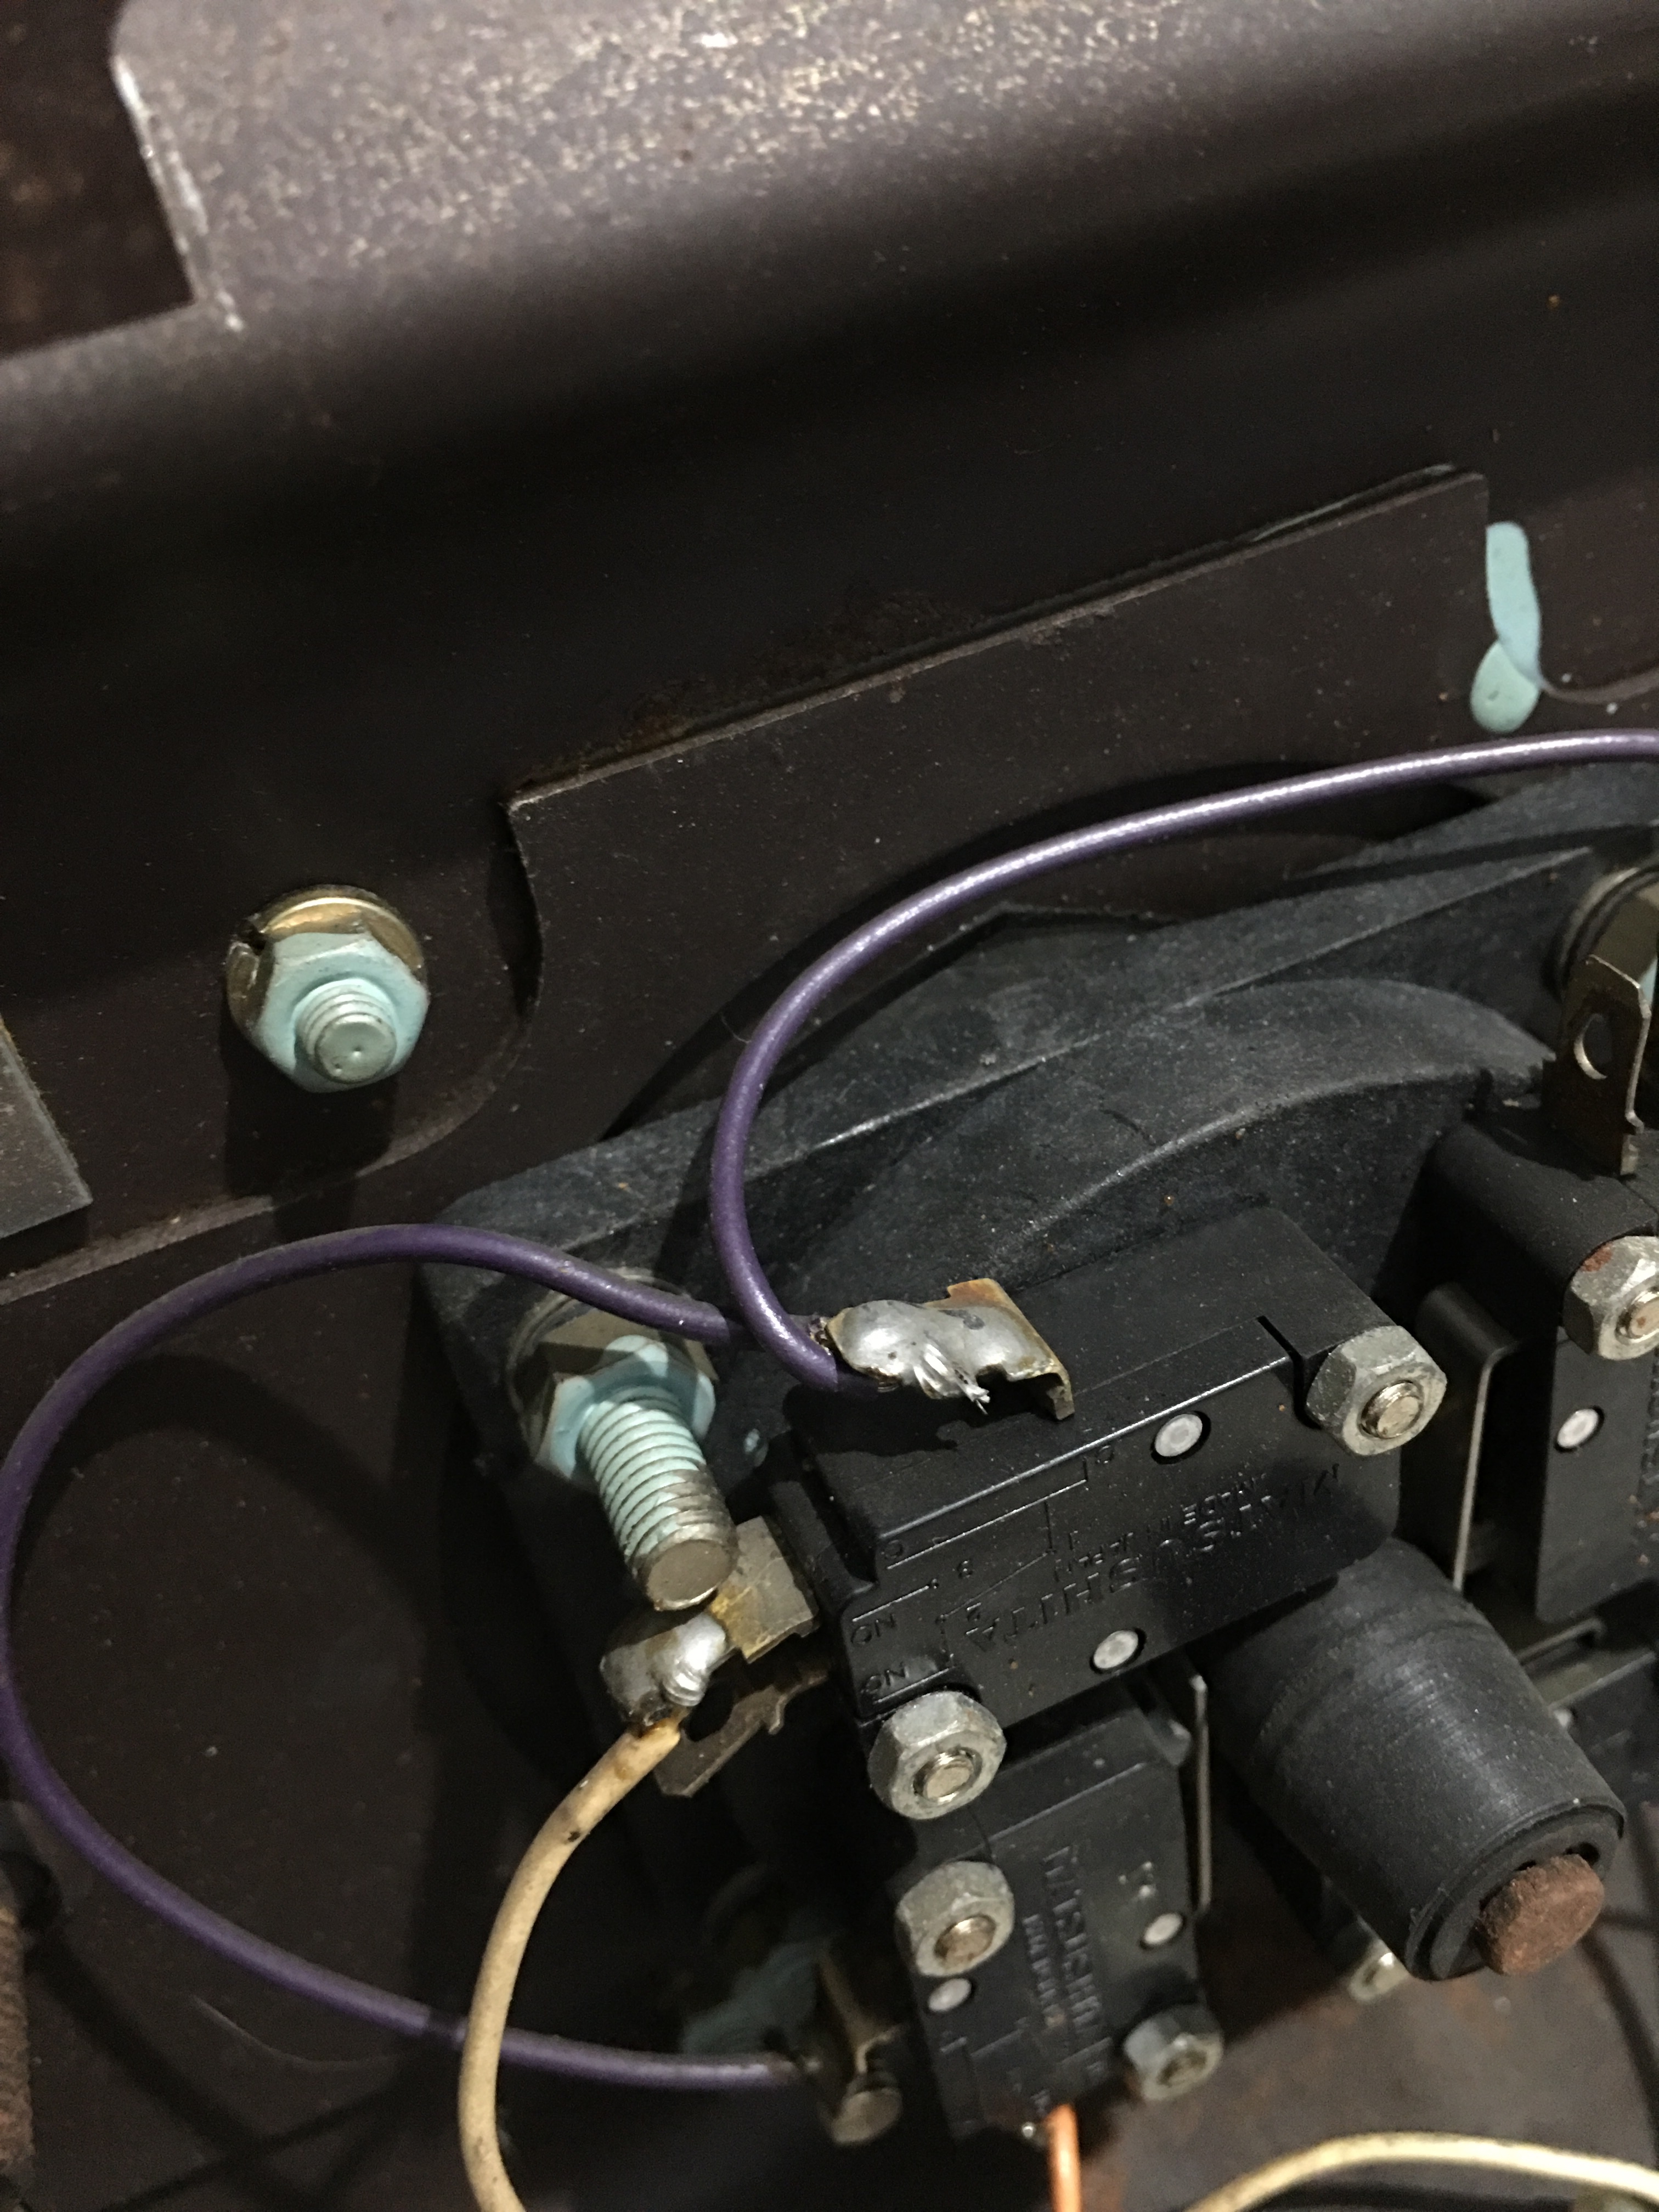
The original power supply was also still in the cabinet, although missing its cover. Going by the wiring in the cabinet, this was still providing power to something:

These power supplies are notorious for failing catastrophically and taking out boardsets with them. I’ll be testing this thoroughly before connecting any game boards to it!
Now that everything was out of the cocktail, it was time to assess what I had, what I needed to repair and what was missing. I knew that the looms in both of the Sheriff cocktails I’d picked up were in differing states of hacked! Luckily one of the cabinets came with a spare “Sheriff” loom. Now my inclusion of quotation marks is because I wasn’t completely certain that this loom did come from a Sheriff cabinet. The main cause of my skepticism were the non-Nintendo looking wiring and connectors mixed in with familiar looking loom parts:

I’ve worked on a few Nintendo arcades now and not once seen striped wiring. After a bit of Googling, it appears that this loom belonged to a Bell Fruit version of Sheriff. Bell Fruit were a British arcade cabinet maker who were licensed to distribute Nintendo games. As they were using Nintendo PCBs in their cabinets, there were a lot of Nintendo parts used. I worked through the loom, identifying all the genuine Nintendo parts and separated them out. I was left with everything I’d need to rebuild a full loom for my Sheriff cocktail:

As I mentioned in the first Sheriff post, the Sheriff and Donkey Kong cocktail share identical looms for the control panels (bar a couple of additional wires for Sheriff), so control panel looms won’t be an issue.
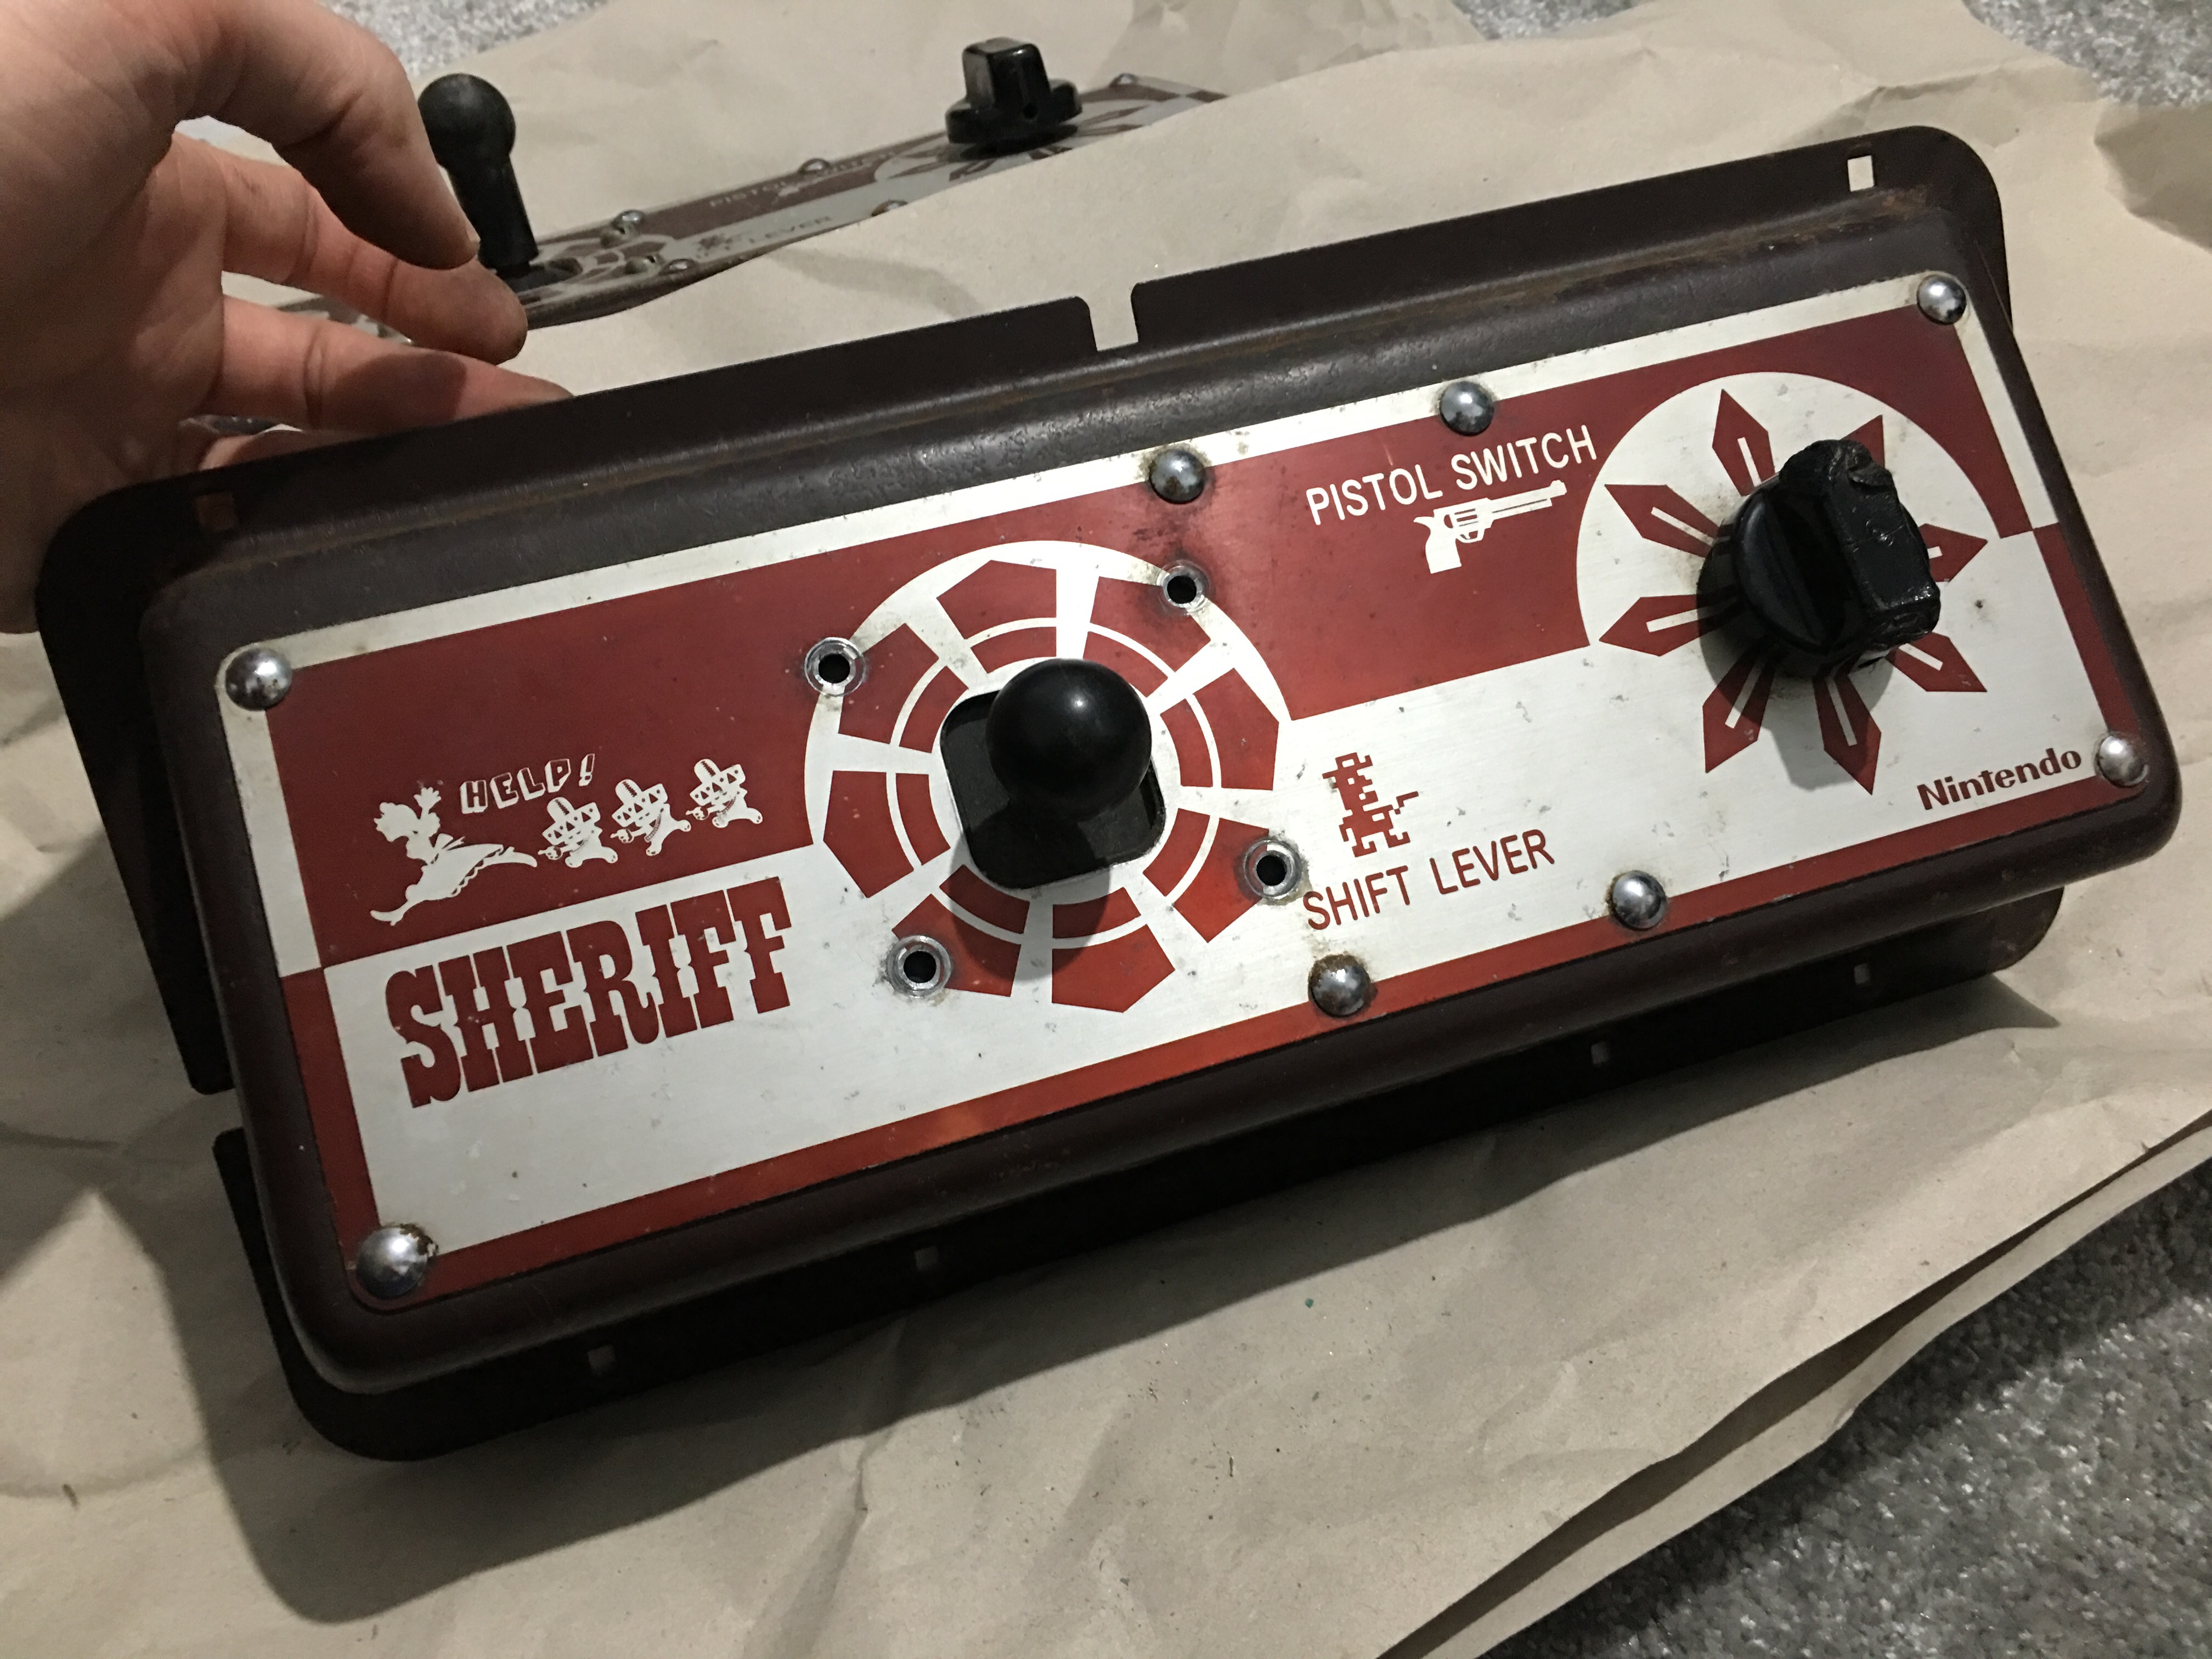
Talking of control panels, this was my next step. I needed to make sure I had everything I needed to build two, full functional control panels. Considering the controls for Sheriff are exclusive to this game, finding replacements was going to be no easy task.
I set about removing the aftermarket joysticks from my second set of control panels. These are the ones that have unfortunately been held in place by screws, screwed straight through the control panel overlay:

Its a real shame as the overlays are pretty much perfect aside from these.
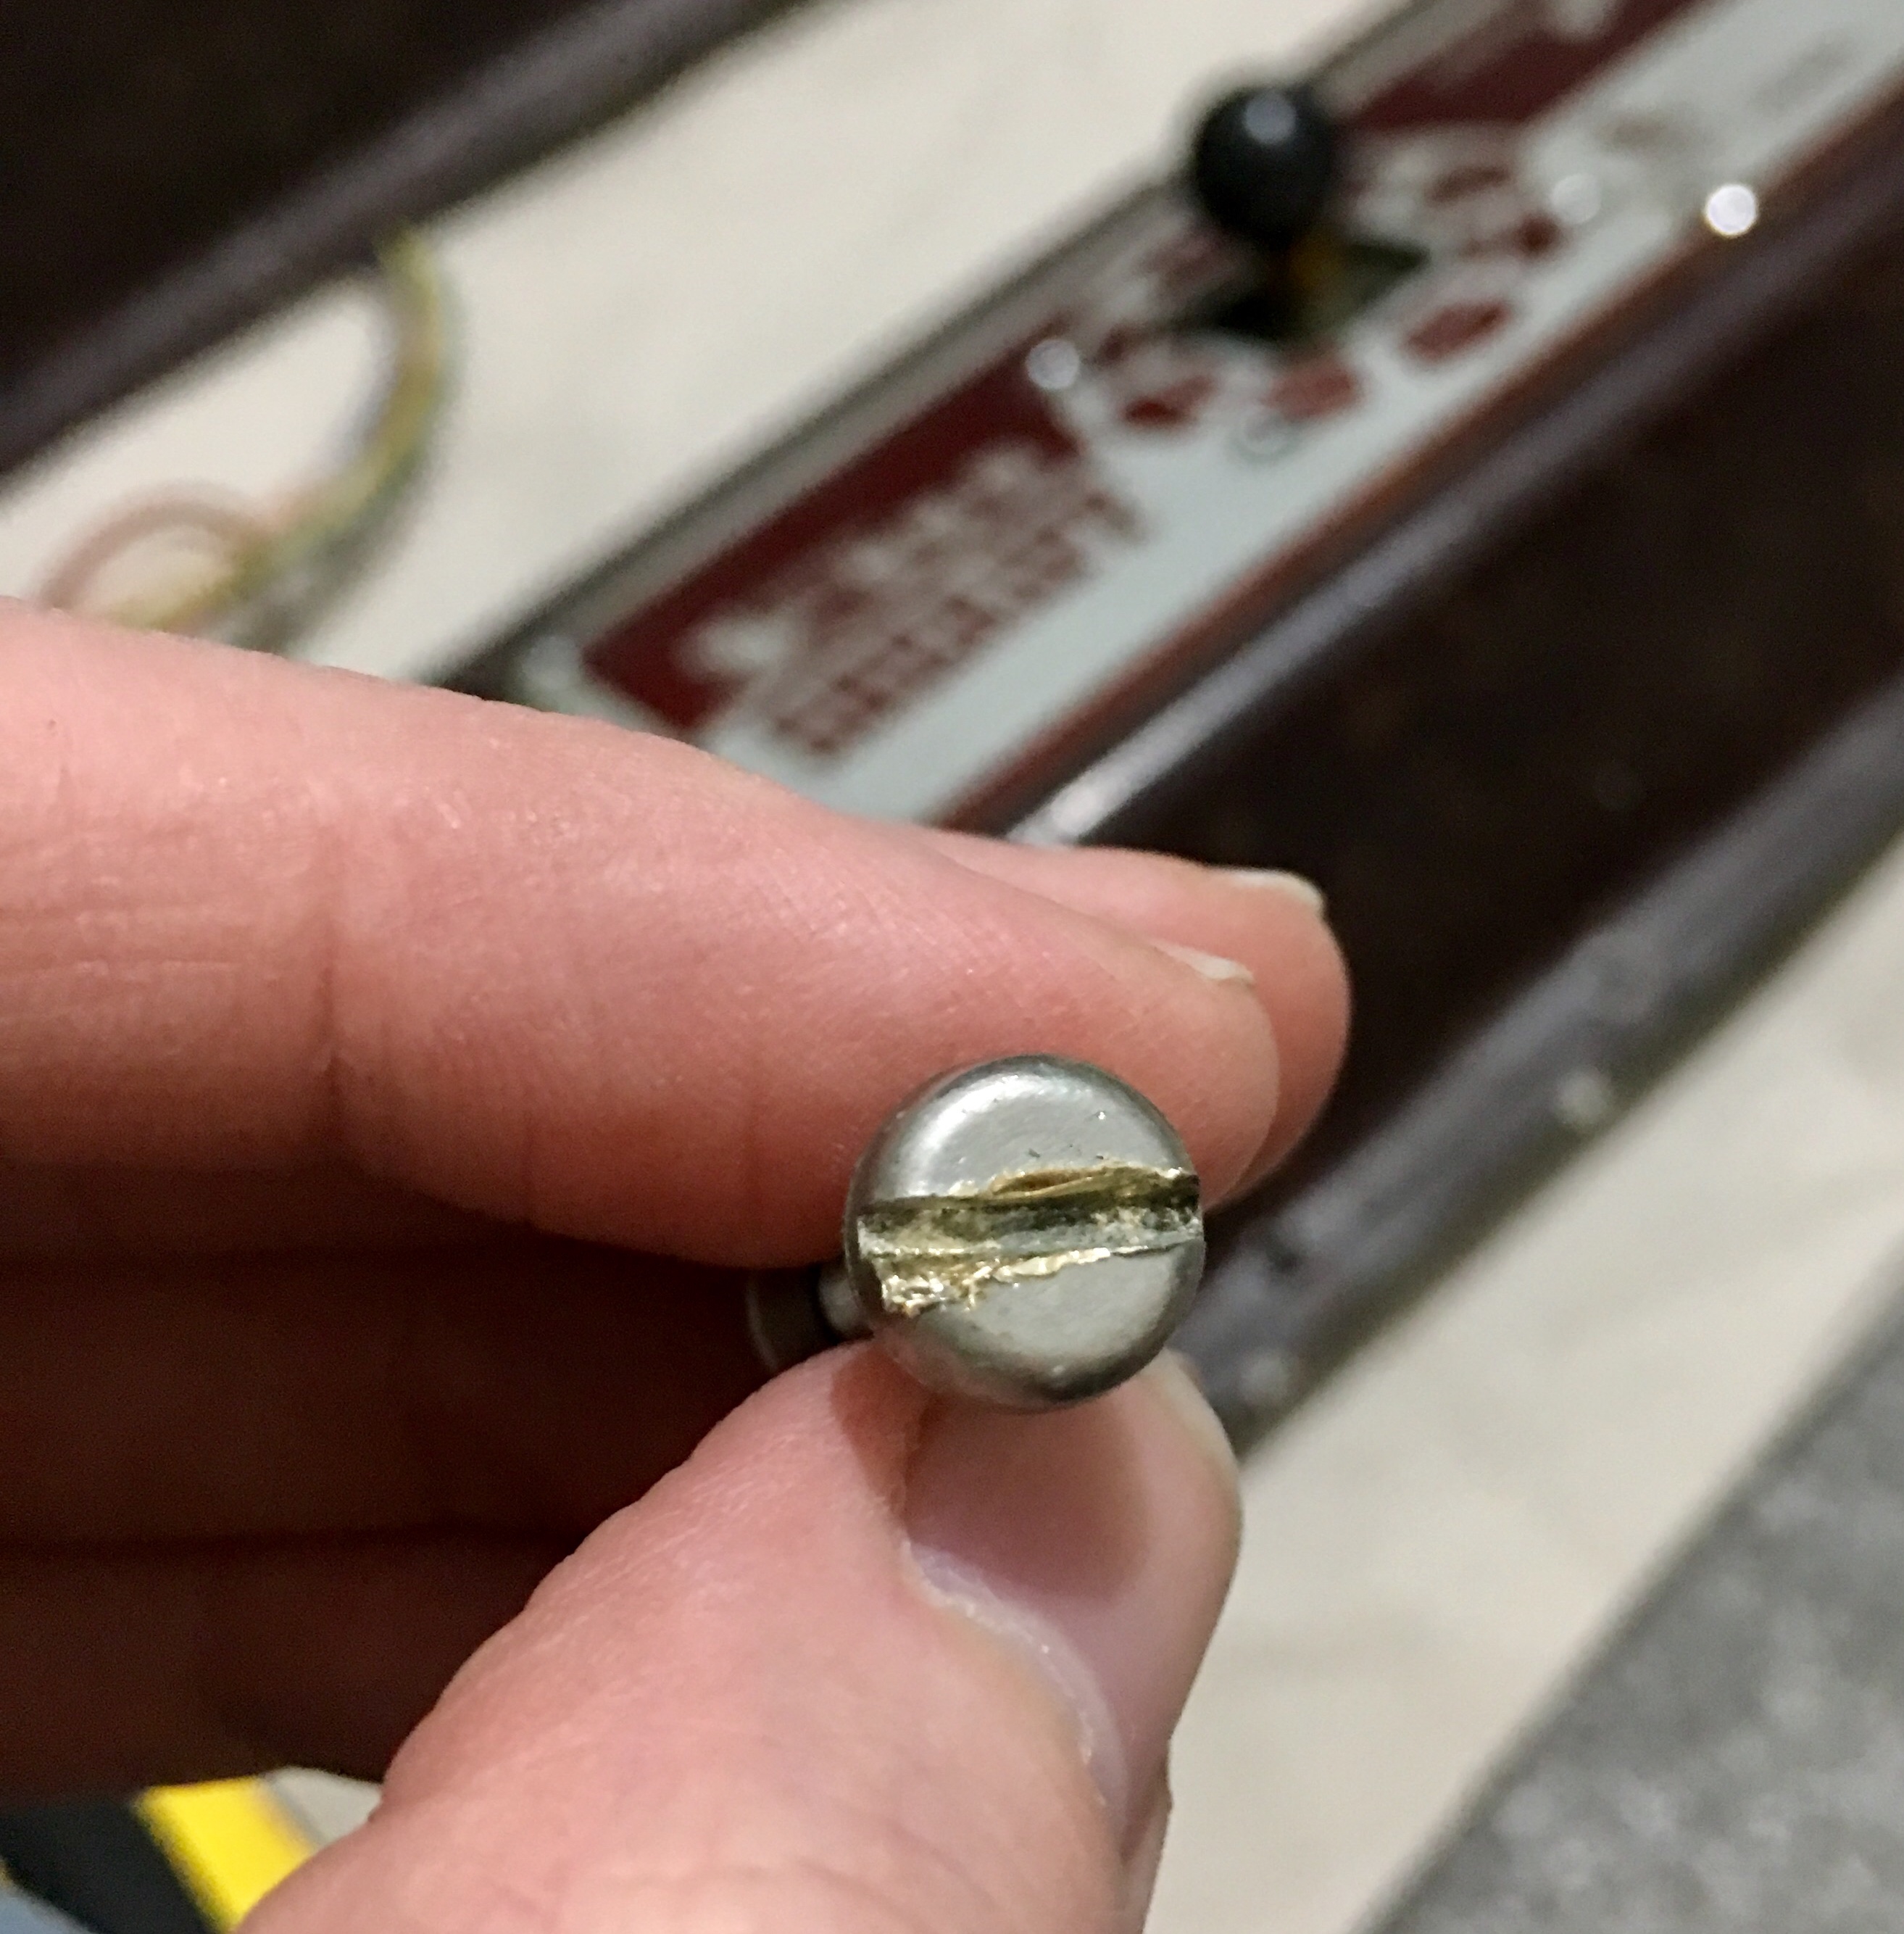
So I started removing the screws for the joystick, holding the nuts at the back of the joystick and slowly unscrewing the screws from the front. As is always the way, this wasn’t an easy task! Whoever fitted the joystick, was a big fan of thread-lock:

They also clearly didn’t like spade connectors and much preferred soldering wires straight to the switches:
All in all, a big mess that needed undoing. So after a few choice words and some careful unscrewing, the joystick was free. It did leave behind a painful reminder of its presence though:

So the next step was to remove the original joystick from the control panels that were on this cocktail. Now you may remember the three big black buttons included on these panels. As I turned over the control panel, it was apparent I’d have to remove the button closest to the joystick as the nut holding it in place was partially covering part of the joystick:
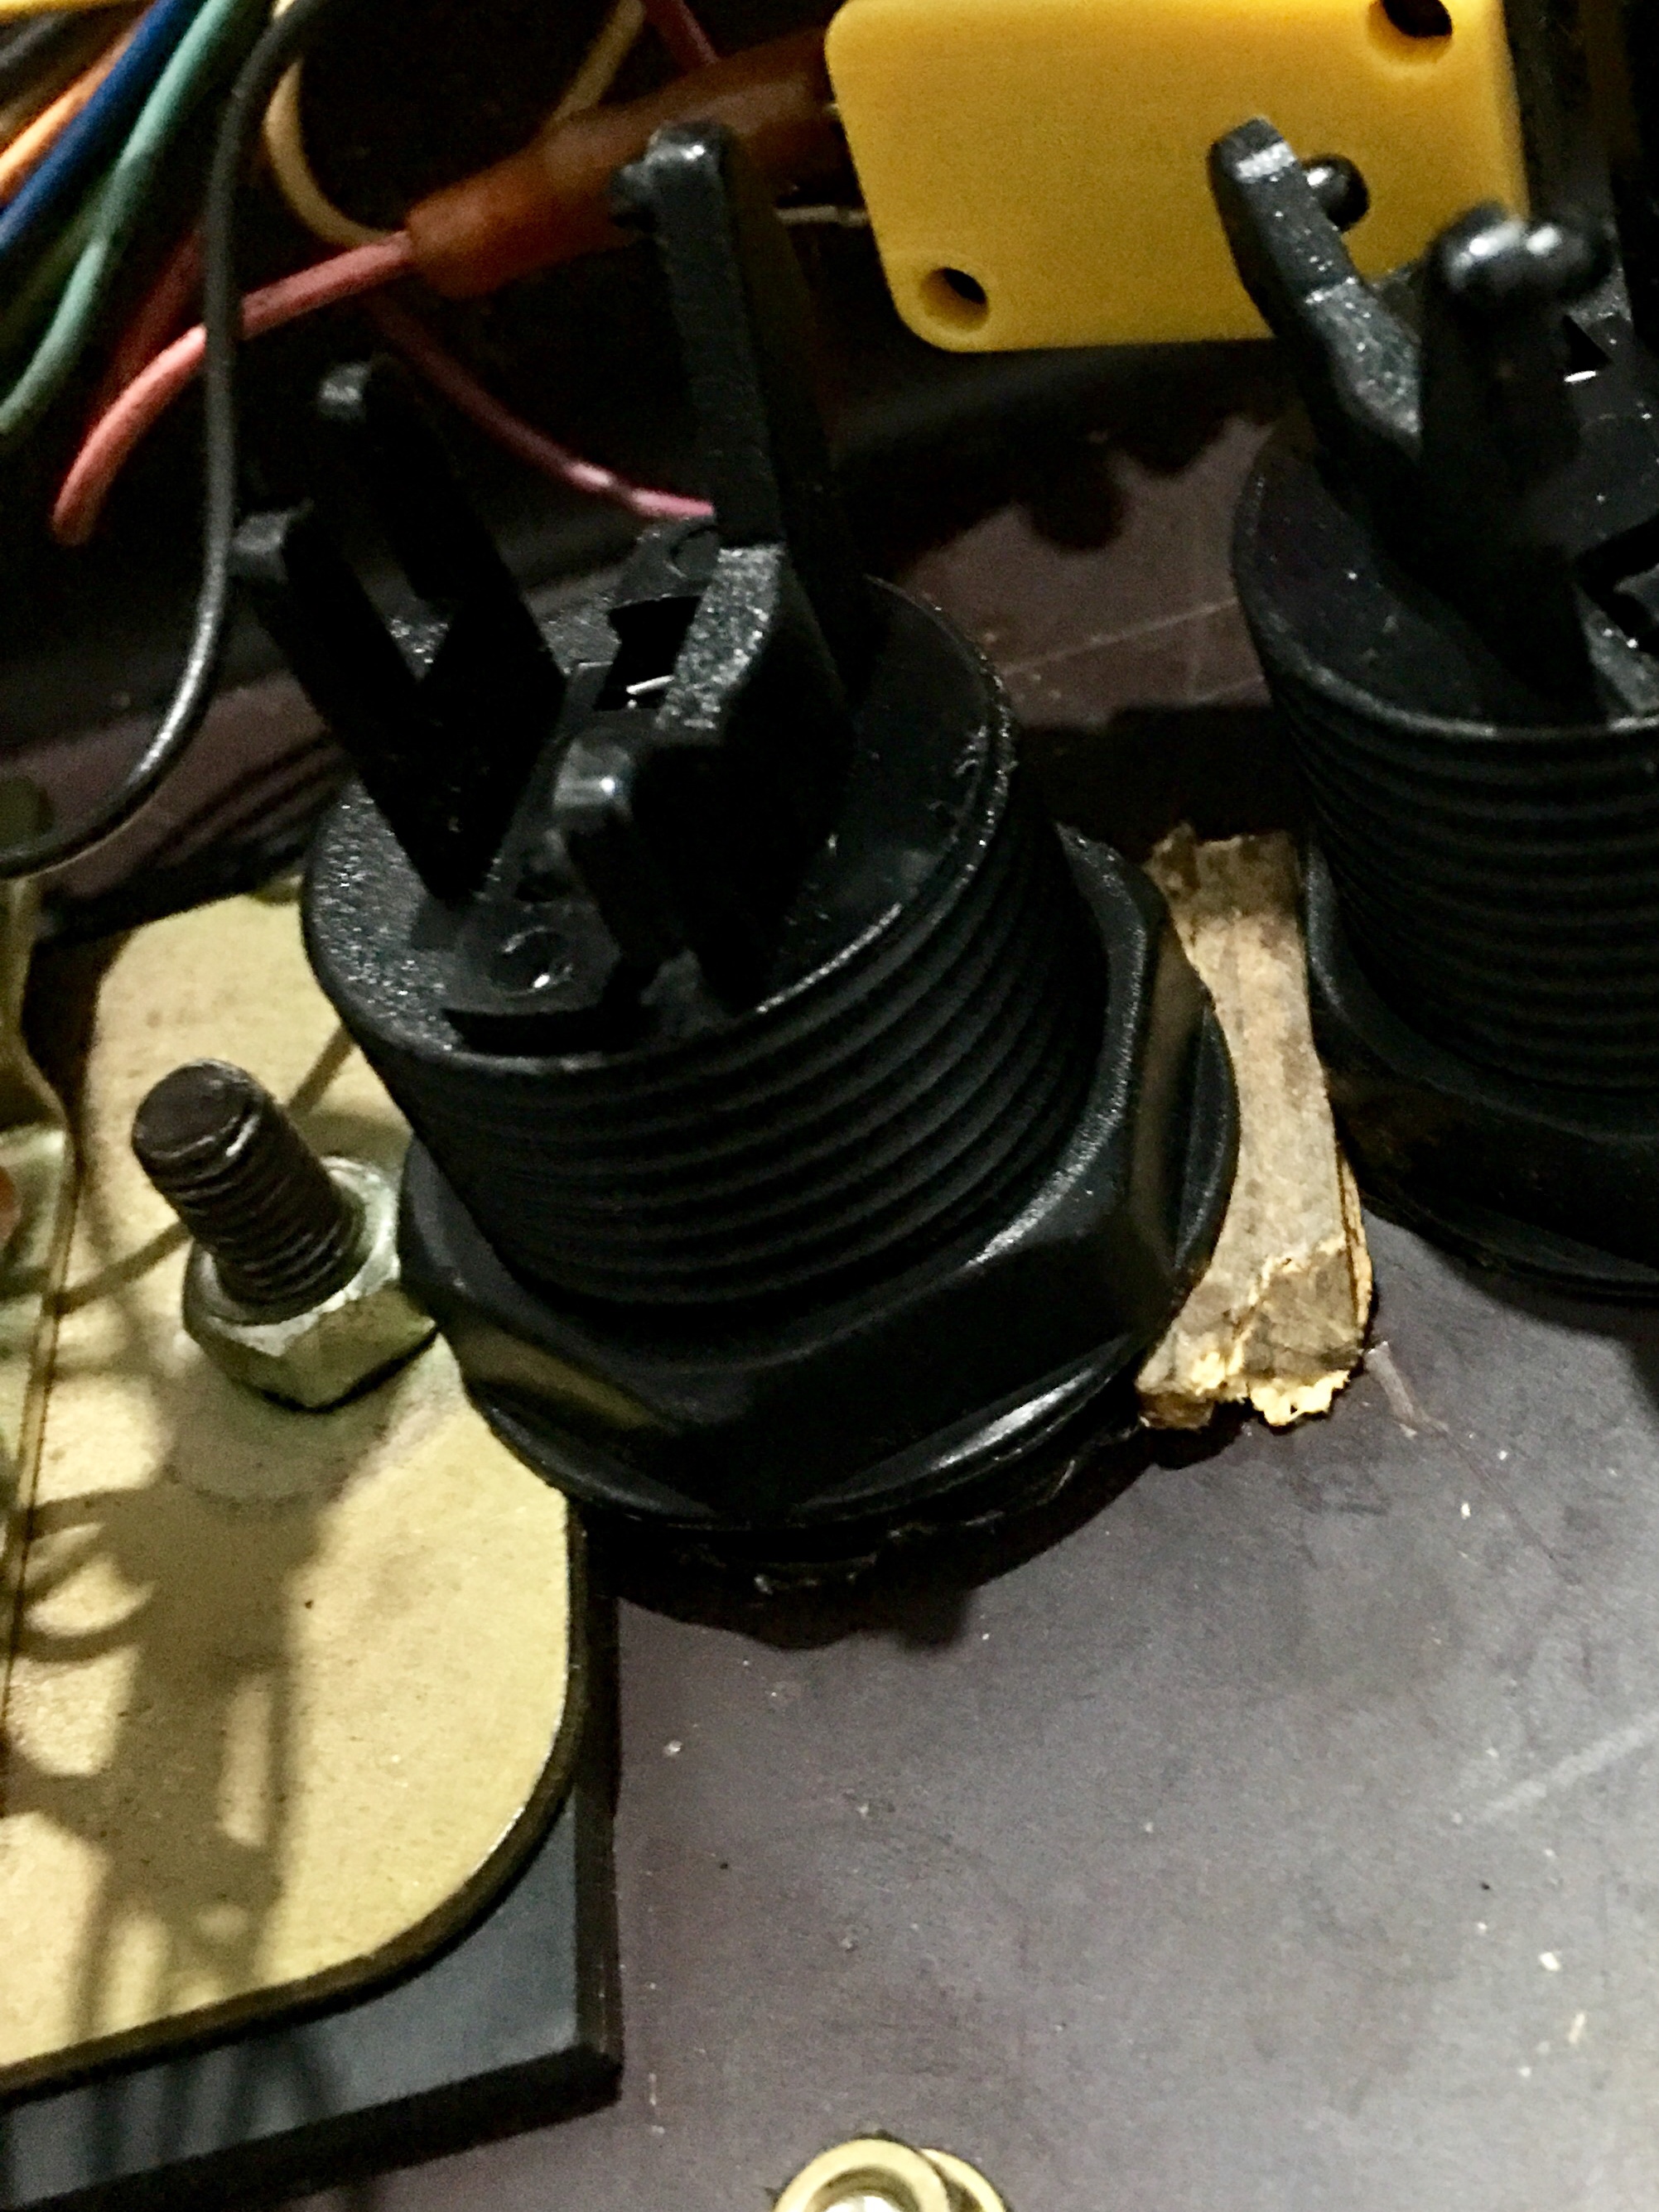
I unscrewed the securing nut (which was beautifully levelled between the joystick back plate and a small chunk of wood!) and removed the button. I couldn’t believe what was hiding underneath:
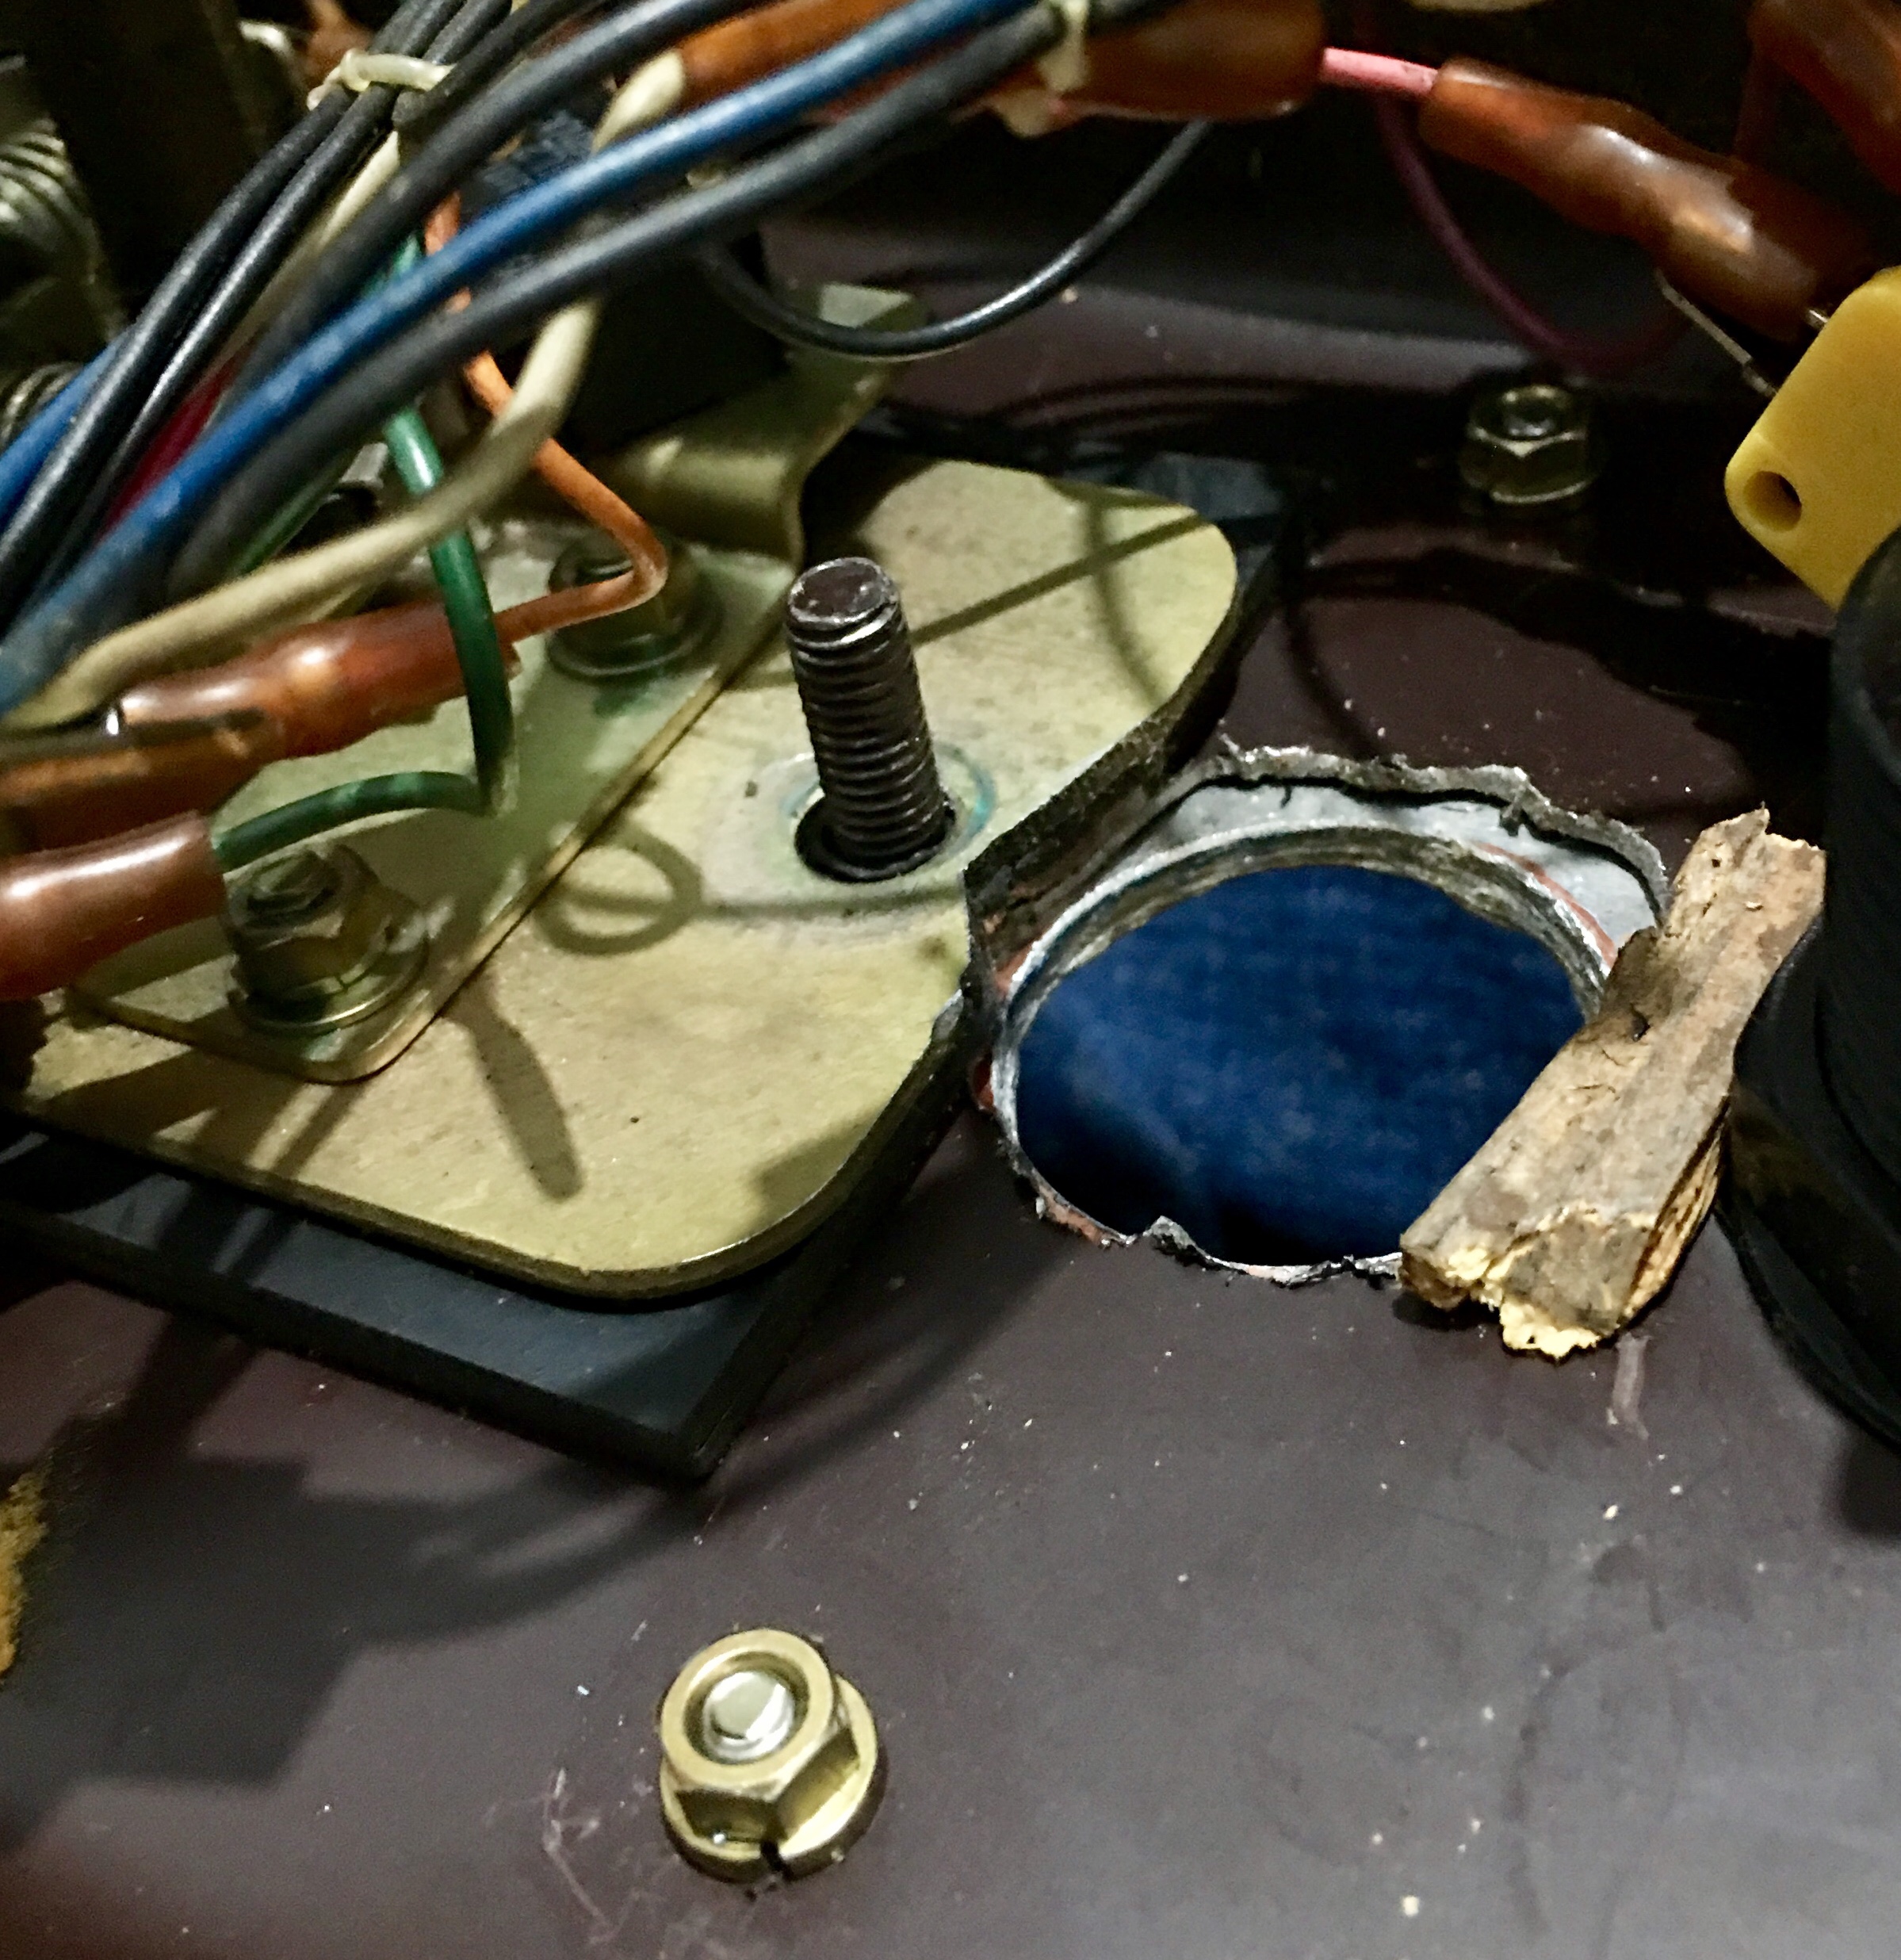
Whoever had fitted the button had not only cut a whacking great big hole in the control panel, they’d also clipped the joystick and cut a chunk out of its back plate. Luckily for me, it was purely cosmetic. I removed the two nuts securing the joystick and eased it out, removing all of the spade connectors from the chopped loom.
I moved the joystick over to the other panel and secured it in place:
I started work on the P1 control panel, but quickly realised that removing the screws from the aftermarket joystick was going to be more troublesome. After a couple of slips and nearly scratching the overlay, I decided to call time and revisit this task after a tool purchase (a Dremel to be exact).
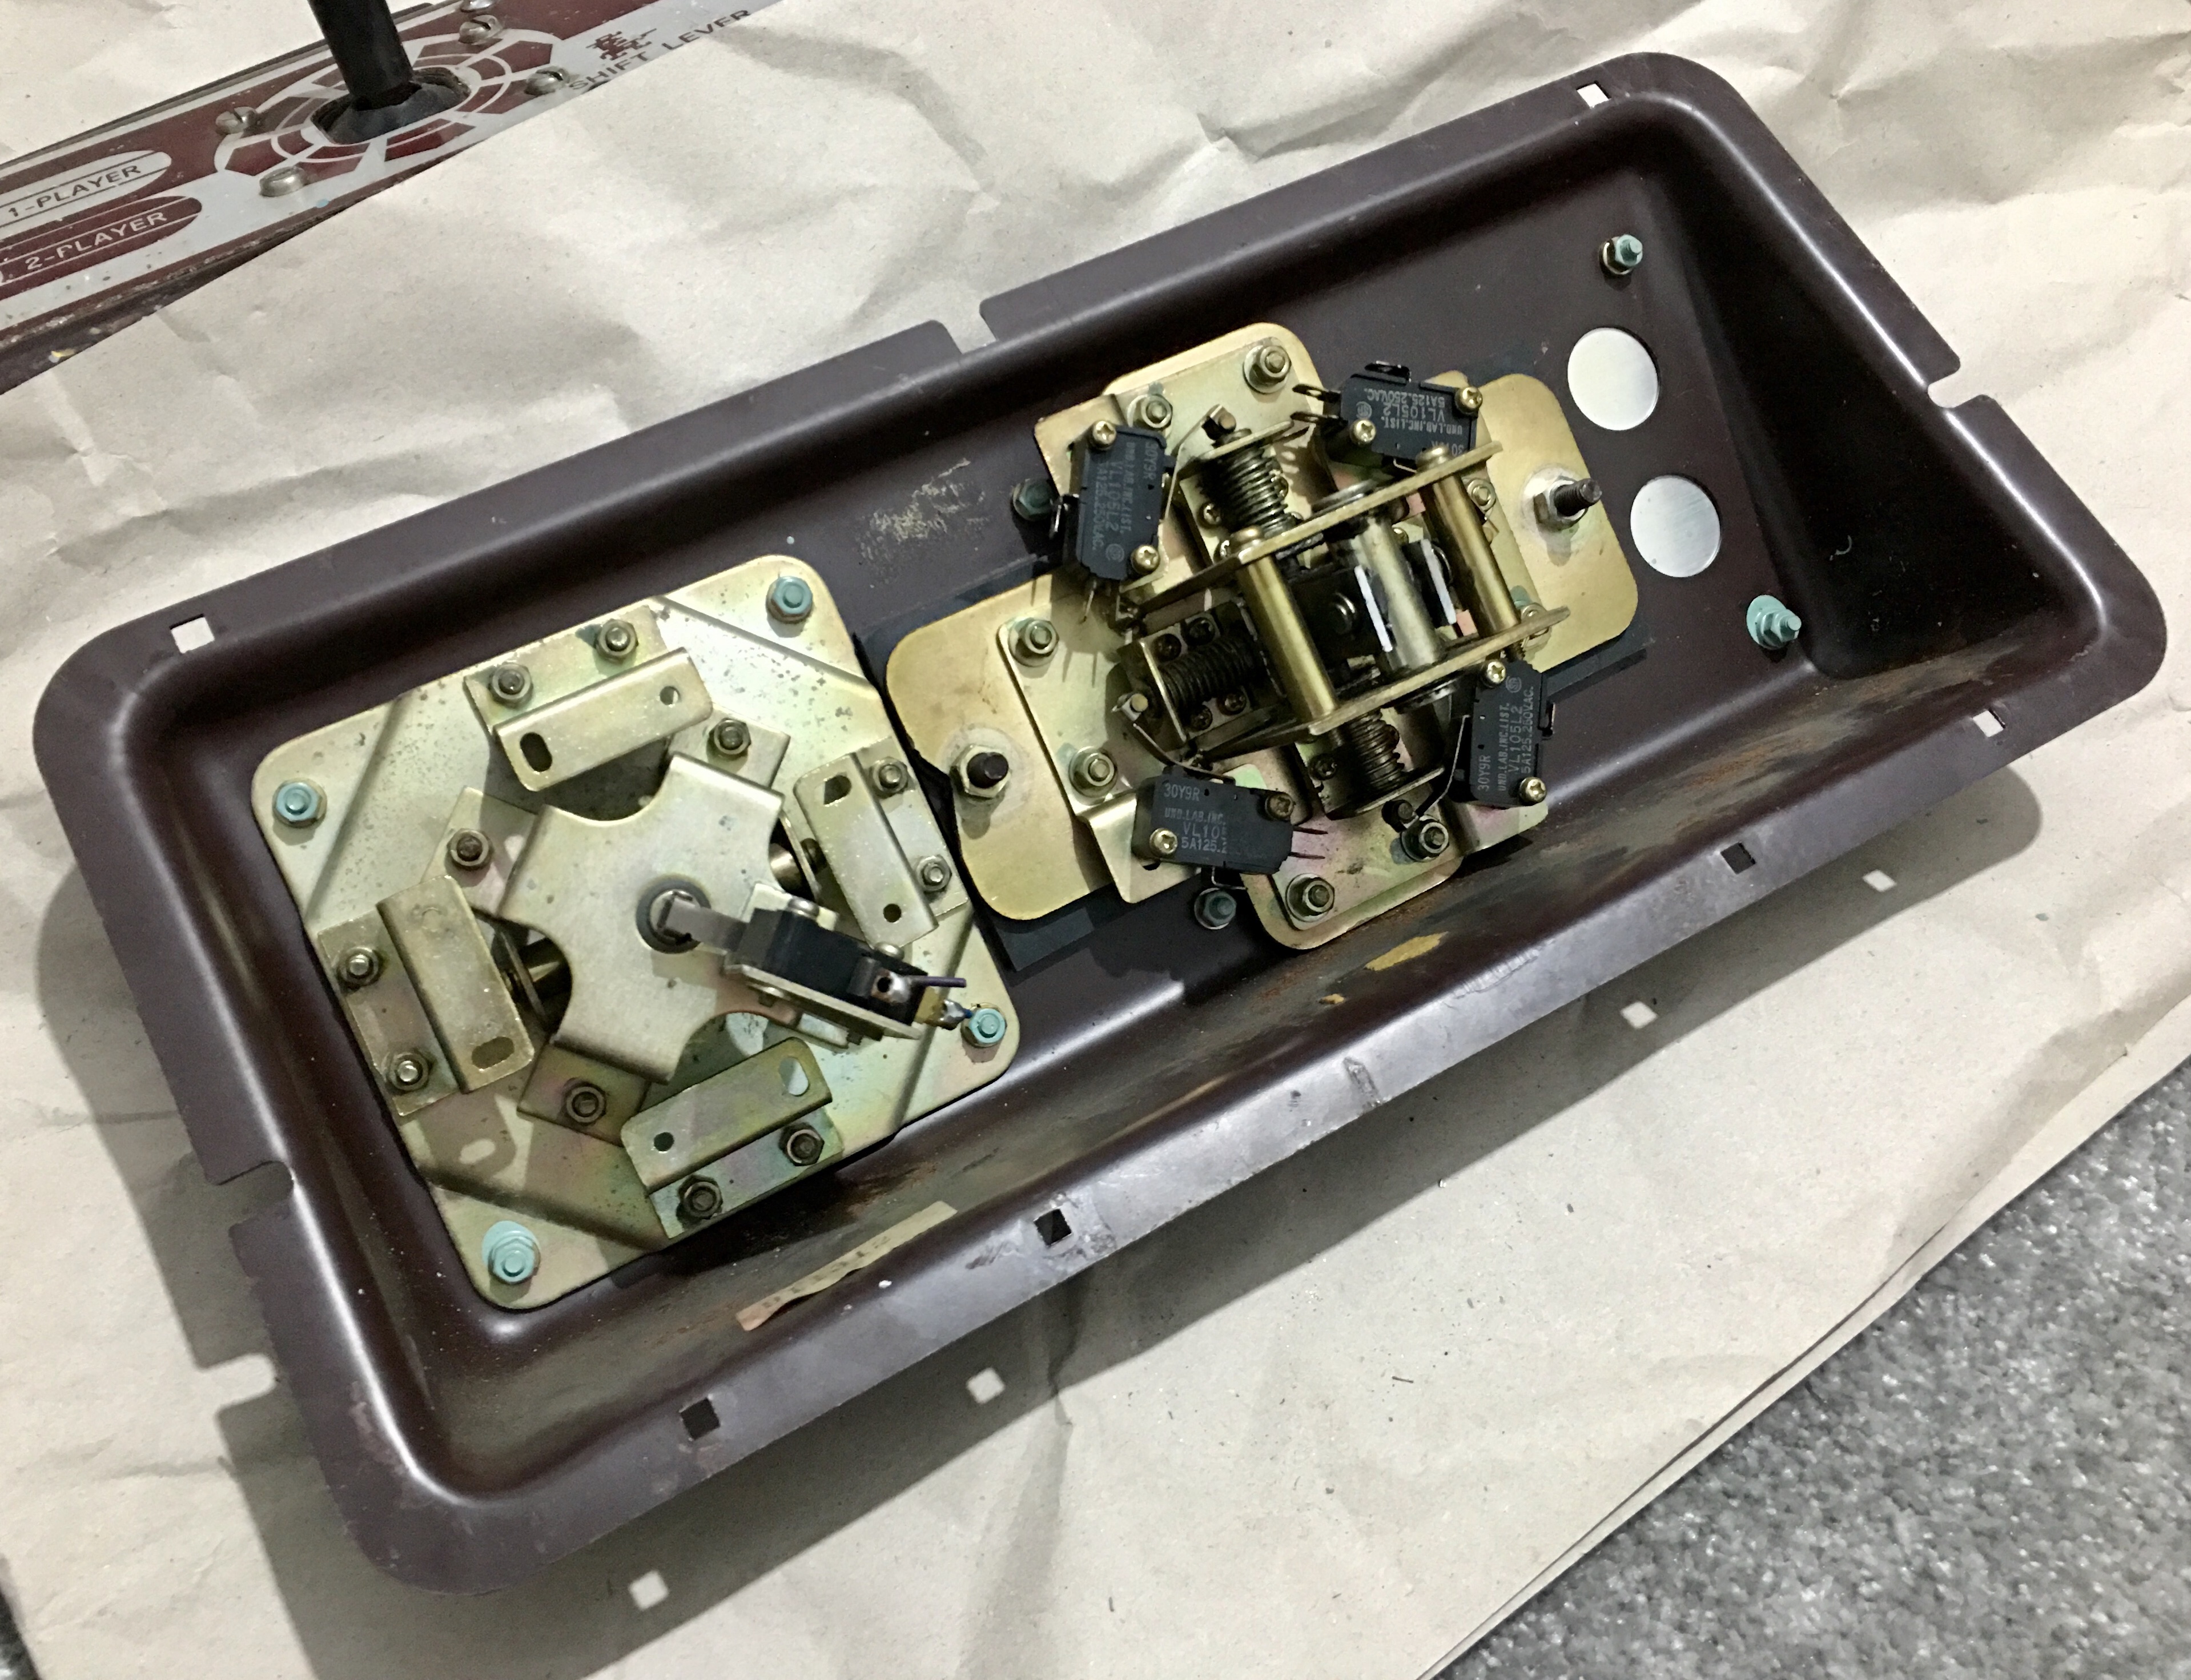
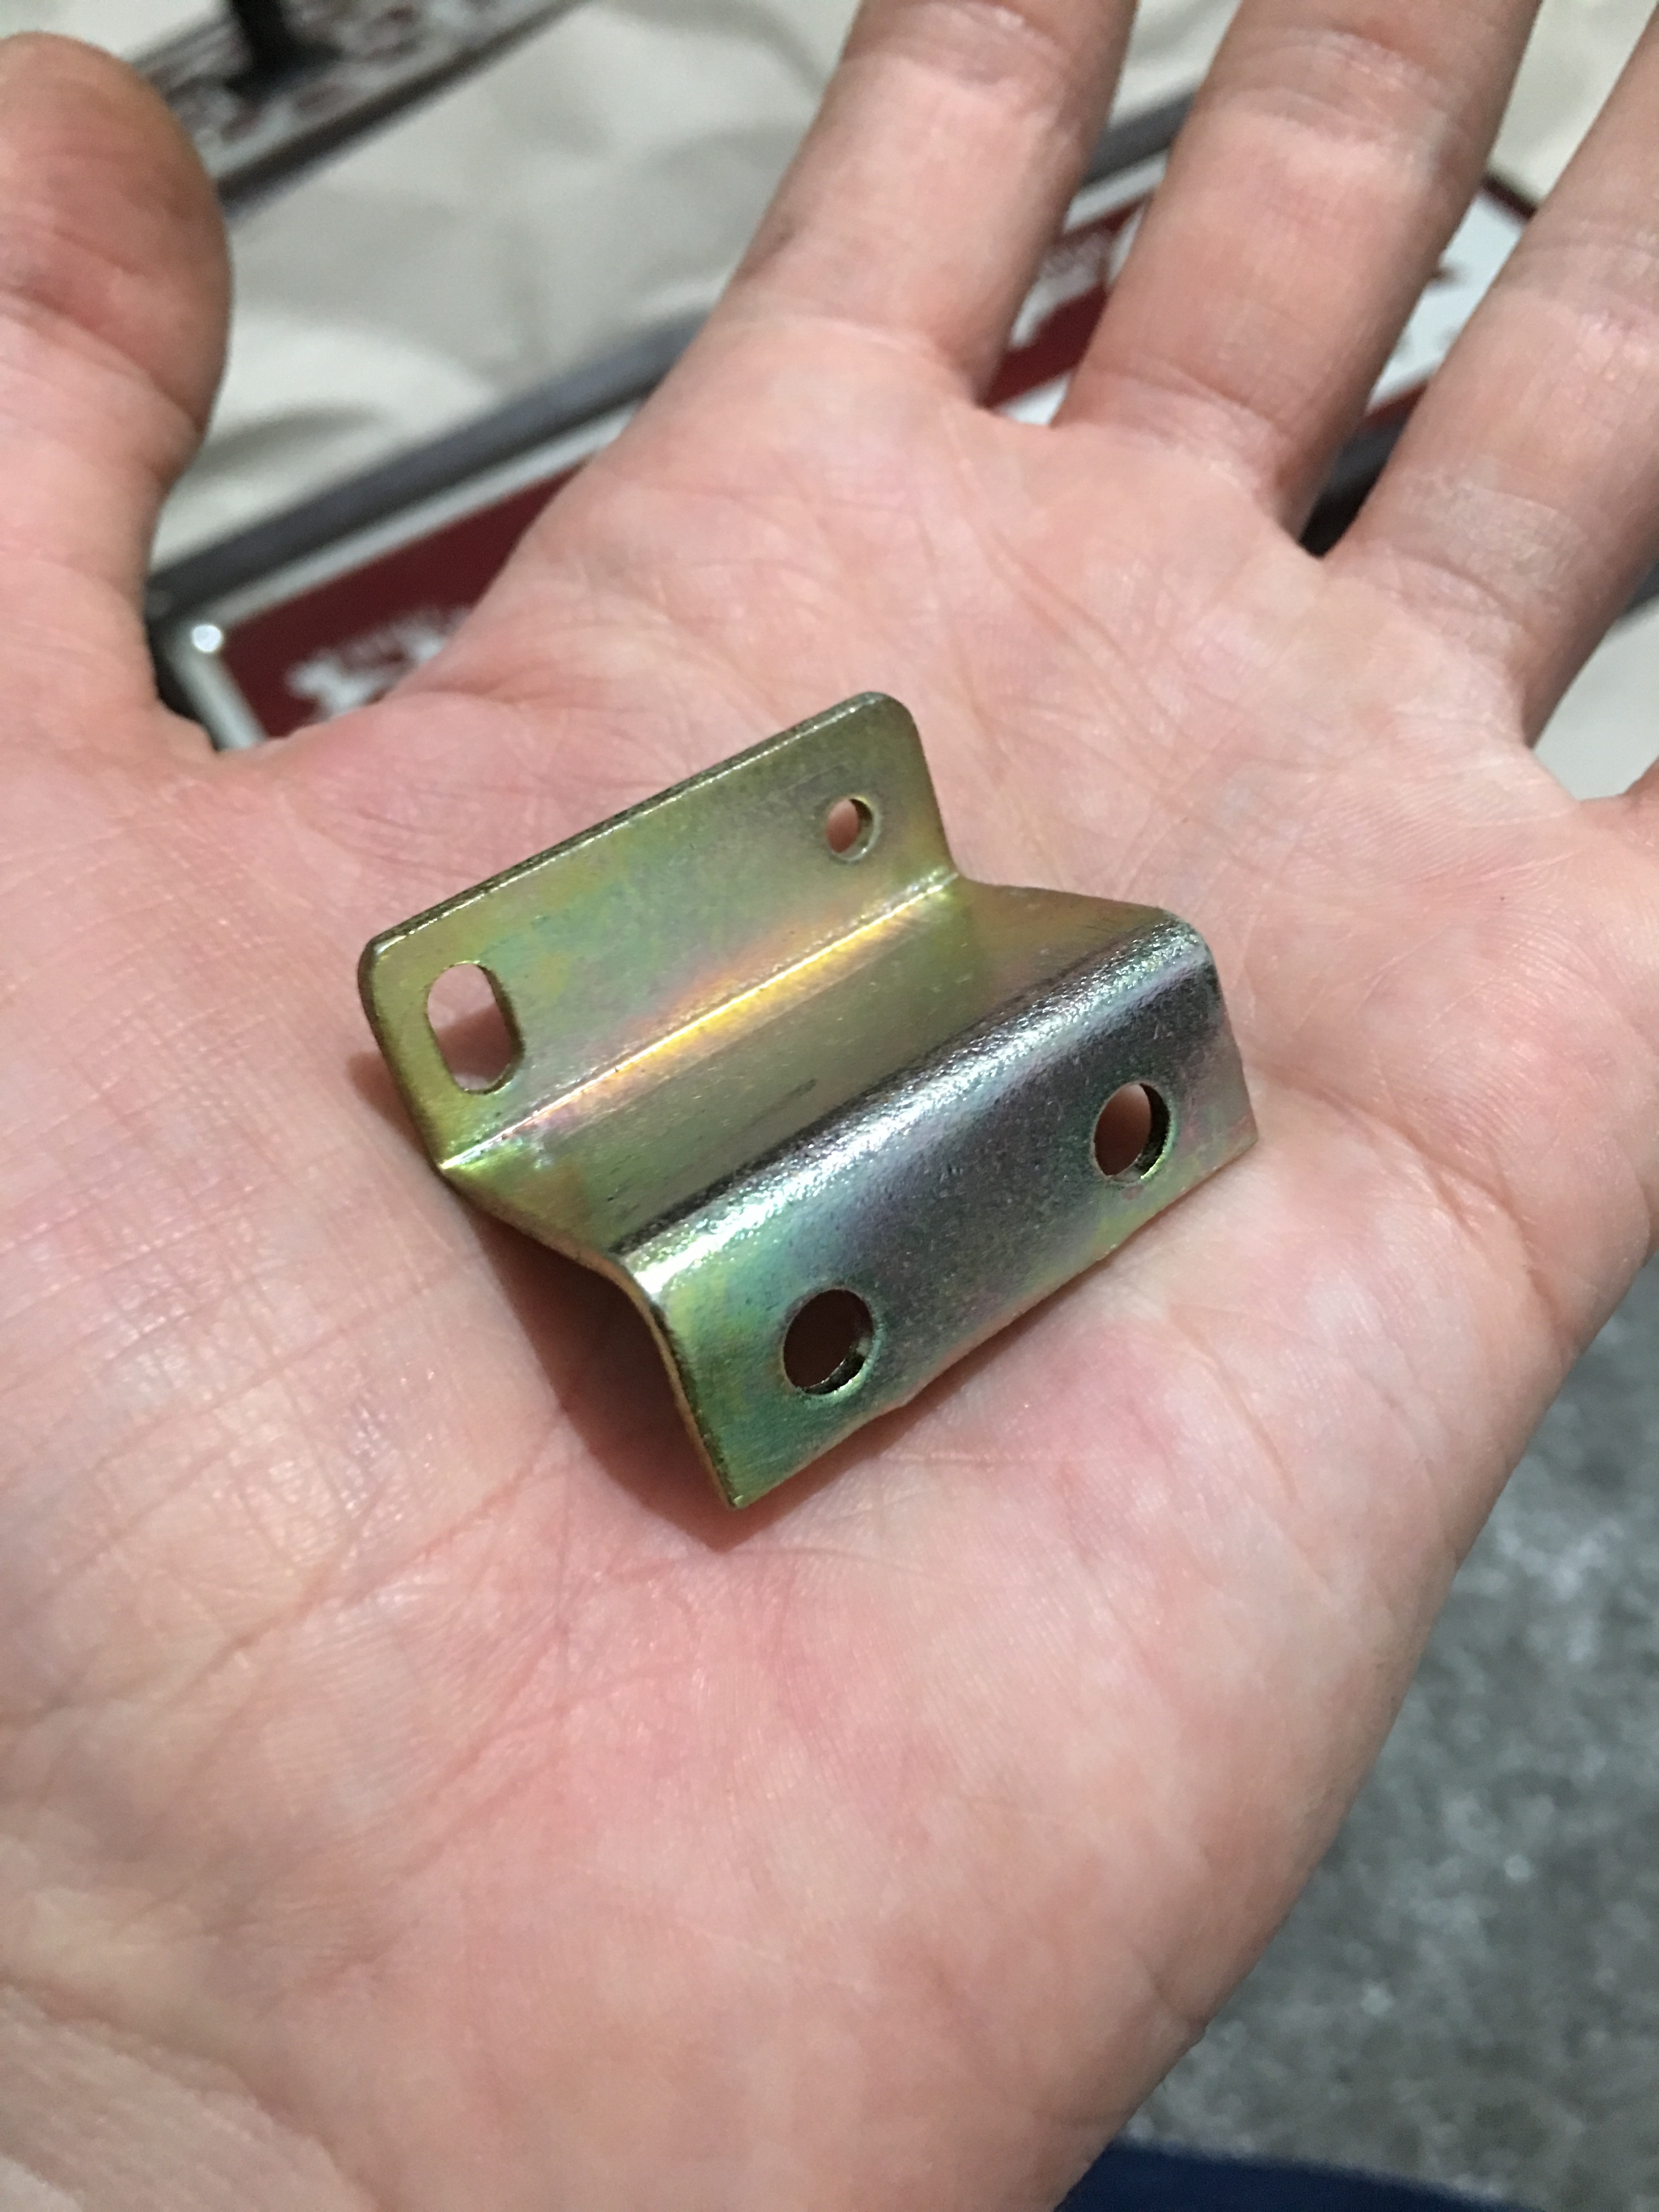
Now, one part I know I’m going to have to find a solution for is the switch brackets from the rotary dial control. They’re all in place on one panel, but all completely missing from the other. I’m going to have to come up with a solution to replicate these:
So that’s where I got up to today. Hopefully picking up a Dremel tomorrow so that I can finish replacing the joystick on the Player 1 panel (delayed due to the horrendous fixings). I still don’t understand why people still use flat head screws: