So after a trip to B&Q (other DIY retailers are available…) I returned with a Dremel to allow me to remove the stubborn nuts and bolts. So with a cutting disc attached, the work began:
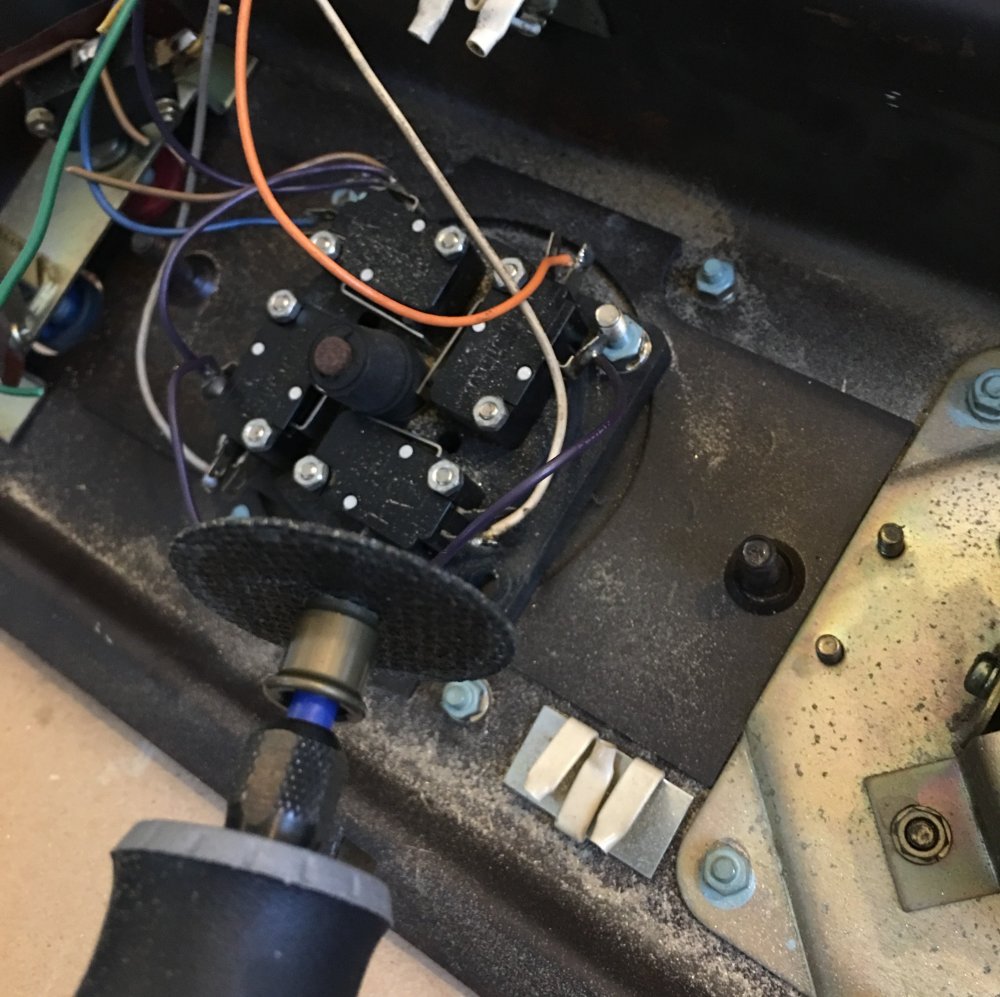
The disc cut through the bolts with ease (although the locking shims were a bit “sparky”):
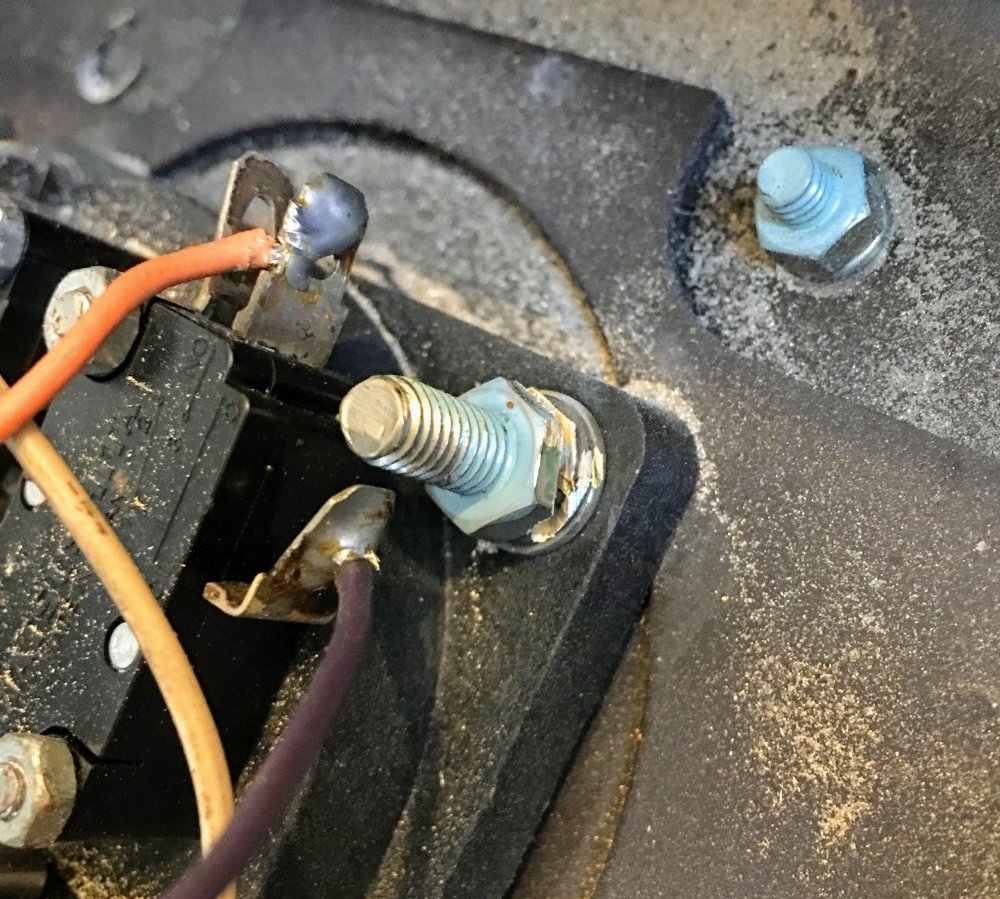
So after attacking all four nuts and bolts I was able to finally release the aftermarket joystick:
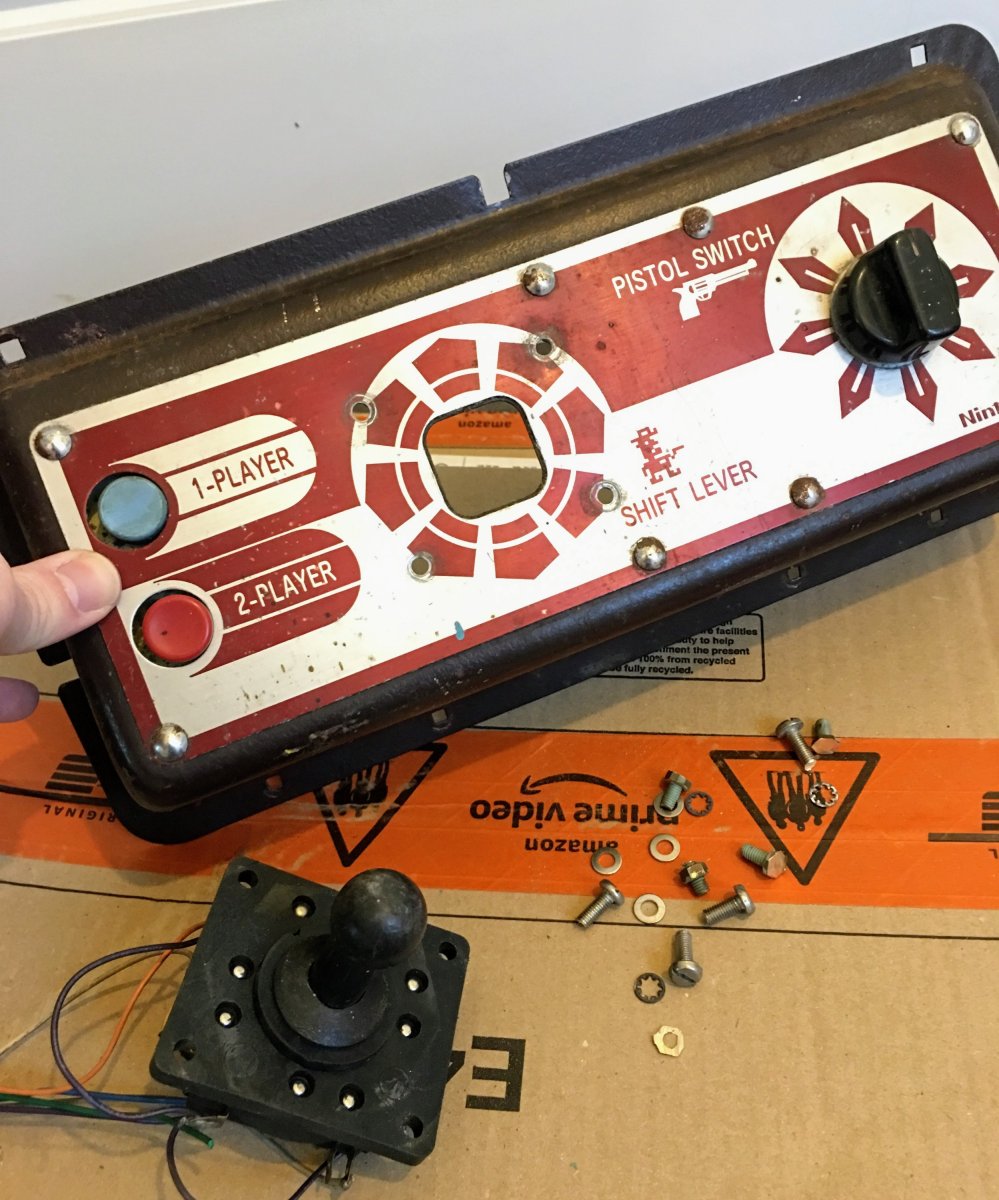
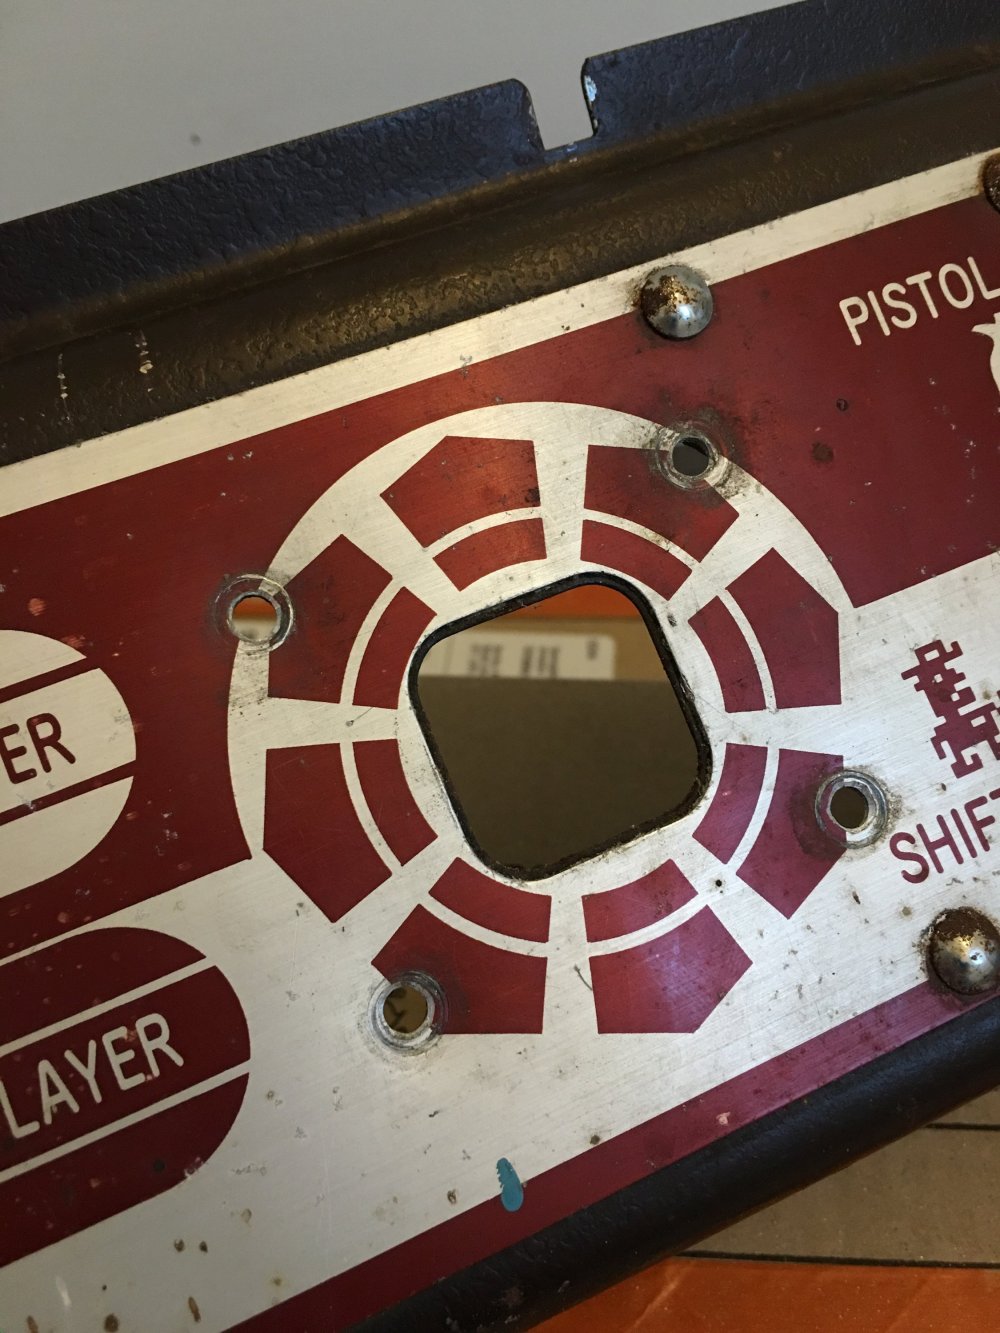
The poor control panel overlays had taken the full brunt of the “modification” and were now sporting unsightly holes around the joystick. These will have to stay for the time being as finding replacement overlays is going to be a nigh-on impossible task.
The next step is to repopulate the control panels with the original joysticks and dials. Now as these control panels still contained the original dials I needed to put the joysticks from the other set into these. Twenty minutes of fiddly nuts and bolts later I had two complete control panels:
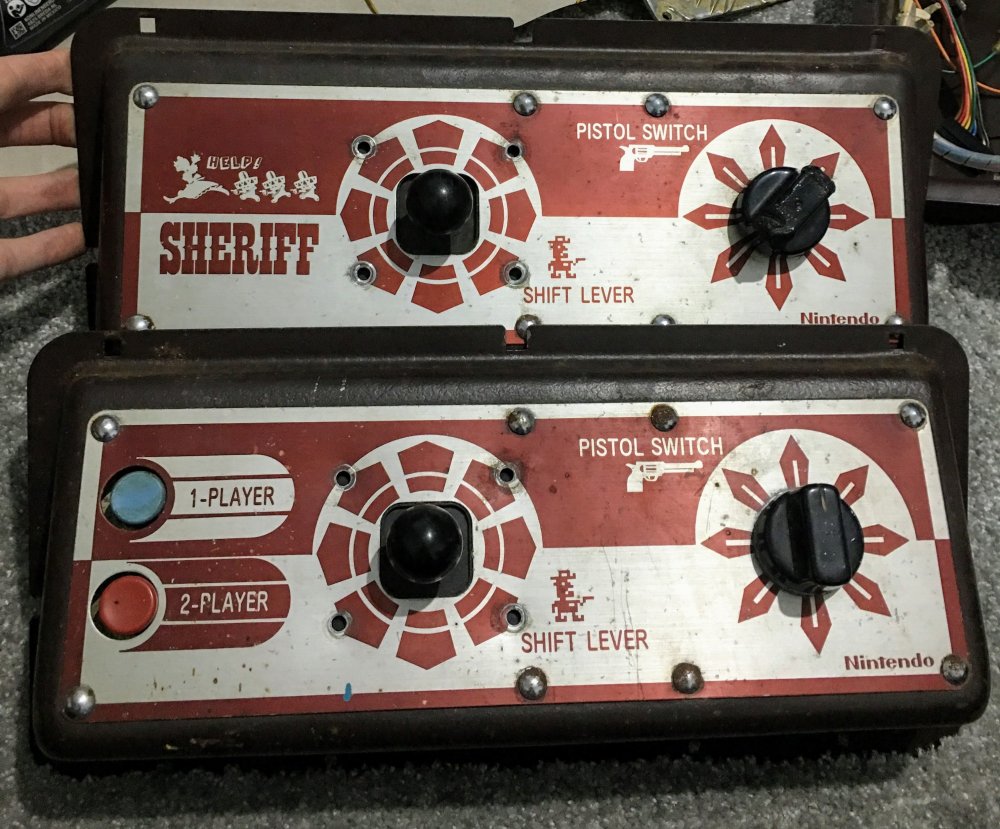
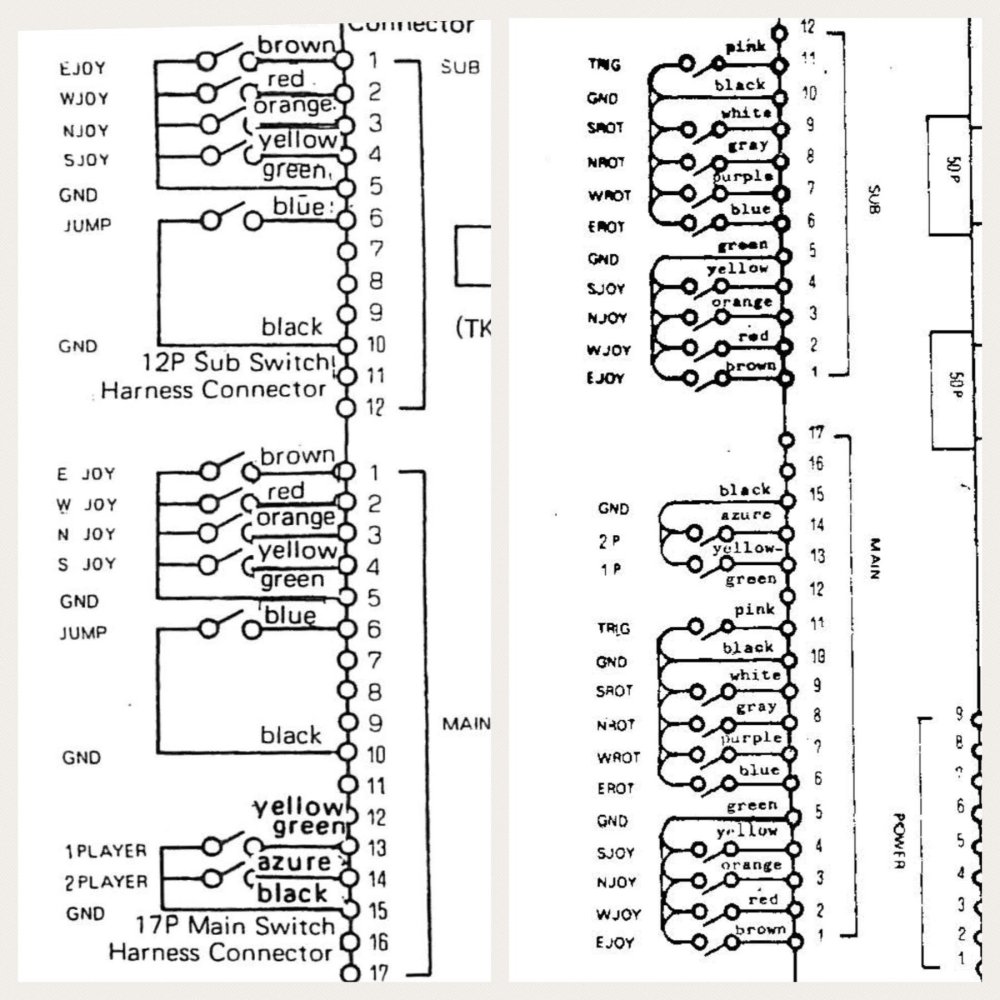
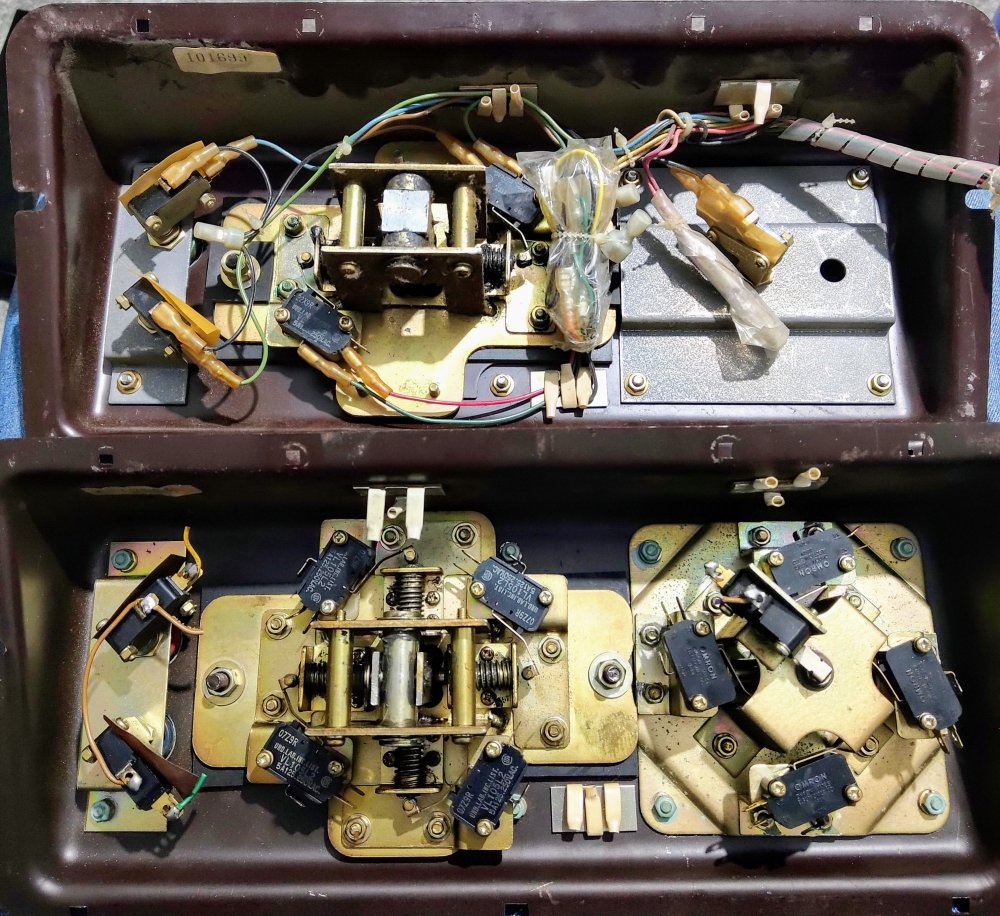
Now whilst these contained the controls, they were still missing wiring looms as both sets of controls I’d got had hacked looms. I’d gone through the wiring diagrams for a few of the early games and discovered they all used the same connectors for the controls, but with differing numbers of wires included (to deal with the additional switches for additional buttons or dials). Below is a comparison of Donkey Kong and Sheriff:
As I had a spare set of Donkey Kong control panel wiring looms I looked at what I’d need to do add the additional wires. Before I started chopping up looms I had a look at another set of cocktail control panels I had, a set to Radarscope panels.
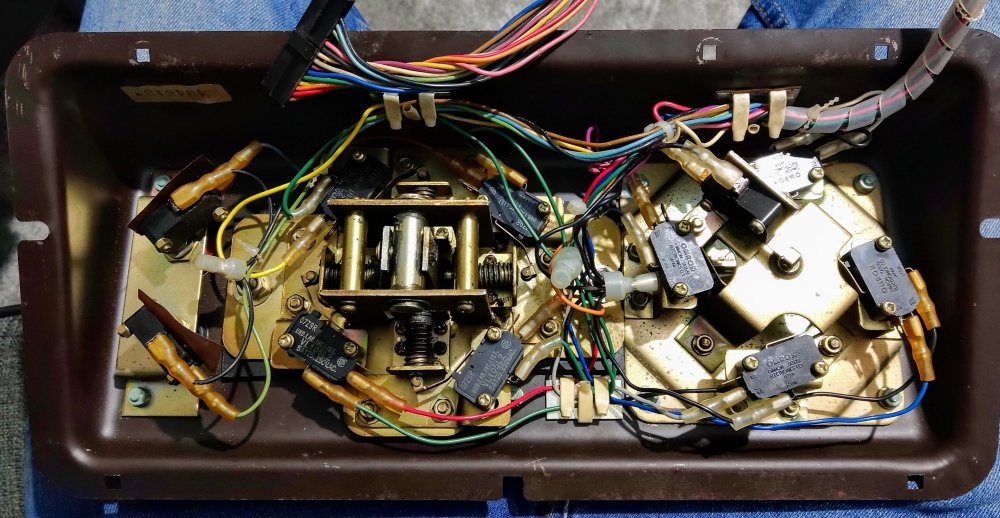
Now it appears that in the earlier days Nintendo took the same approach as many car manufacturers and included the wiring for all parts even when not in that model. The Radarscope panels had wiring and connectors for all possible game iterations so become the ideal transplant candidate:
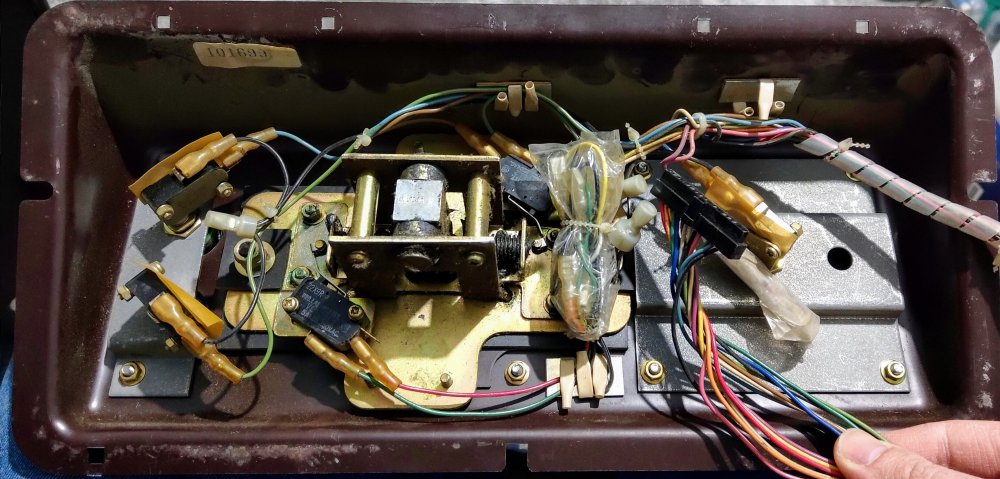
Before I could start moving the loom across I had to “borrow” switches from the P2 control panel as all had been removed from the P1 dials. This required a lot more fiddling and adjustments to ensure the switches were only engaged when the dial was turned towards them:
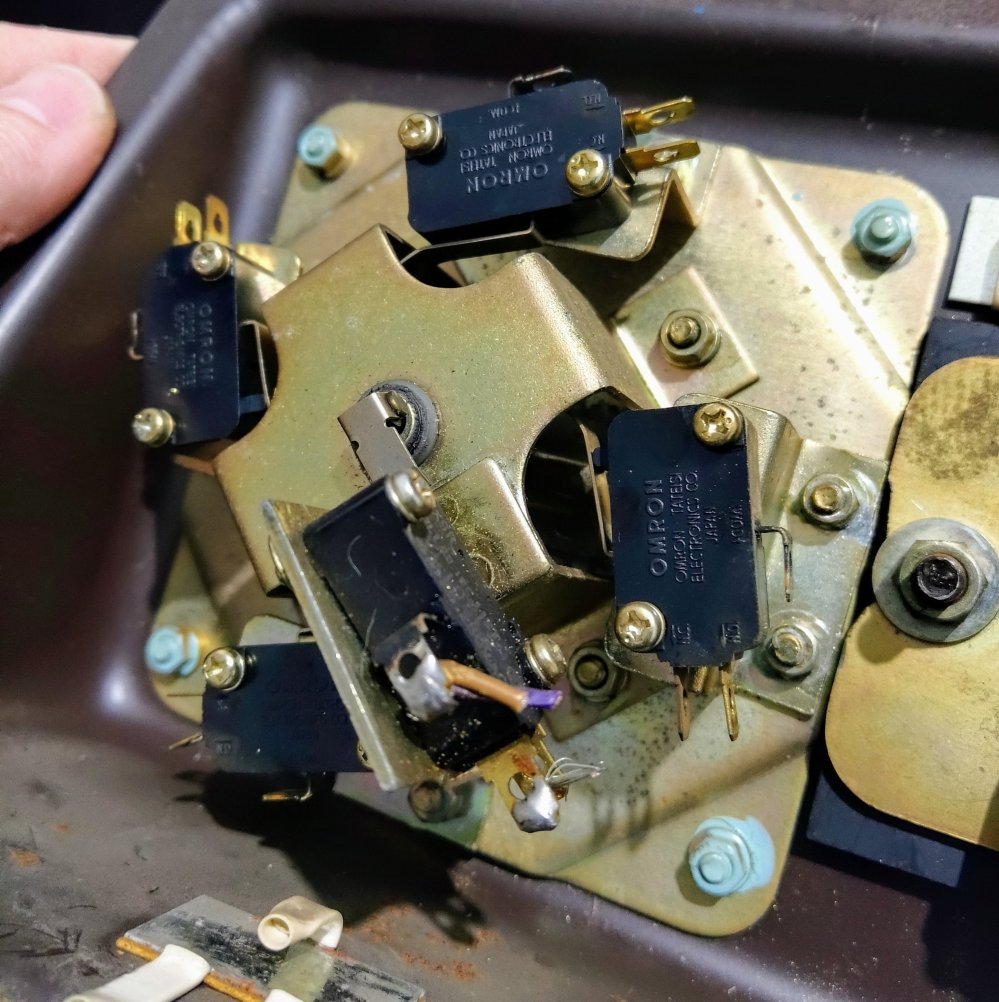
As you’ll see in the last picture, one of the previous owners decided they didn’t like spade connectors and opted for solder wires straight to the switches…
Out came the soldering iron and after a few minutes of heating and swearing, I’d cleaned up all the switches and removed the left over wires:

With that done, I lined up both control panels and got to work transferring the loom over from the Radarscope panel to the Sheriff panel:
Now with one control panel complete, I decided to put everything back into the cocktail to so that I could test the Sheriff boardset I picked up the other week.
I moved to the “workshop” and moved everything around so that I could start to re-assemble the cocktail:
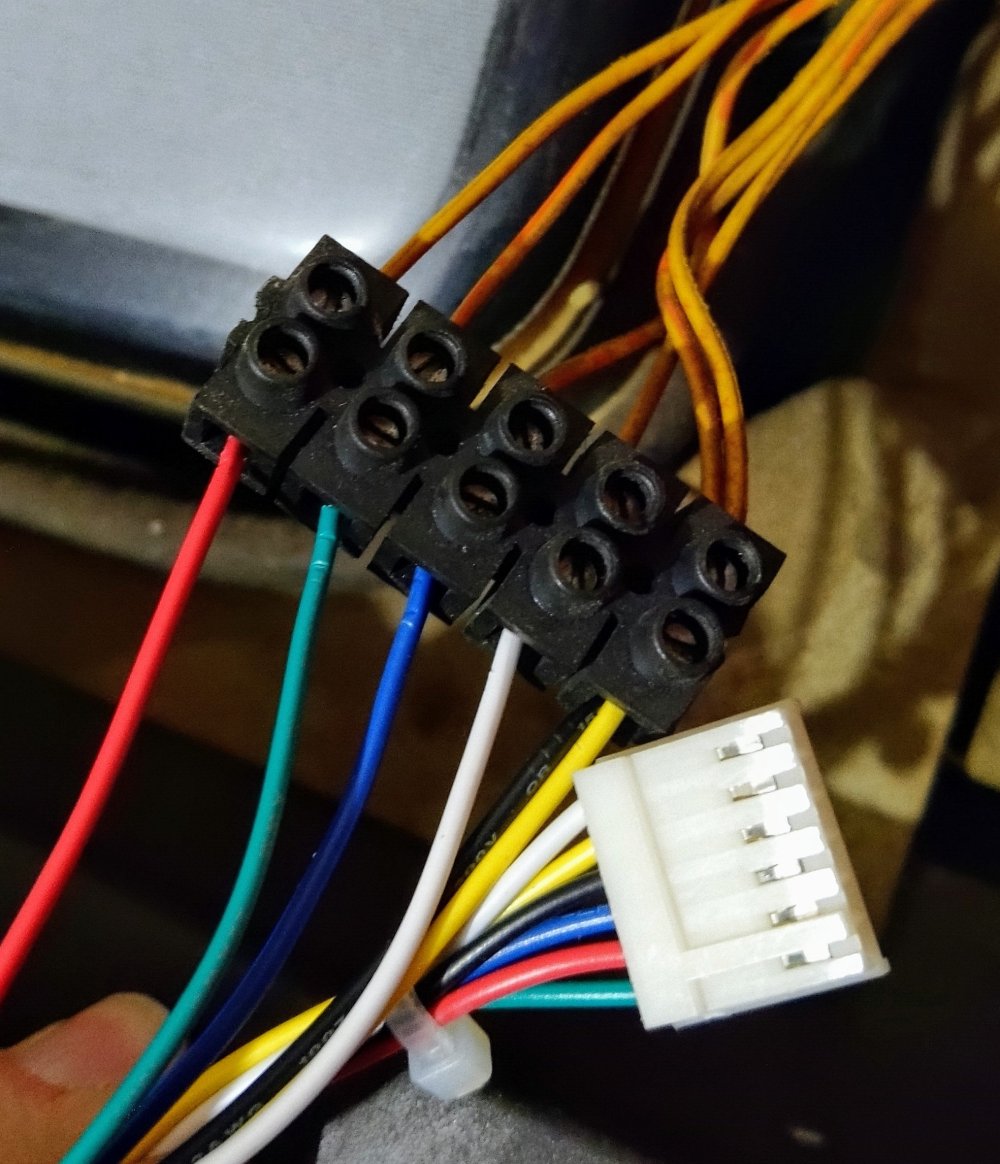
As noted in one of the previous posts, the monitor had been hacked up (along with everything else!) in order to run PC hardware. This needed to be resolved so that I could plug it into the boardset. Luckily, the hacking included some helpful hints in how to re-wire a Nintendo connector:

Handily they’d used relevant coloured cabling. The right-hand cables are Blue, Green and Red with Black being ground and White being the sync signal. I’d bought a spare reproduction monitor cable from MikesArcade a few years back and this became the donor to patch the monitor for testing purposes:

I took the connector off the one end and stripped the wires using my hurriedly purchased wire stripper courtesy of Amazon Now:
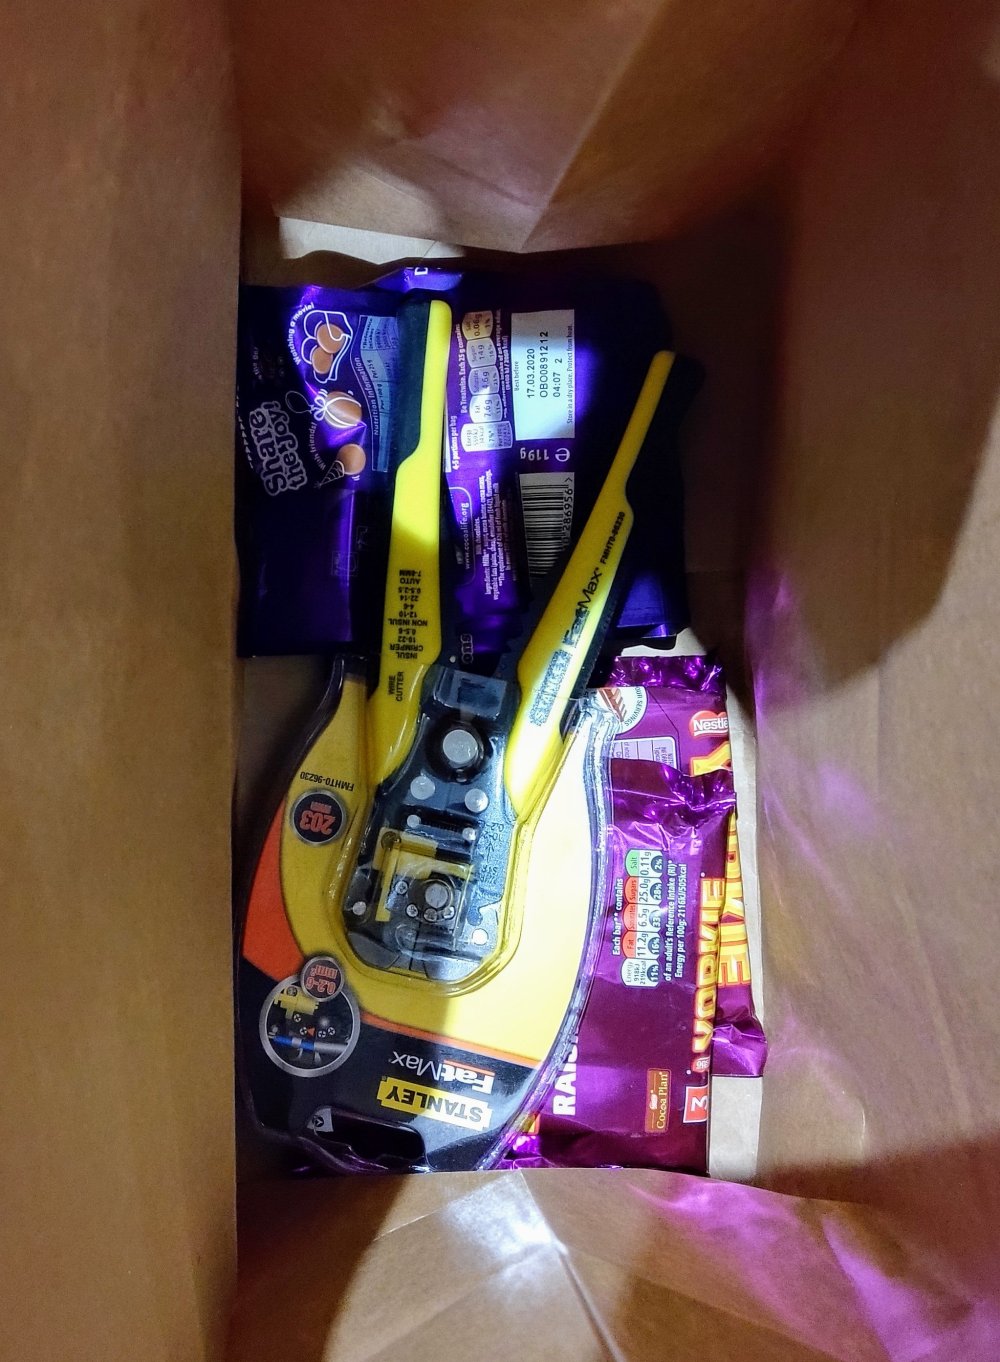
(Obviously chocolate was required to aid the work!)
I removed the old wiring and replaced it using the MikesArcade cable:
After “fixing” the monitor, I bolted the control panel back onto the cabinet:


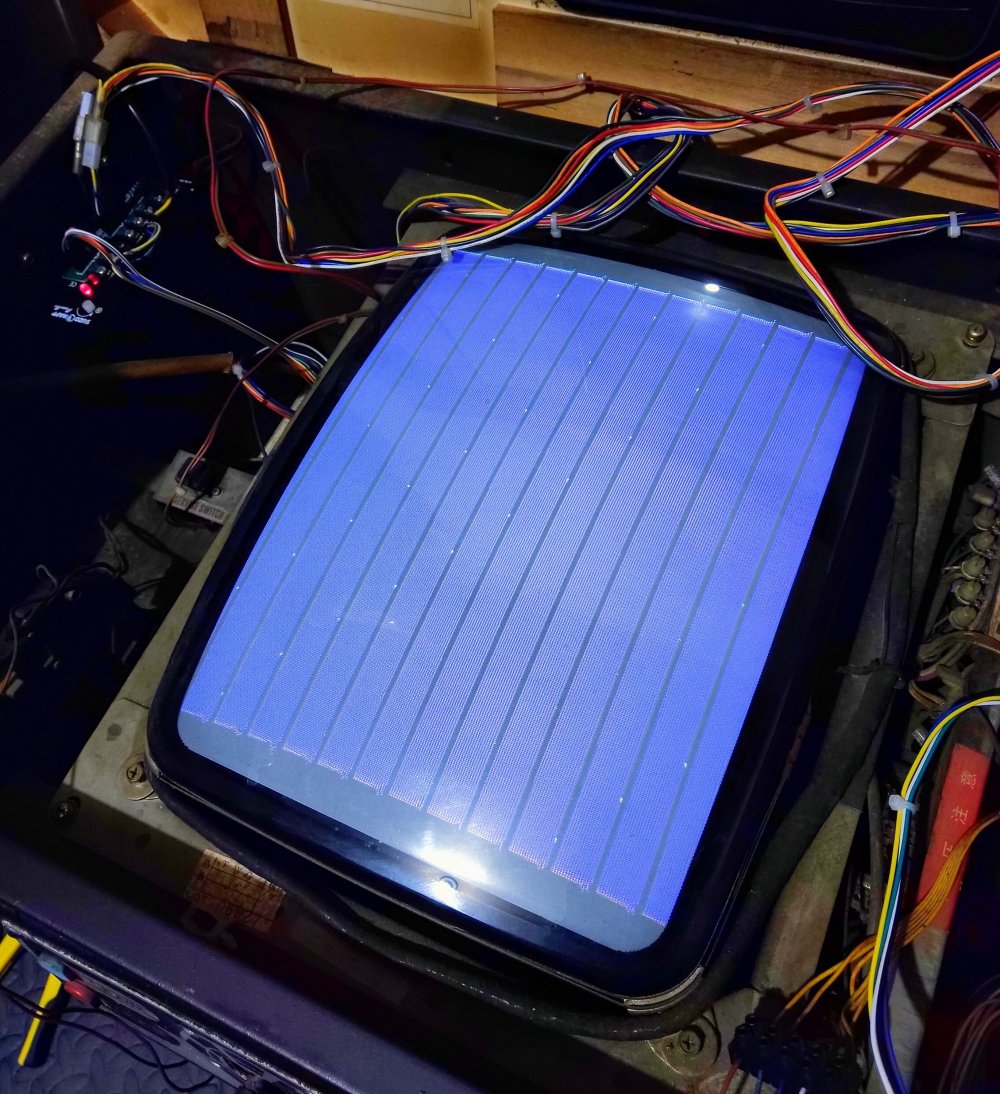
I wired everything up in the cocktail and plugged it in. I flicked the switch to power it up and crossed my fingers. The monitor pinged into life and I awaited the familiar opening screen. Unfortunately, I was met with this:
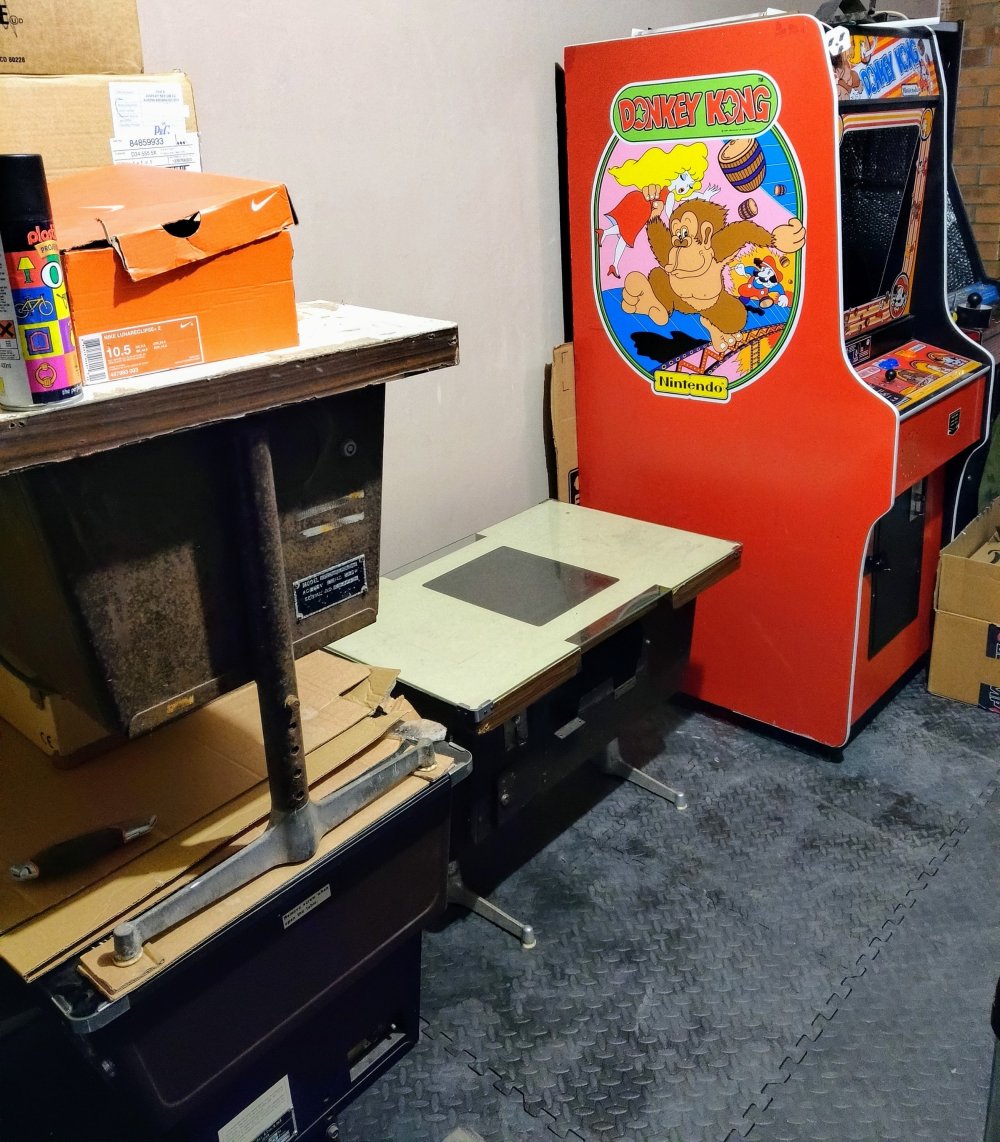
I played with all of the dials on the monitor and managed to stabilise the above image, but still no game. I did wonder at this point is if was my monitor “fix” causing the problem. As the “fix” had left me with a very long video cable, I turned the red Donkey Kong next to the cocktail and plugged the video cable into the Donkey Kong PCB and fired up both cabs:

So, unfortunately, not my wiring skills. So back to the drawing board with the boardset then. I plugged in the sound board and speaker to see if the game was running in anyway. I fired the game up and was met with a single high pitched tone. This leans towards the board getting stuck in a constant reset loop. I’ll get the board out and with the help of my mate Paul, try and track down the issue.
Until I get the board working that’s unfortunately this cab parked for now. I’ll aim to pick up the last remaining parts (switches etc.) while Paul and I arrange a tech day!
