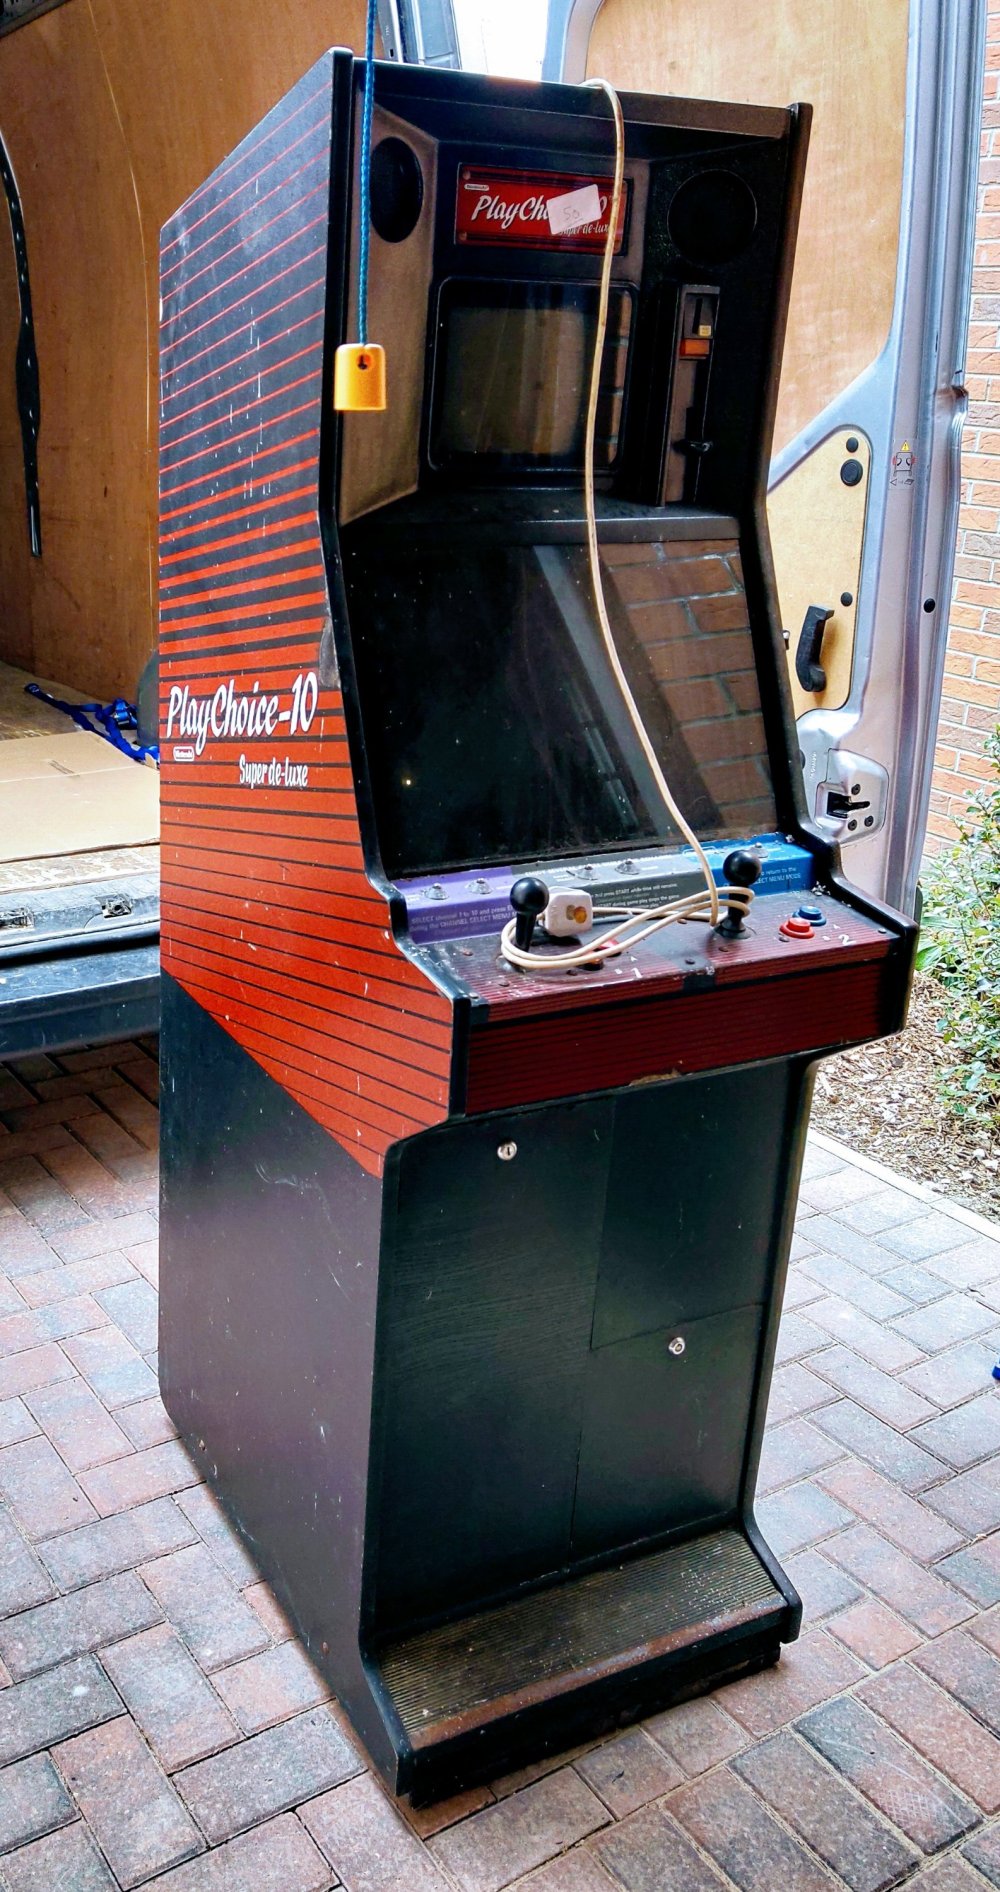
So in my most recent arcade roadtrip I picked up a UK release PlayChoice-10. These were built by Brent Leisure and have a number of differences to the US release. It’s worth noting that there are a few variants made by Brent Leisure as well as some variants made by Electrocoin.
These cabs unusually contain two monitors of different sizes. They have a 20″ monitor for the main game screen and a tiny monitor in the top for the game selection menu and instructions. This was mine just as I’d unloaded it out of the van:
I do appreciate that this style cabinet is very Marmite, you either love them (like I do!) or you hate them.
So this cab was bought completely blind from a friend (and fellow collector) who hadn’t turned it on since he’d got it. After a 500 mile round trip collecting this cab and a couple of others I was keen to plug this one in and see what we had. I was conscious that I should probably have opened up the cab first to make sure nothing obvious was wrong before plugging it in, but I thought I’d take my chances.
Being a UK cab there was no need for the normal faff of a step-down transformer so I plugged it straight in and flicked on the power. The top monitor pinged into life, but the image started out doubled up and then collapsed to nothing. Not a good start, but I did see a green menu briefly so that showed more life than I was expecting. After a few seconds the main monitor warmed into life and after a few presses on the “Channel Select” and “Enter” buttons I had my first glimpse of life:
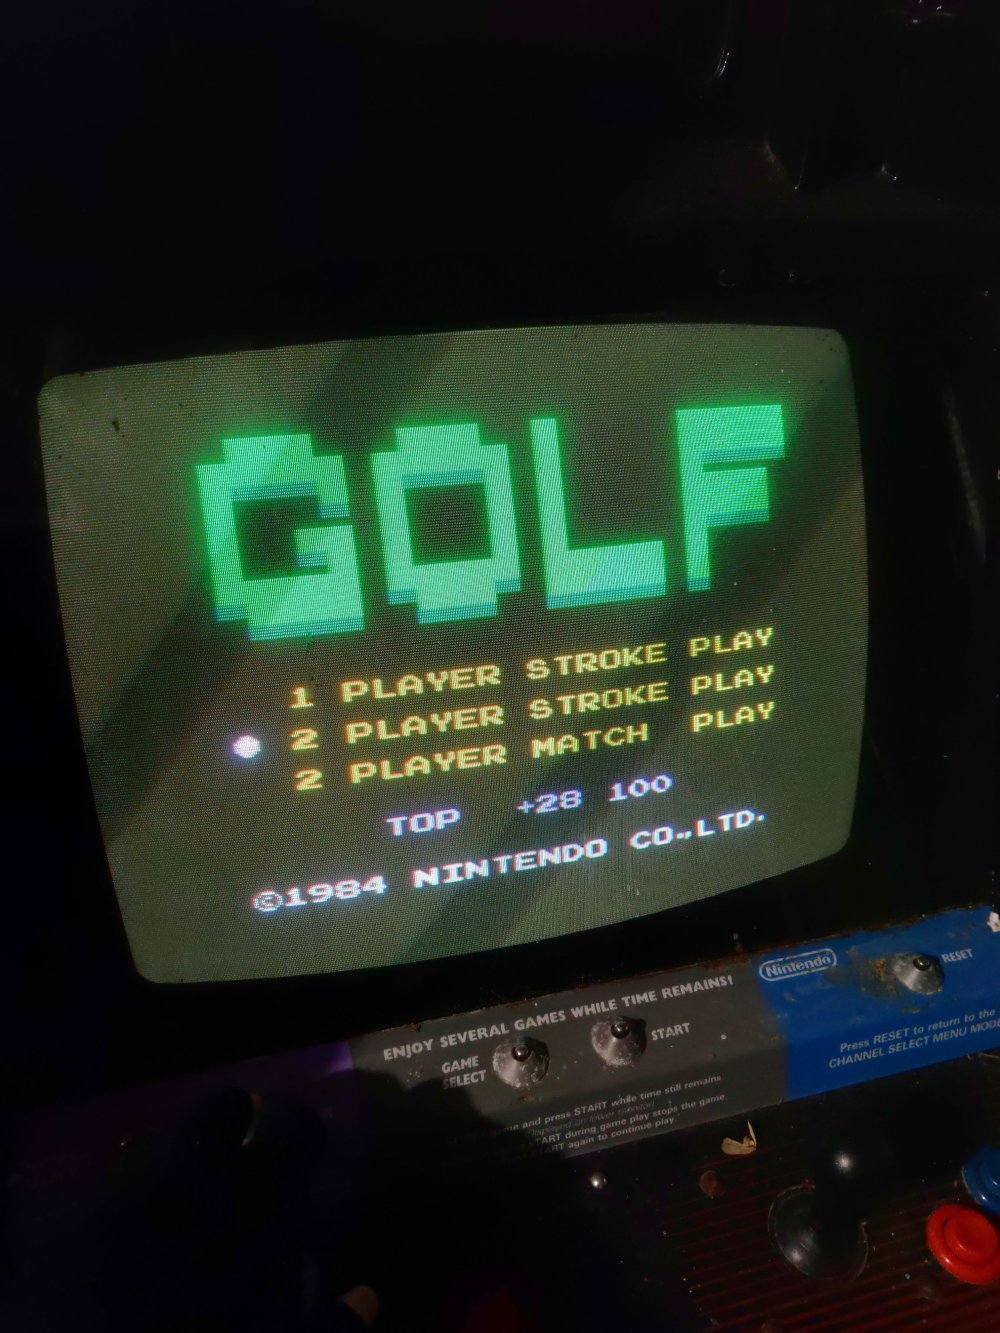
Unfortunately, this is as far as I could get. No amount of clicking “Start” did anything, but I did get to appreciate how bright and burn-free the monitor is.
I cycled through a few of the games and they all displayed the same symptoms. They would display their main menu (some even ran through the whole attract demo), but they wouldn’t start. Oddly, there were two exceptions to this in the six games I found in the menu, Contra and Double Dragon. For some reason these games would actually start and I could move characters about and jump and shoot (using the P2 side of the controls as the lovely light up replacement buttons on the P1 side did nothing).
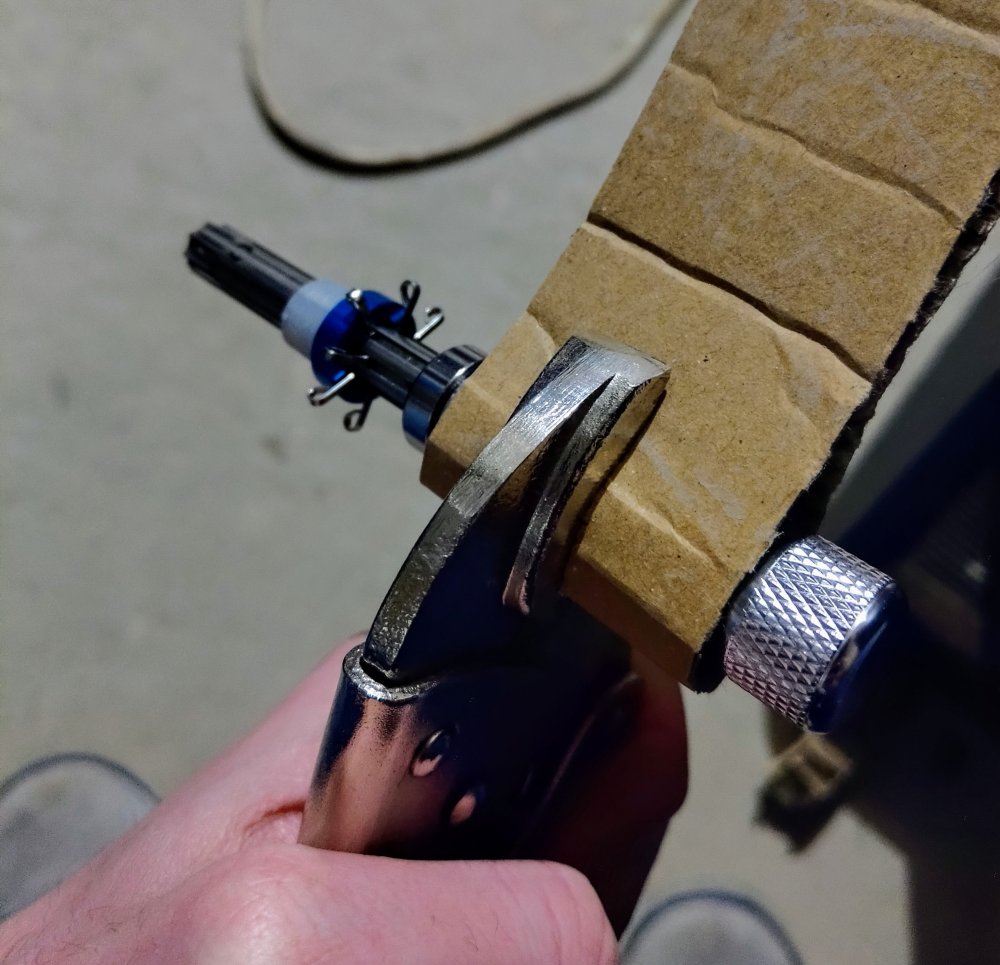
At this point I decided it was probably best to power off the cab and have a look inside. I’d bought myself a nice lock picking set to get into this cab as I didn’t have any keys. My patience didn’t last long unfortunately, and I resorted to turning the whole lock mechanism with a pair of molegrips. Crude, but effective!
I opened up the main panel in the top to see if I could see anything obvious to explain the sudden death of the little top monitor:
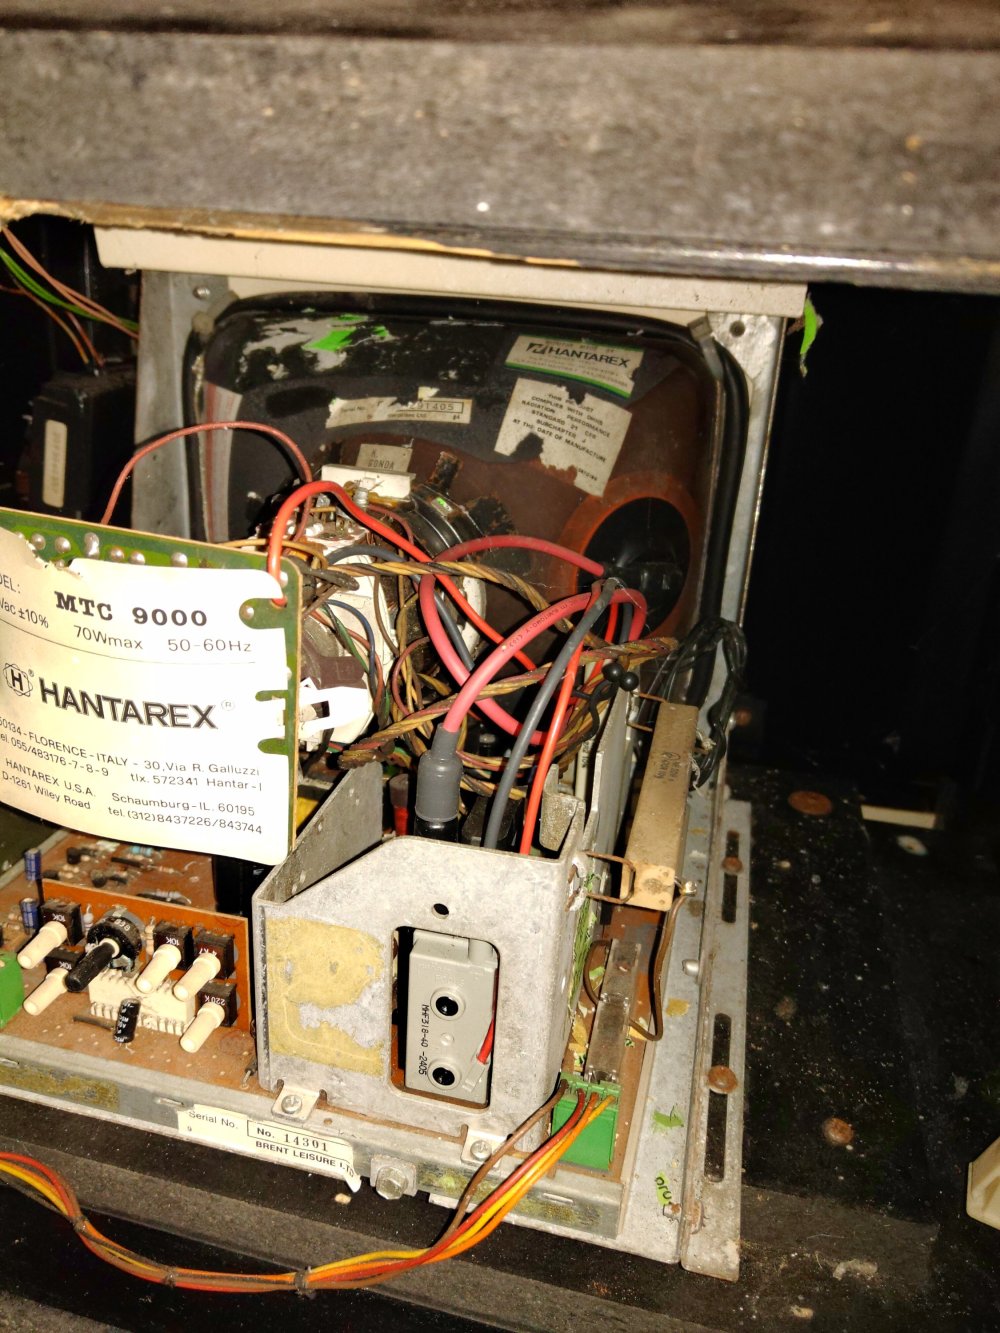

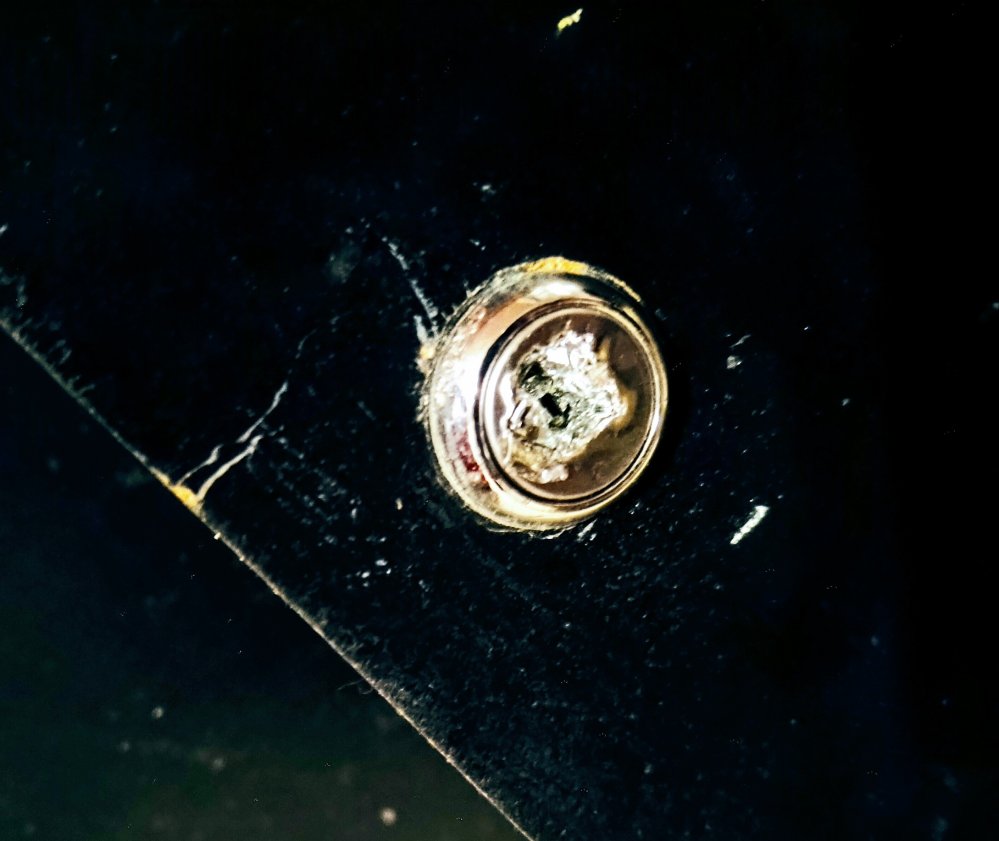
You’ve probably noticed the very sick looking cap just to the right of the centre of that last picture:

Without looking any further, it was obvious that a full inspection and cap kit would be best for this little monitor. I unplugged the two connectors to this monitor so that I could continue to tinker with the arcade without unnecessarily powering this monitor up.
One thing that caught my attention as I started to delve further into this cab was that most of the parts have the arcades serial number on them, and all bar the little monitor (must have been swapped out at some point) match:
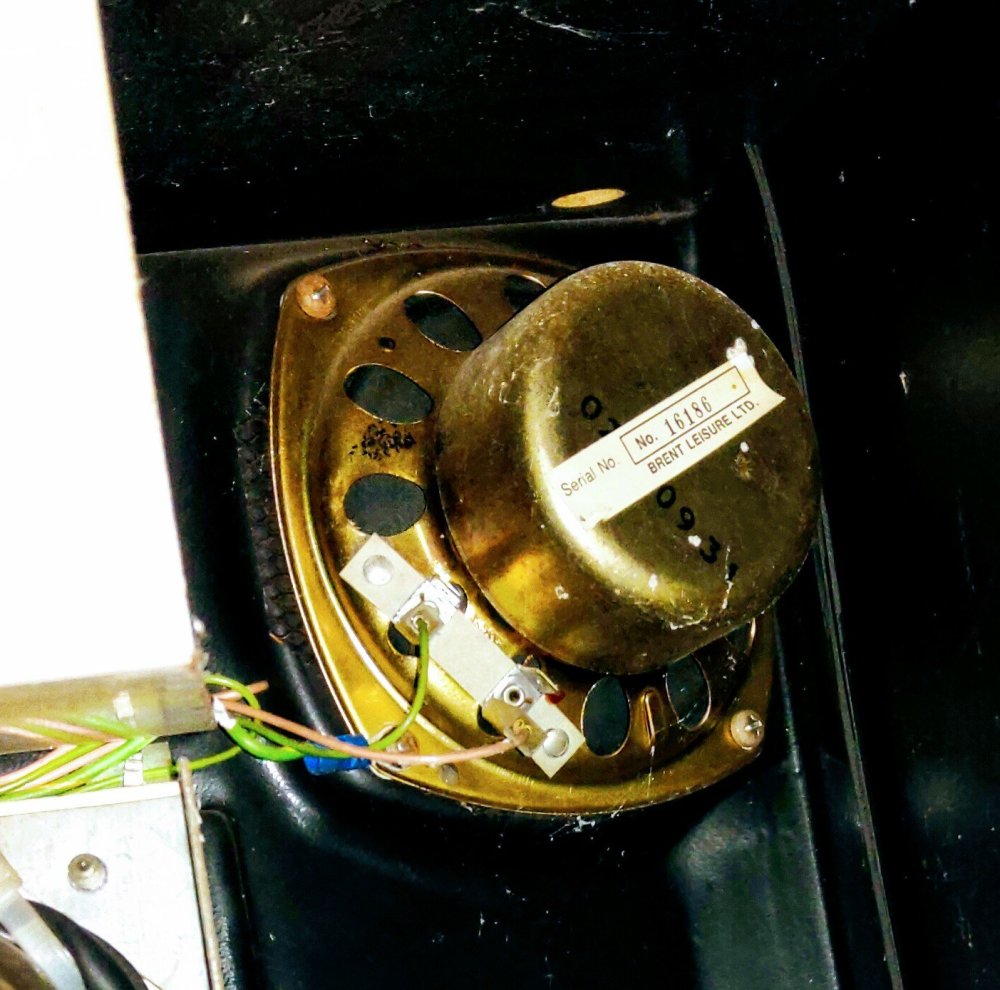
A shame about the top monitor not matching, but nice to see all of the other parts (including the speakers!) having matching serial numbers.
In order to start to diagnose what is causing the games not to start I needed to remove all of the games so I could re-seat them one at a time. This meant getting through another lock, so out came the molegrips again. After a few minutes of swearing and brute force, I was in:
It was nice to see a good selection of games inside as neither myself or Paul (seller) had any idea what was inside. I pulled all of the games and put them back one at a time into the first slot to see if I got any differences. First up was Super Mario Bros:
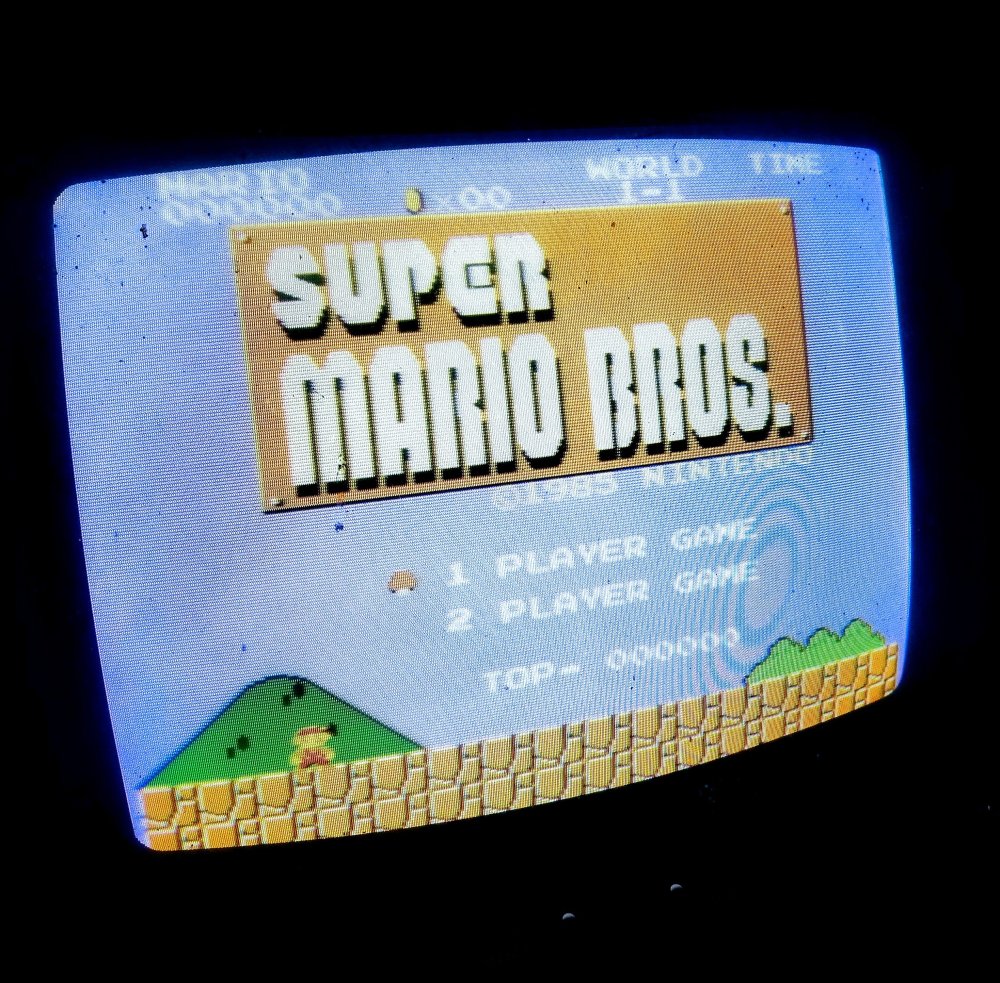
No change here. The game boots and runs through its attract demo, but I can’t start the game. I did start to wonder if the issue was with the buttons themselves, but when I plugged in Contra, the game fired up and I could actually play! I tested all of the carts that I had and only two would actually start (Contra and Double Dragon), interestingly the two games on the longer PCBs. So the fact that some started ruled out the controls and pointed more to something on the boardset itself.
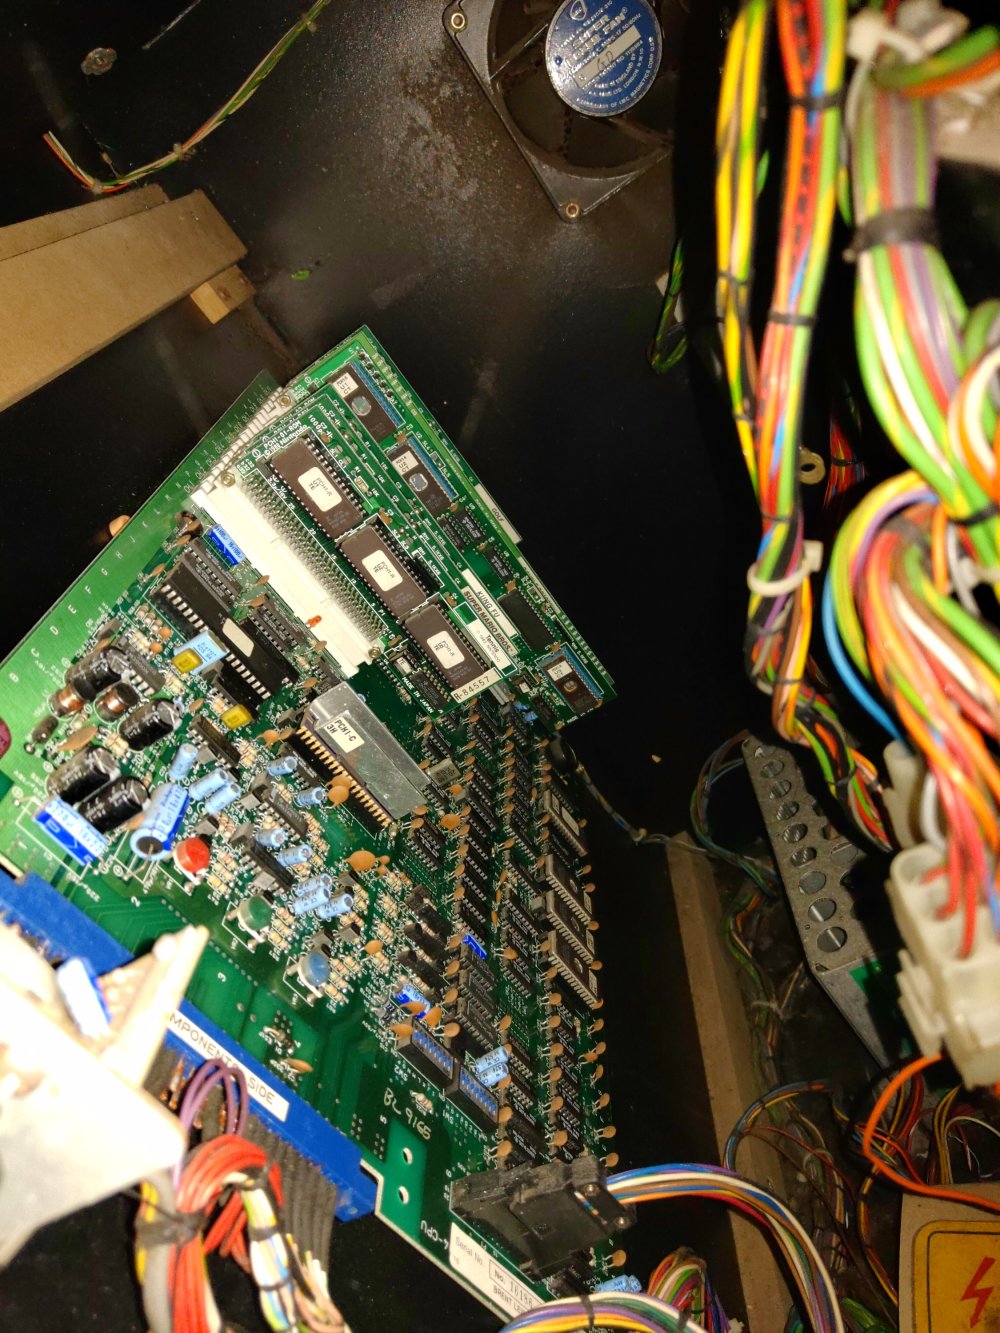
I did a bit of digging online and discovered that the PlayChoice boards have two different CPUs, one that runs the menu and one that runs the games. To start the process of elimination I decided to try a different CPU on the game running part. Turns out this CPU is the same as used in the .Vs Unisystem boards and Donkey Kong 3. I had a DK3 board to hand so pulled the CPU and swapped out the one in the PlayChoice boardset:

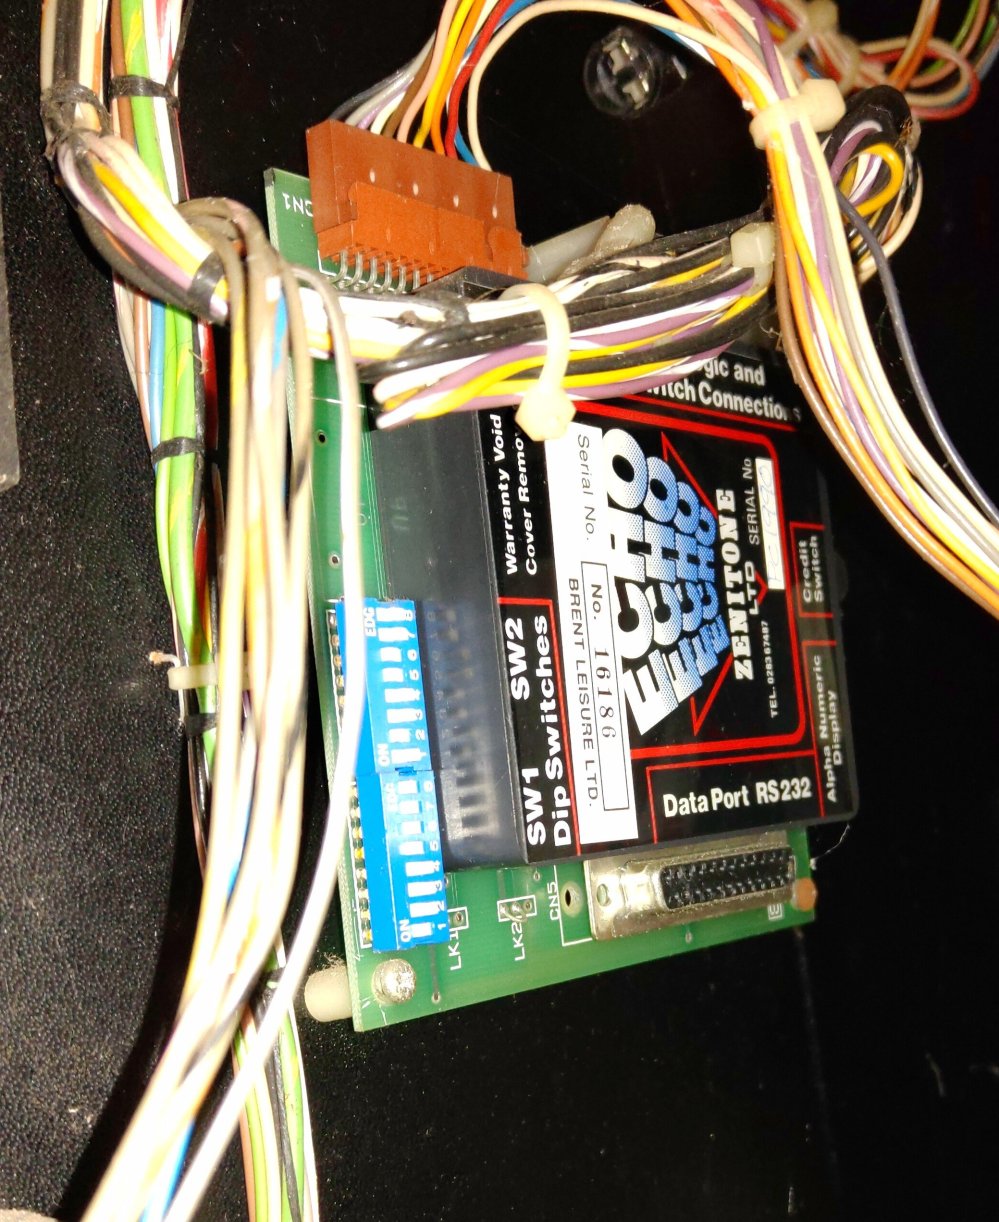
This changed nothing, but allowed me to rule out this CPU. Now the other CPU is a widely used Z80, but on these versions of the PlayChoice is located on a bespoke daughterboard (I assume the board controls the reset to menu based on the timer):
This is tucked right at the back of the cabinet so not easily accessible from the front at all. I took the decision to spend the rest of my evening tinkering time opening the rest of the locked panels (mainly as one was directly above this board at the back).
I’d opened two so had two remaining. The first to be tackled was the coin door which had a round lock (similar to the Takigen locks). Id bought myself a round lock picking set a few weeks earlier to gain access to my Popeye cocktail coin door. I hadn’t had much luck with the Popeye lock, but thought I’d have another go with a different lock. After a number of minutes of fighting with the lock, I’m not ashamed to admit that the molegrips came out again:
Most certainly not the intended usage for this lock pick, but it did the job! Inside was the coin box (on tracks!) and the coin meter along with a lot more grime:
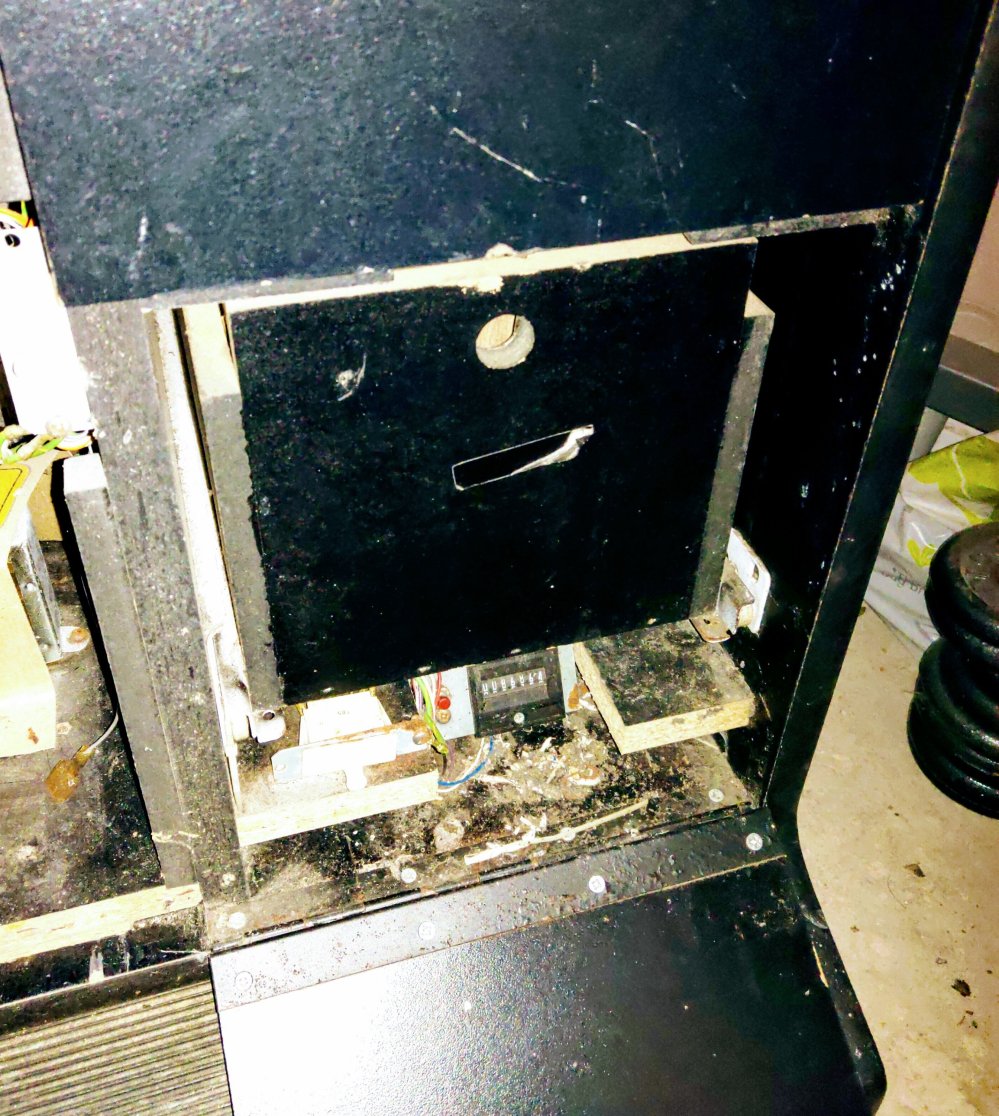
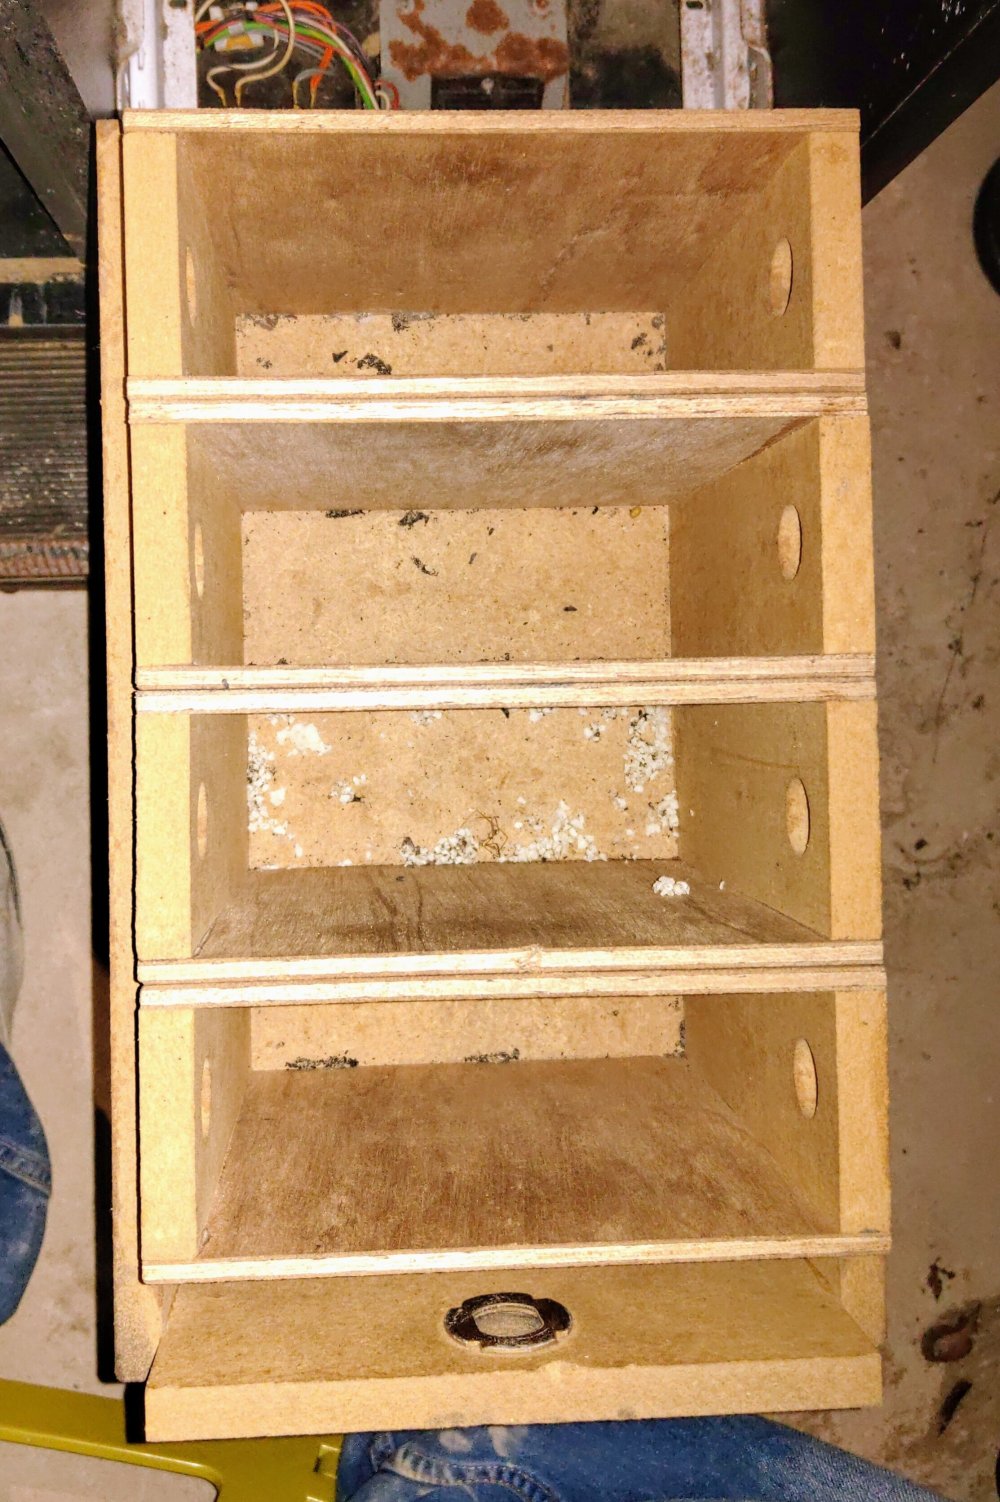
The coin box itself is divided into four smaller boxes inside, I’m presuming for different coins:
Last lock was the back panel behind the main monitor. This one put up the biggest fight, but again I gained entry with no damage to the cabinet. The same can’t be said for the lock:
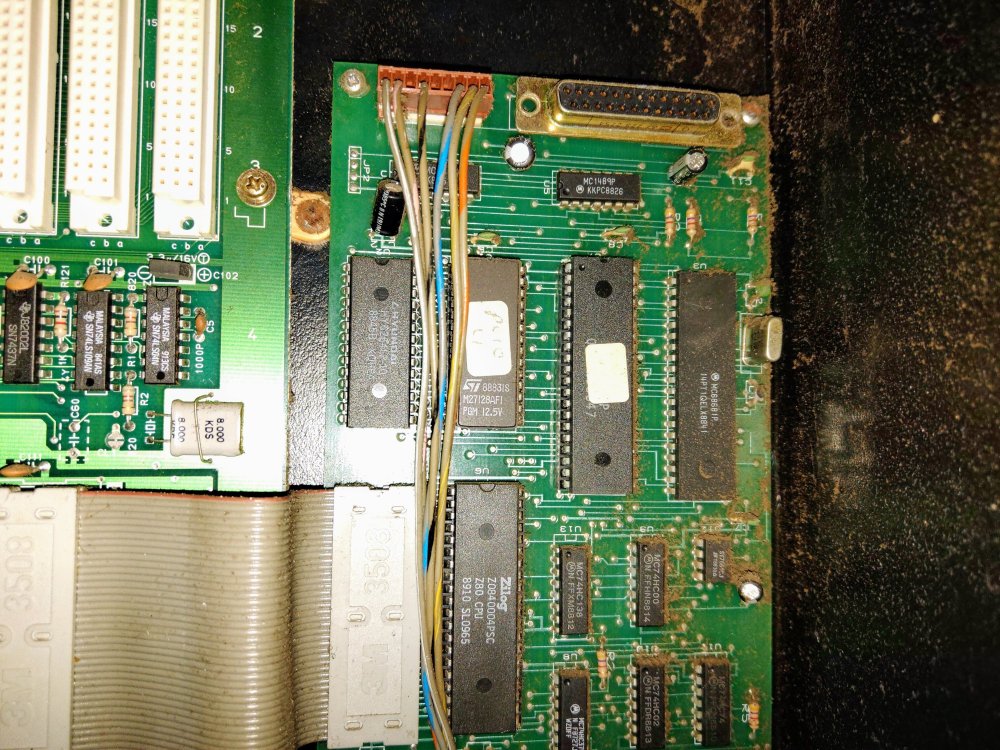
This access panel did allow for much easier access to the back of the main PCB and the daughterboard seen earlier:
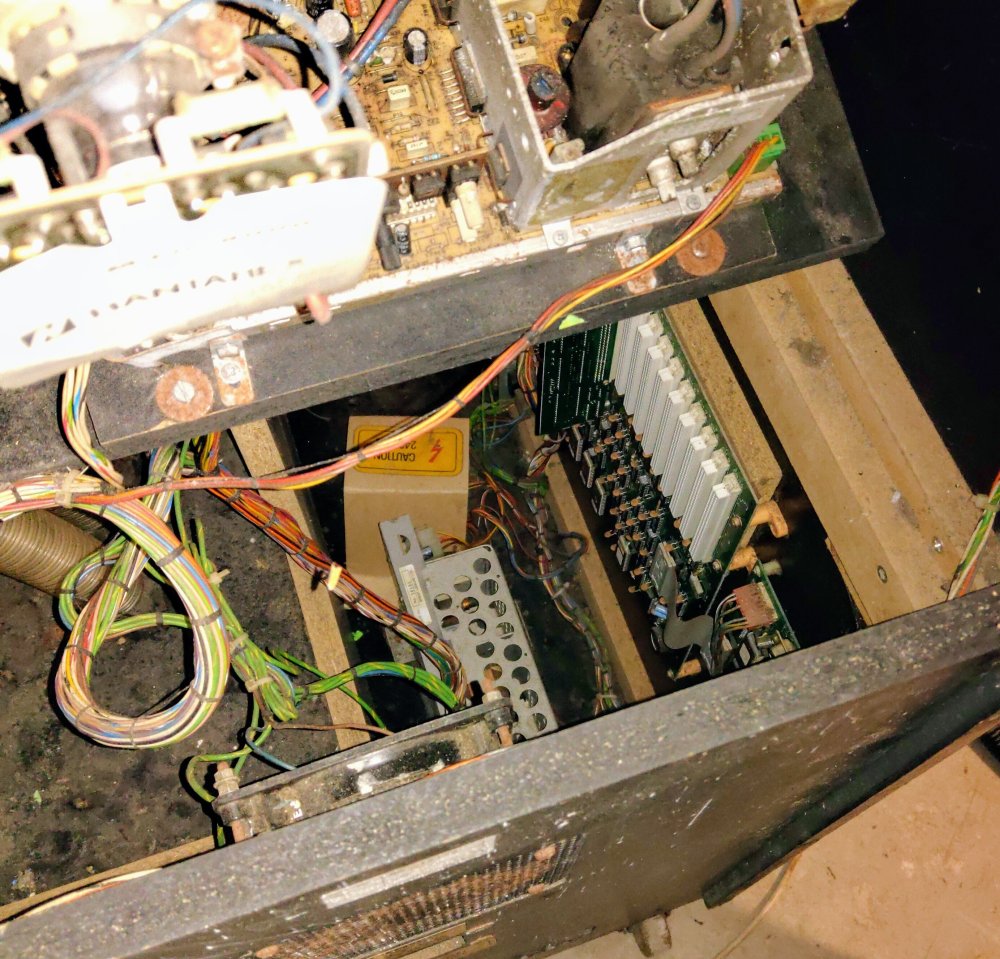
The most intriguing part uncovered by removing this panel were the coin chutes:
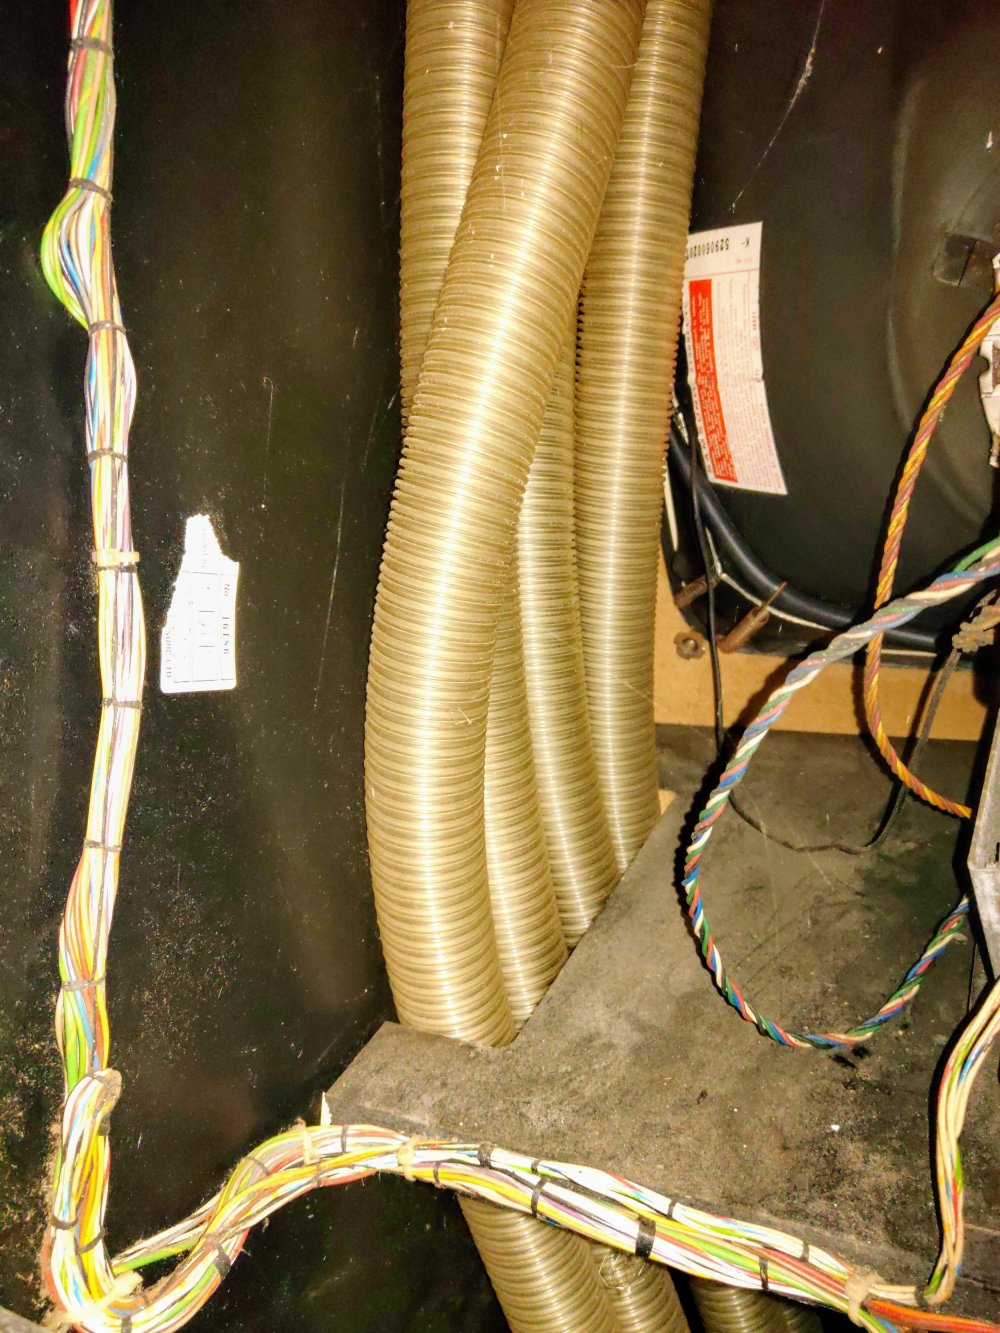
These came from the coin mechanism at the top of the cab and ran down to the coin boxes at the bottom. I originally believed the four boxes were for different denominations of coin and these four separate chutes seem to confirm this.
That’s as far as I’ve got today. Reading the manuals online suggest that there’s a self test mode you can boot the cab into. I’ve tried a couple of times now but I don’t get anything displaying on the screen, but I did wonder if the self test info goes to the top monitor (which isn’t operational at the moment).
I’ve reached out to a few people for some advice on the non-starting games and plan to rebuild the small top monitor before I try anything else.
