So you may have seen in my other Radarscope thread that I picked up a Radarscope cocktail. I bought it back in July last year from CoinOpWarehouse and it was bought as a non-worker.

I asked for a couple more pictures at the time as I wanted to know if it had it’s serial tag. Lloyd kindly sent me the below photo.
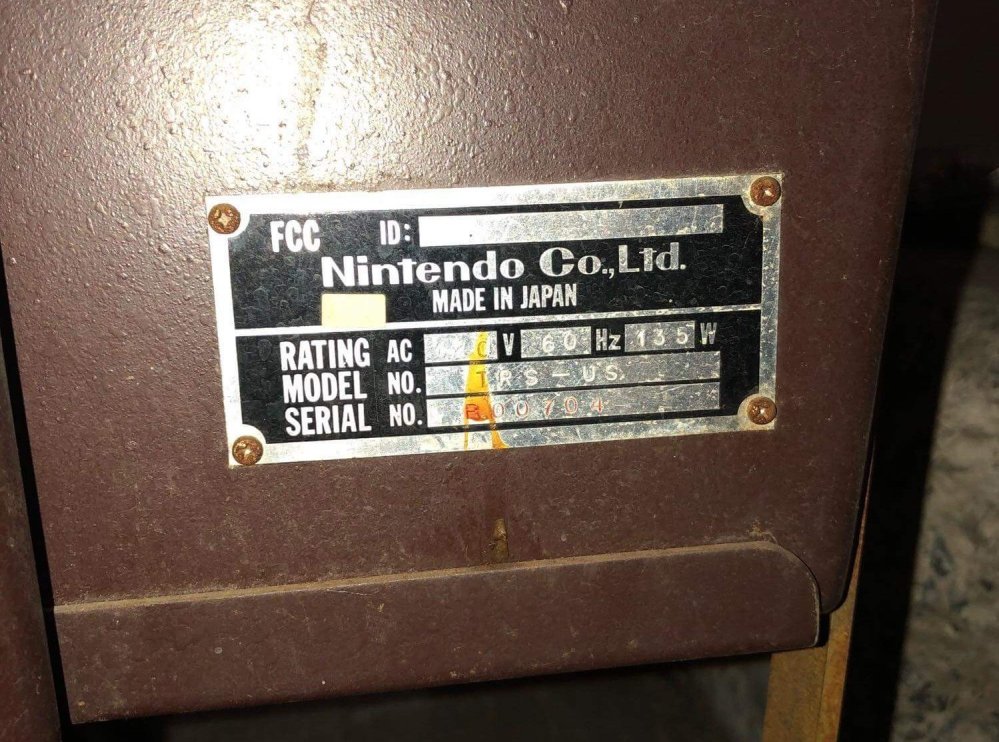
I knew I needed to add this one to my collection, so we agreed a price and it was put in the corner awaiting a container bound for the UK.
Skip forward eleven months, and it landed in the UK. I had a few days off work so arranged to drive down on a Friday to collect it. It was only in Chesterfield, so it wasn’t a particularly long drive.
I met up with the guy who imported it for me and after a good chat, loaded the cocktail into my car (along with some others goodies!) and headed home.
I got home and unloaded the car. The cocktail looked in great condition considering its nearly forty years old now!
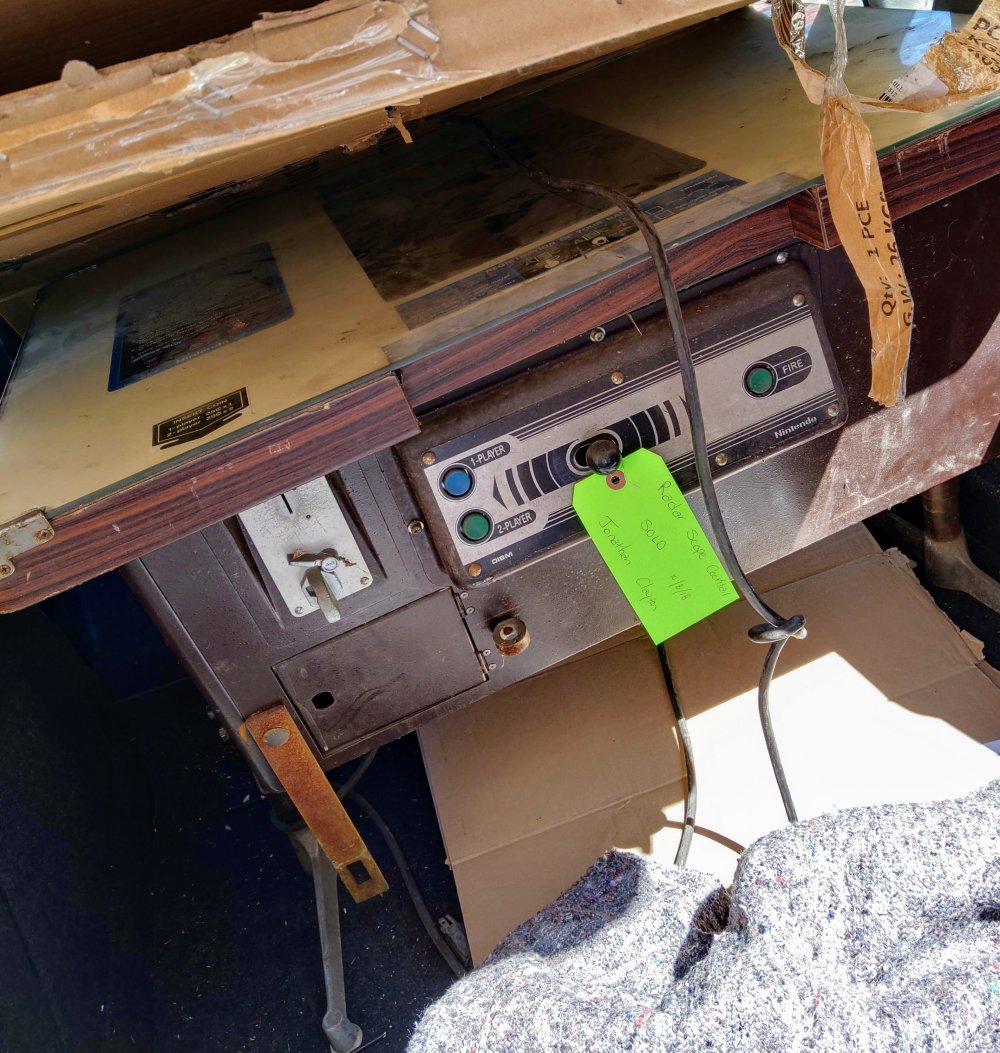
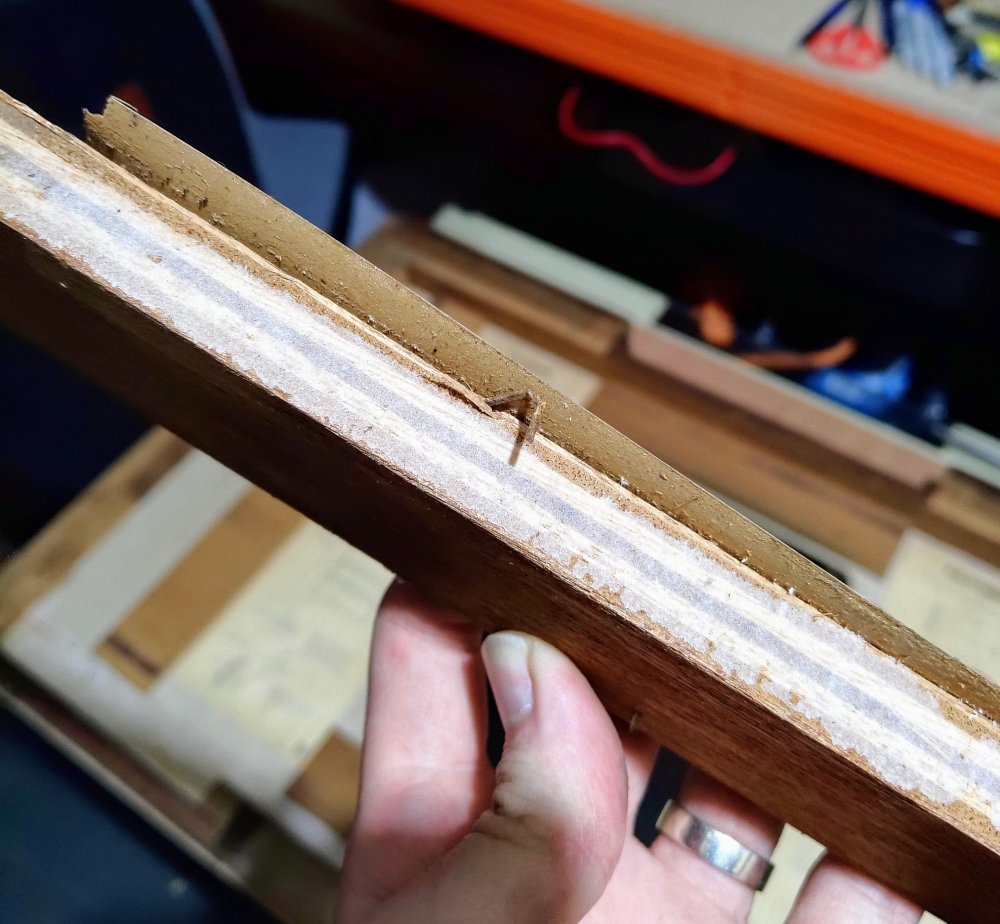
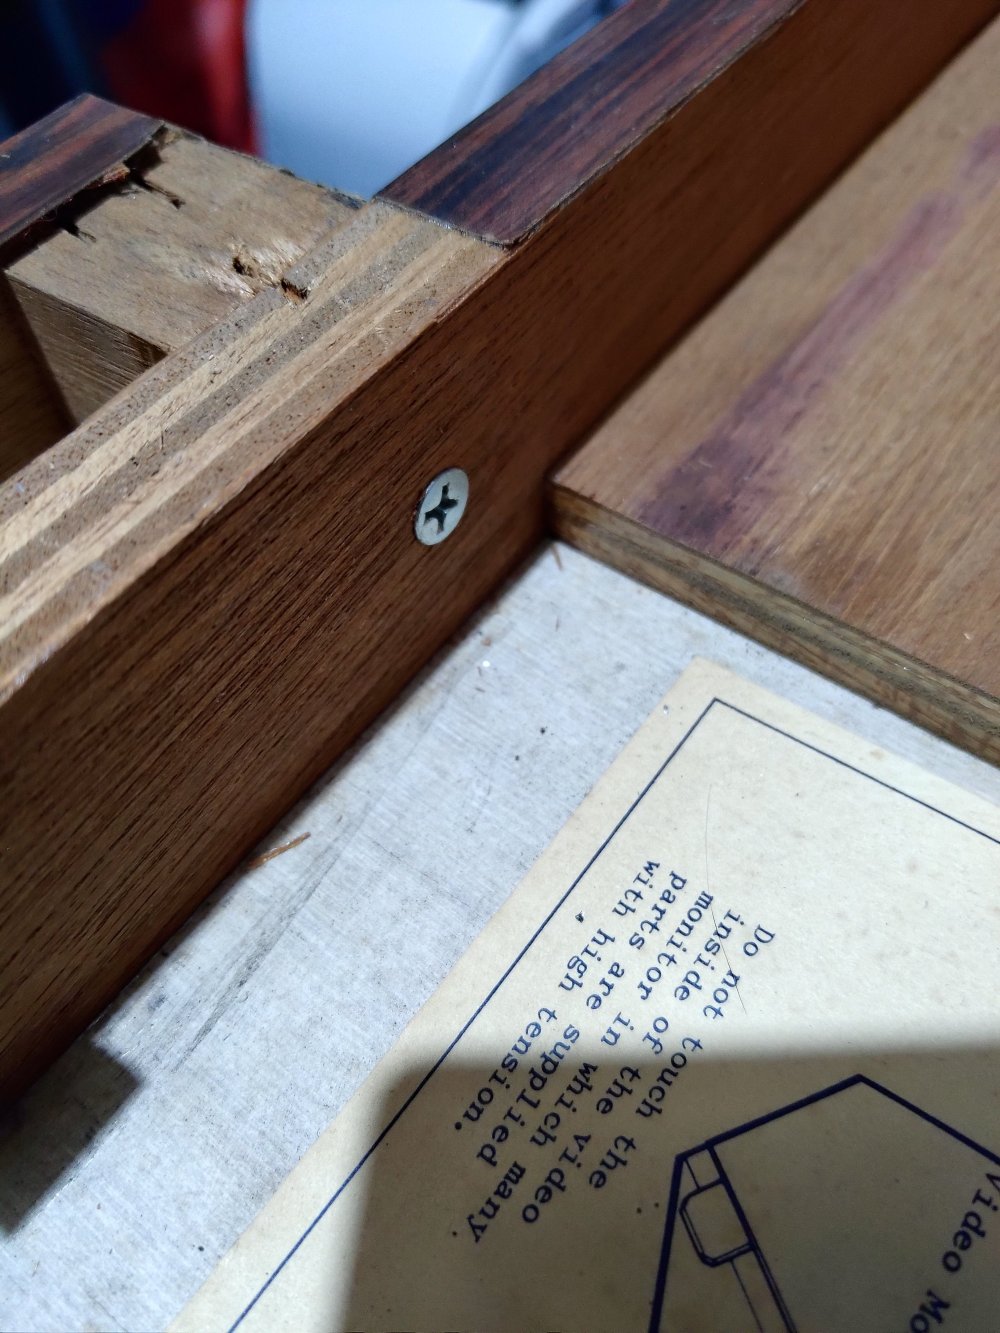
The first big thing I noticed was that the lid was partially detached. When I got the cocktail out of my boot and had a look, the issue was with the piece of wood that the hinges are attached to. It’s supposed to be glued to the inside of the lid, but the glue had clearly given way.

So first job was to tidy up the two parts and re-glue the part back into place. There were a number of old staples that needed to come out first before the piece could be put back into place.
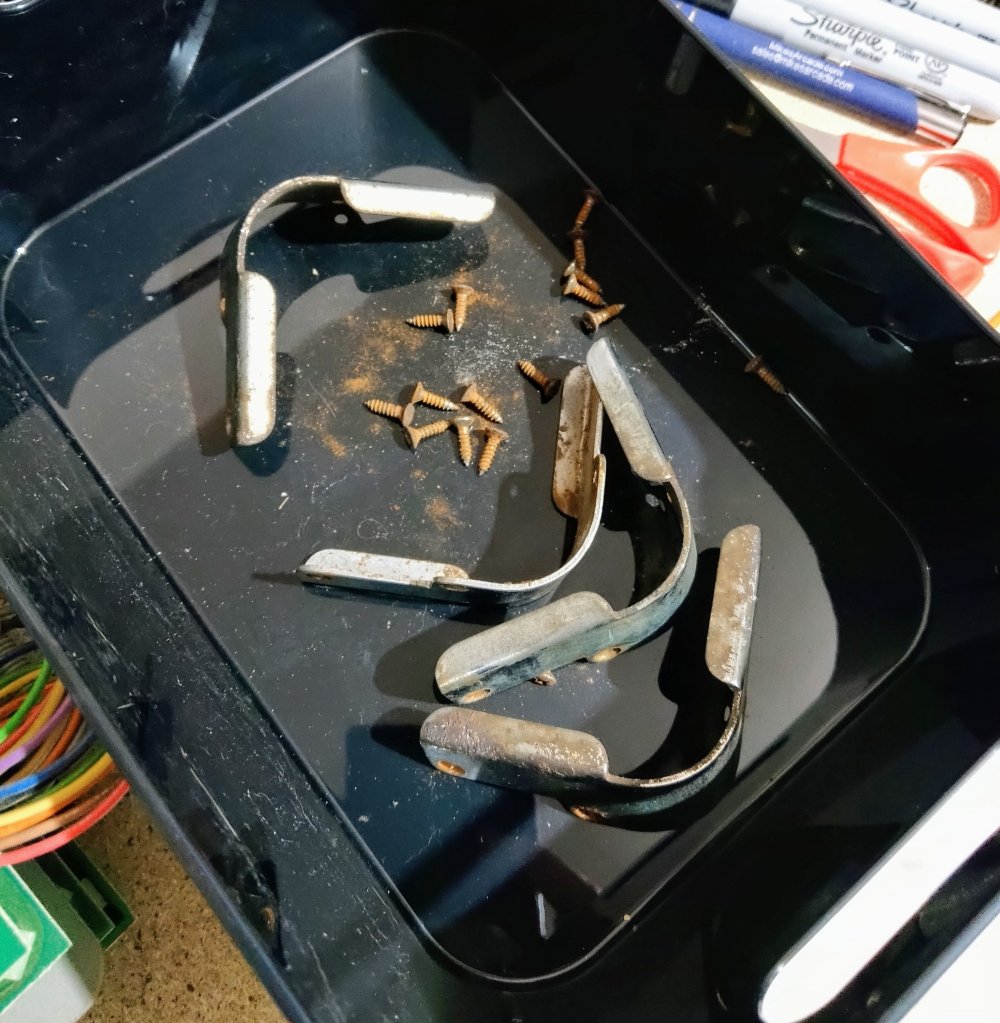
After a short clean up session the part was ready to be glued back into place. As I’d have to hold the piece with clamps, I needed to remove the glass top to ensure I didn’t break the glass under the pressure. I removed all four corner clips and put them to once side for cleaning.
The top was absolutely filthy:
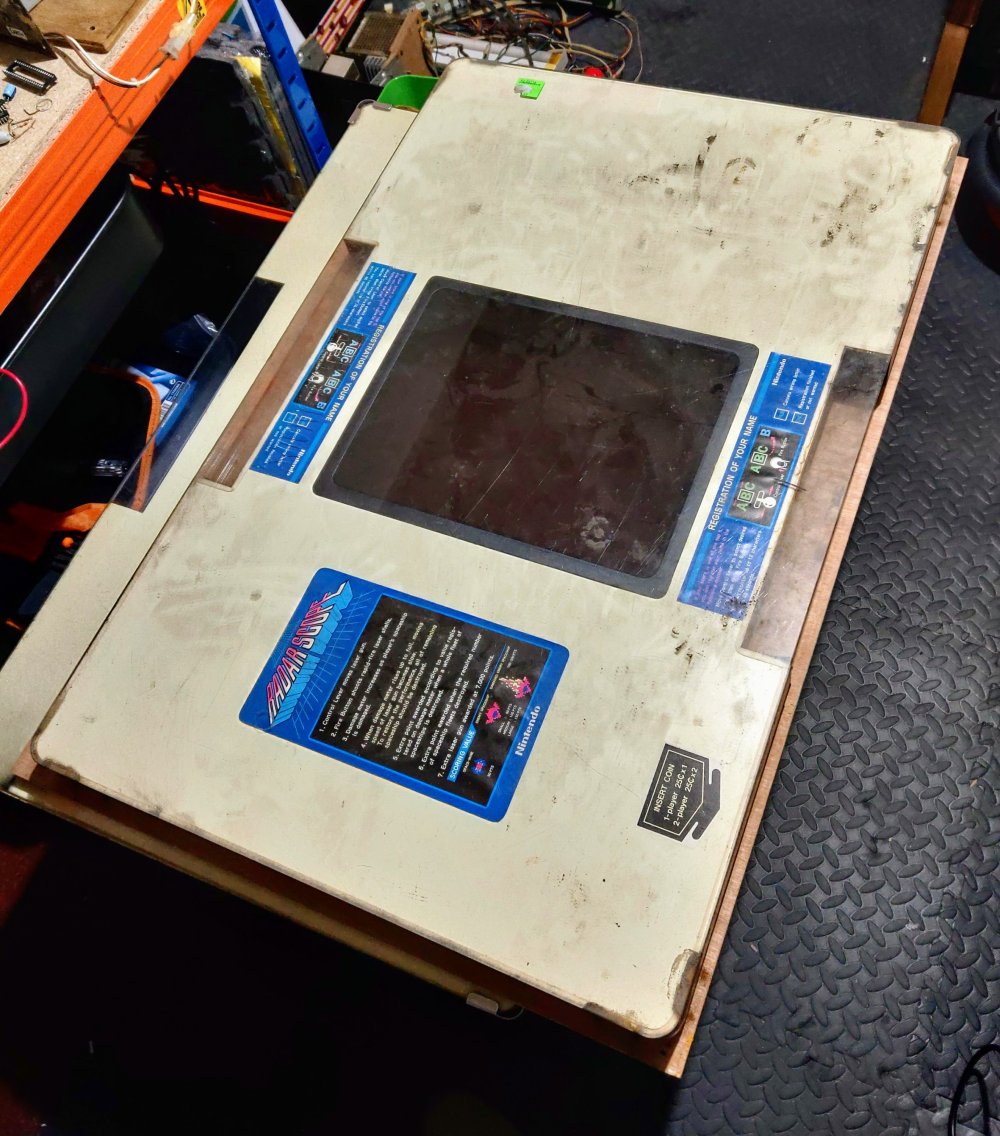
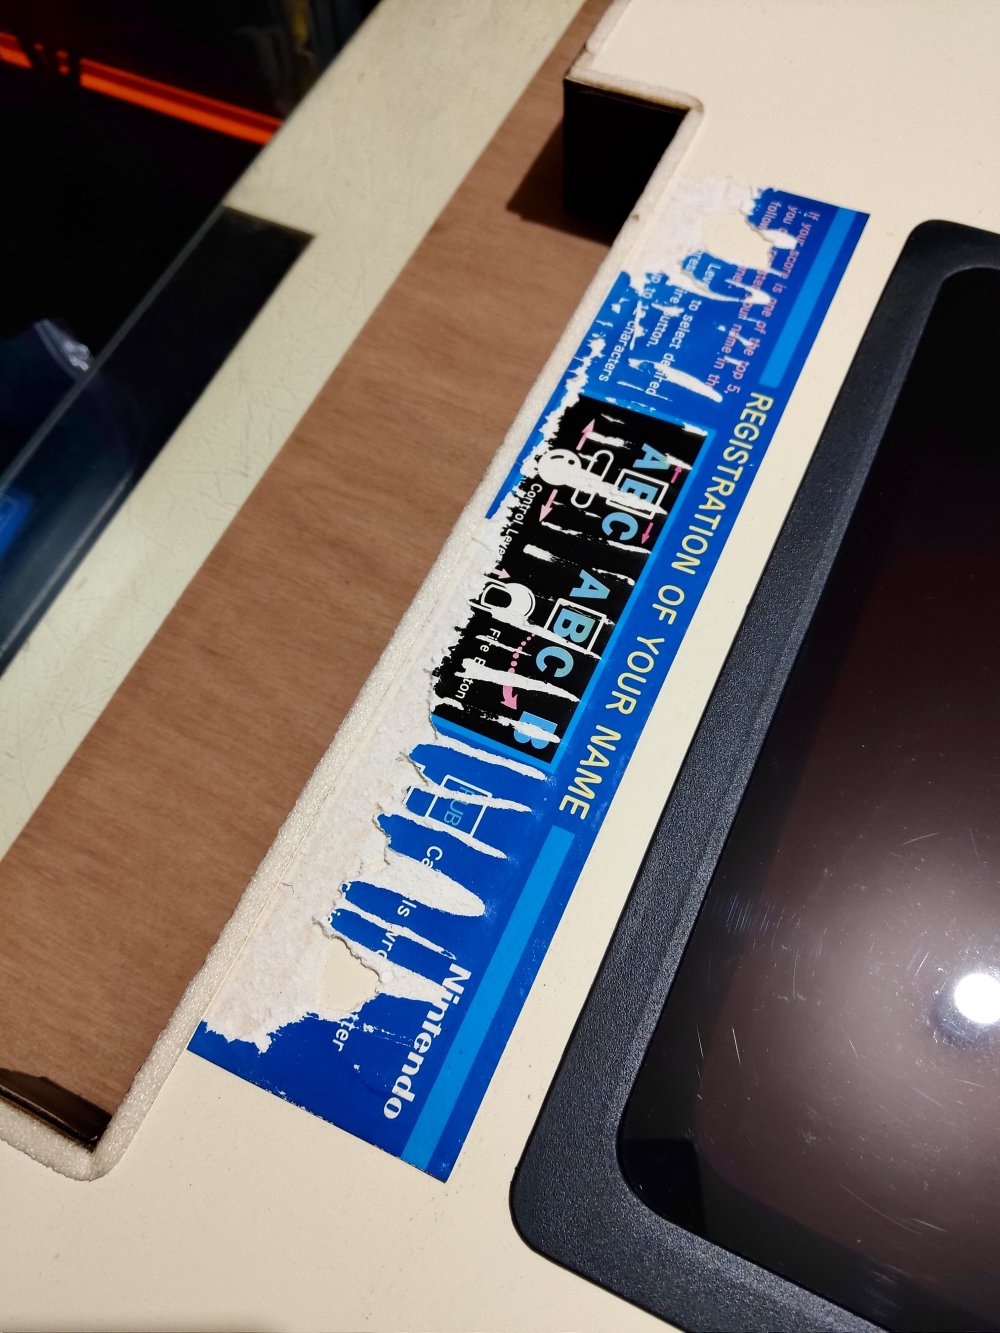
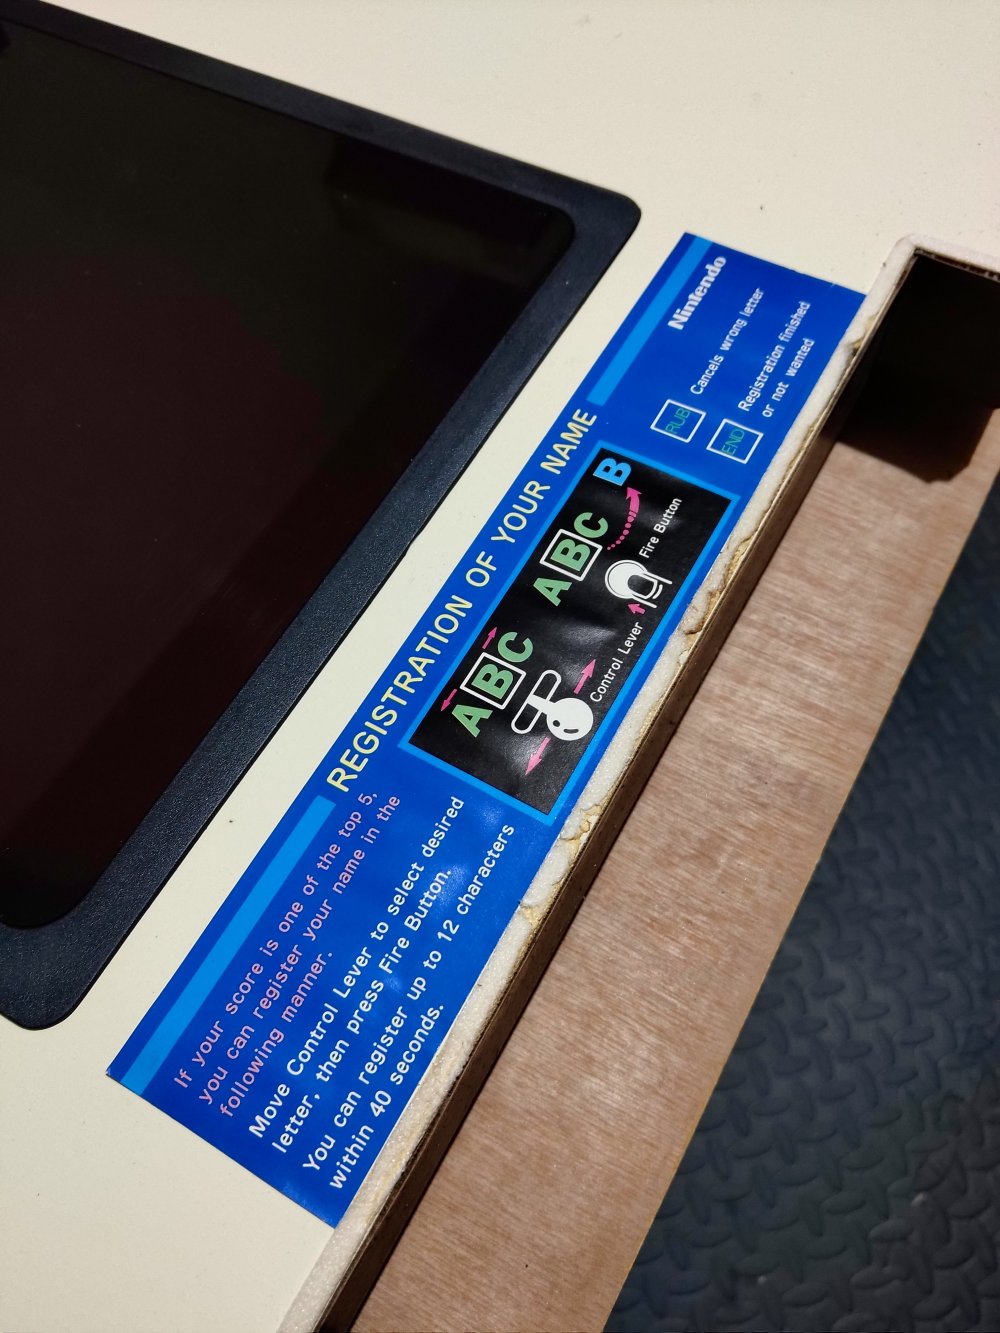
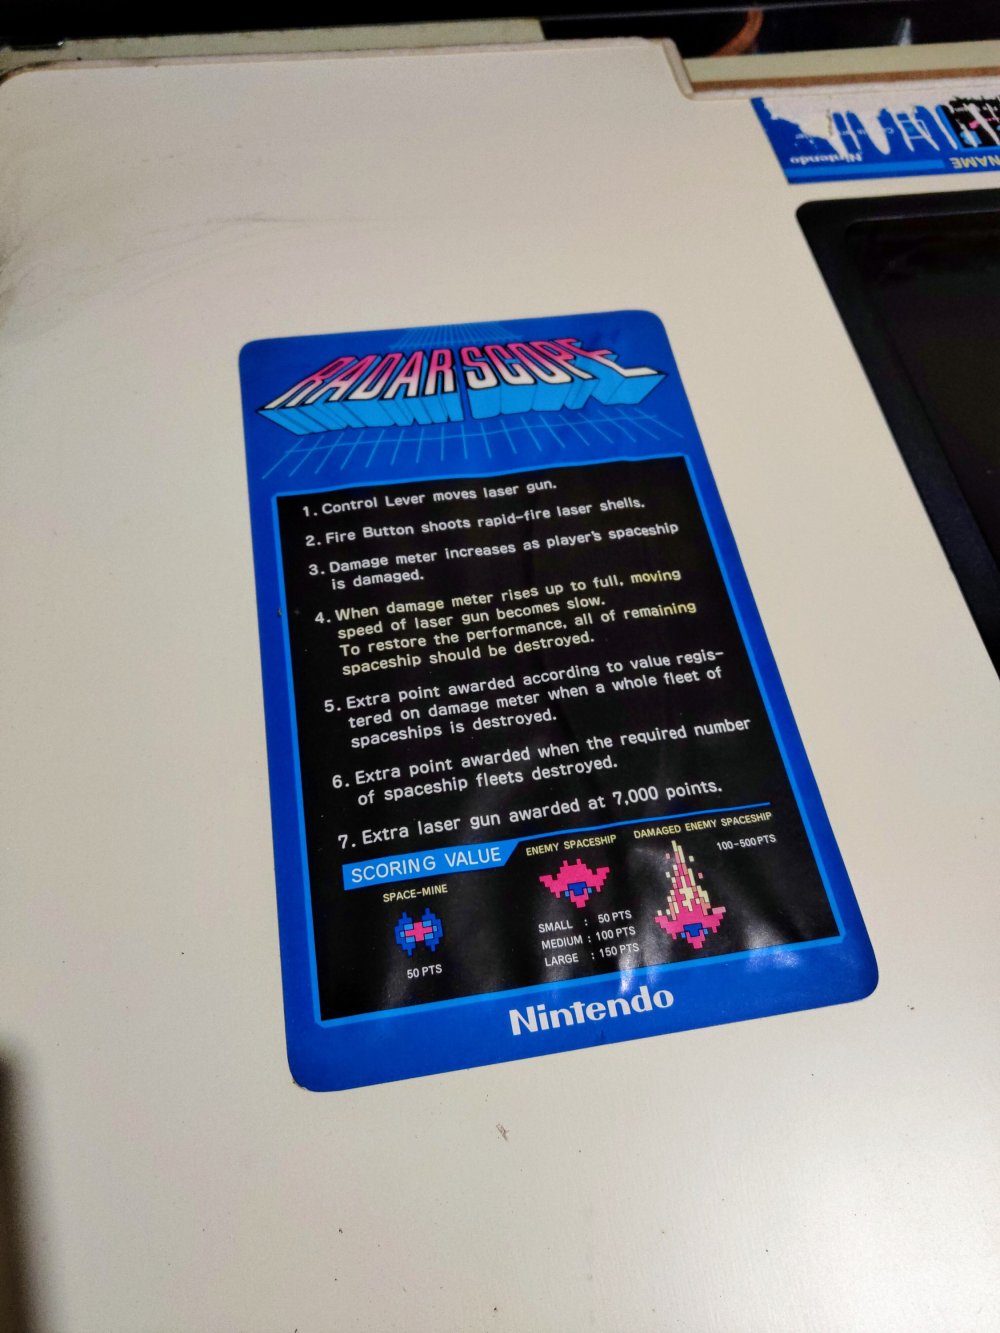
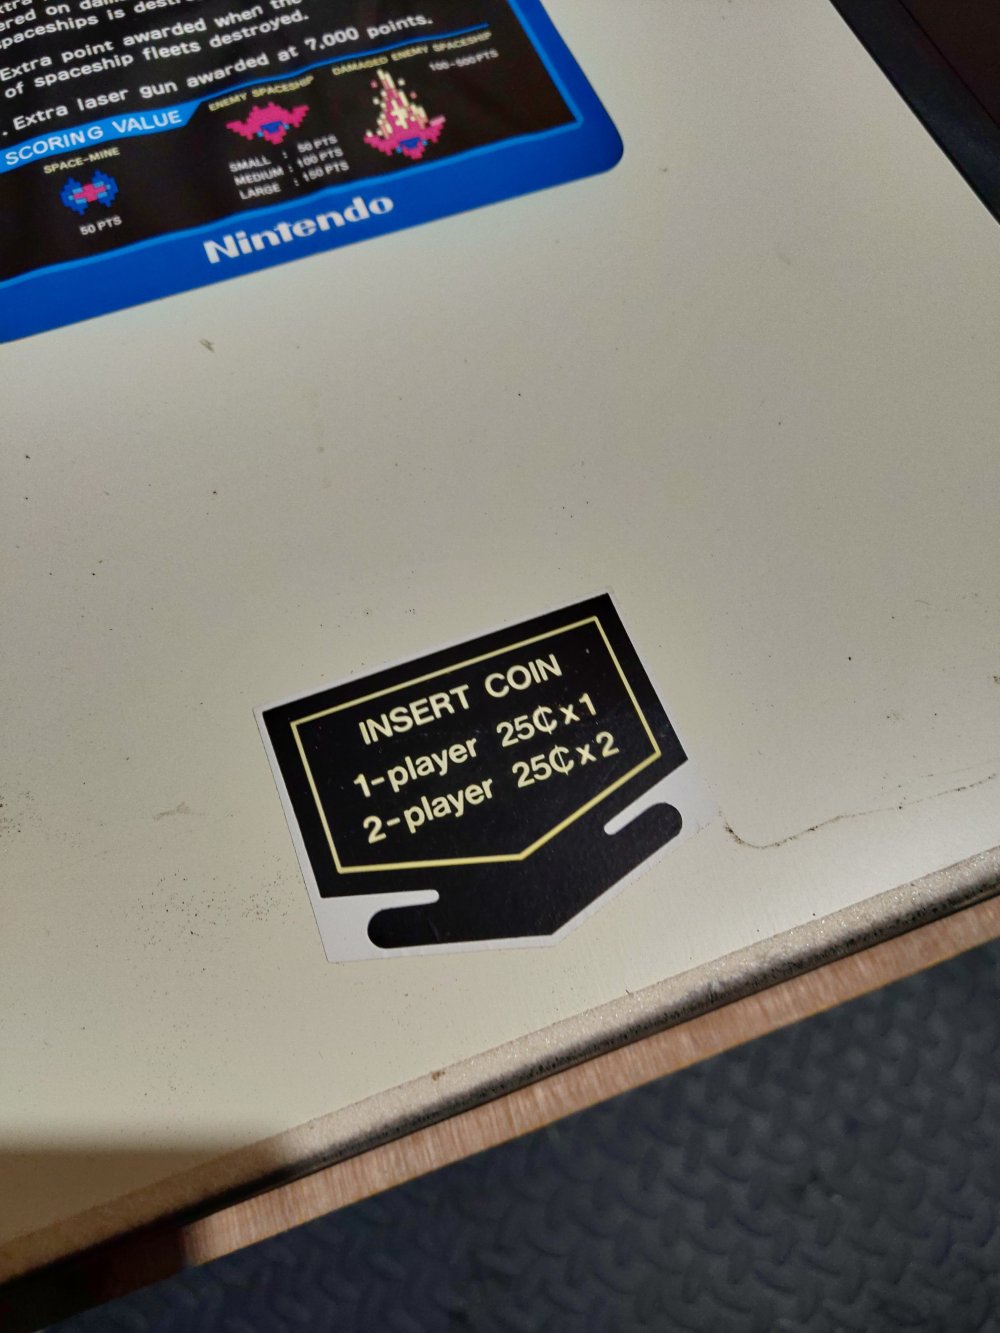
But luckily, majority of the filth was on the glass itself. Once I lifted the glass off, I could see how clean the top and artwork were. One of the thin instruction cards unfortunately must have got damp at one point and had stuck to the inside of the glass, but all of the rest of the artwork was in great condition.
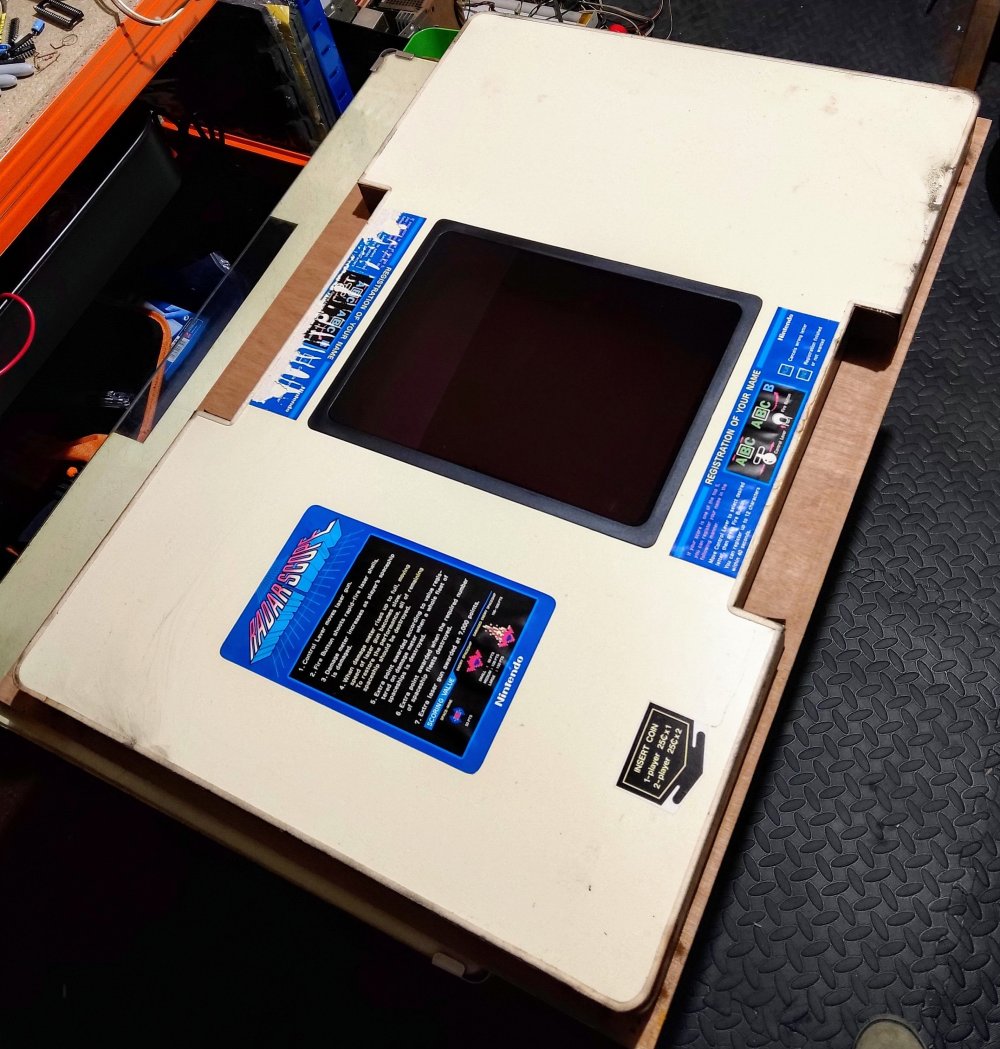
Now that the glass was off, I flipped the lid back over and applied lashings of Gorilla Glue for wood (other wood glues are available) and clamped the piece into place.
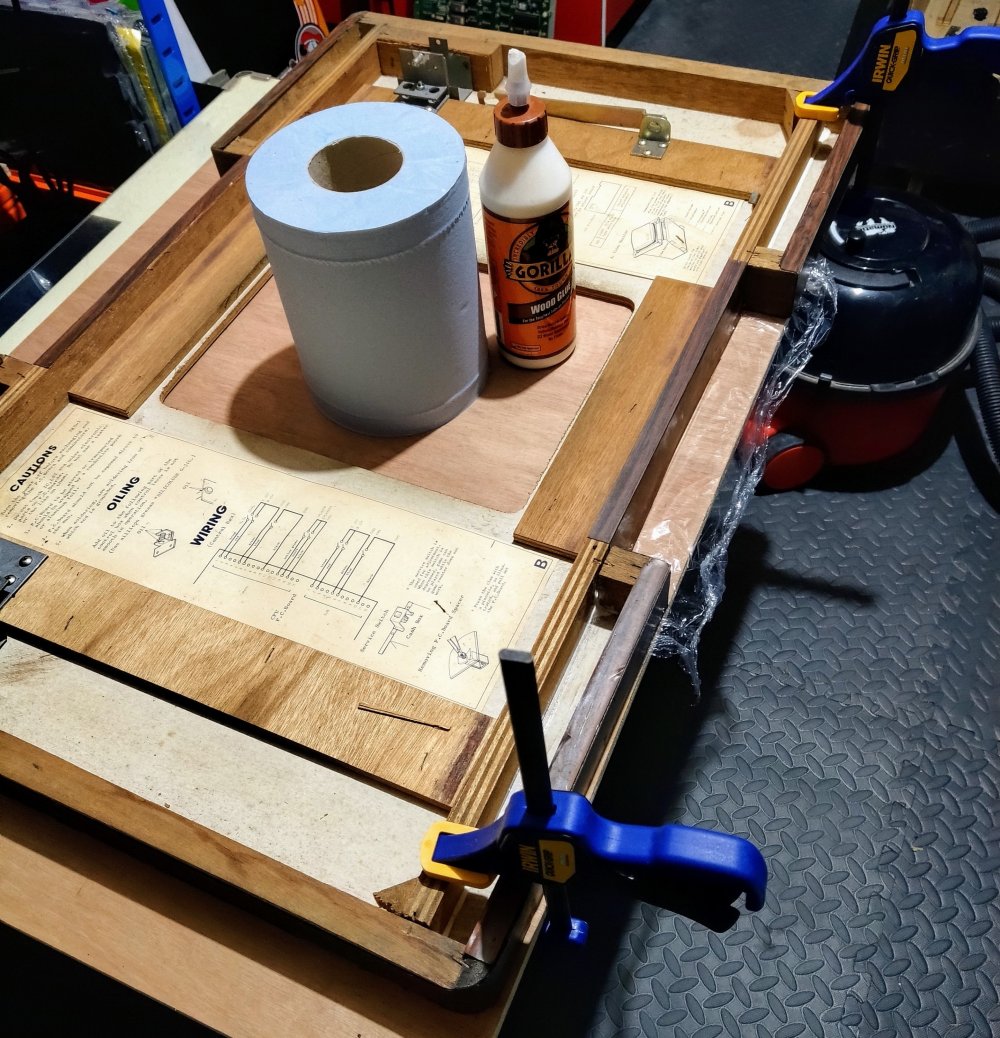
I know that this piece was originally glued and stapled in place, but as I had removed all of the old staples, I added a couple of screws through this piece into the frame for added strength.
I left the lid overnight to allow the glue to fully set and then went about re-attaching it to the cocktail. The hinges were still attached to the cocktail (as I’d unscrewed them to release the broken piece of the lid. I discovered that I could slide the hinges apart, leaving one part attached to the body of the cocktail and releasing the part that screws to the lid. I reattached these parts to the lid and then started the difficult task of sliding the lid back onto the two hinges. After a few minutes and a few choice words, I managed to slide the lid back onto its hinges.
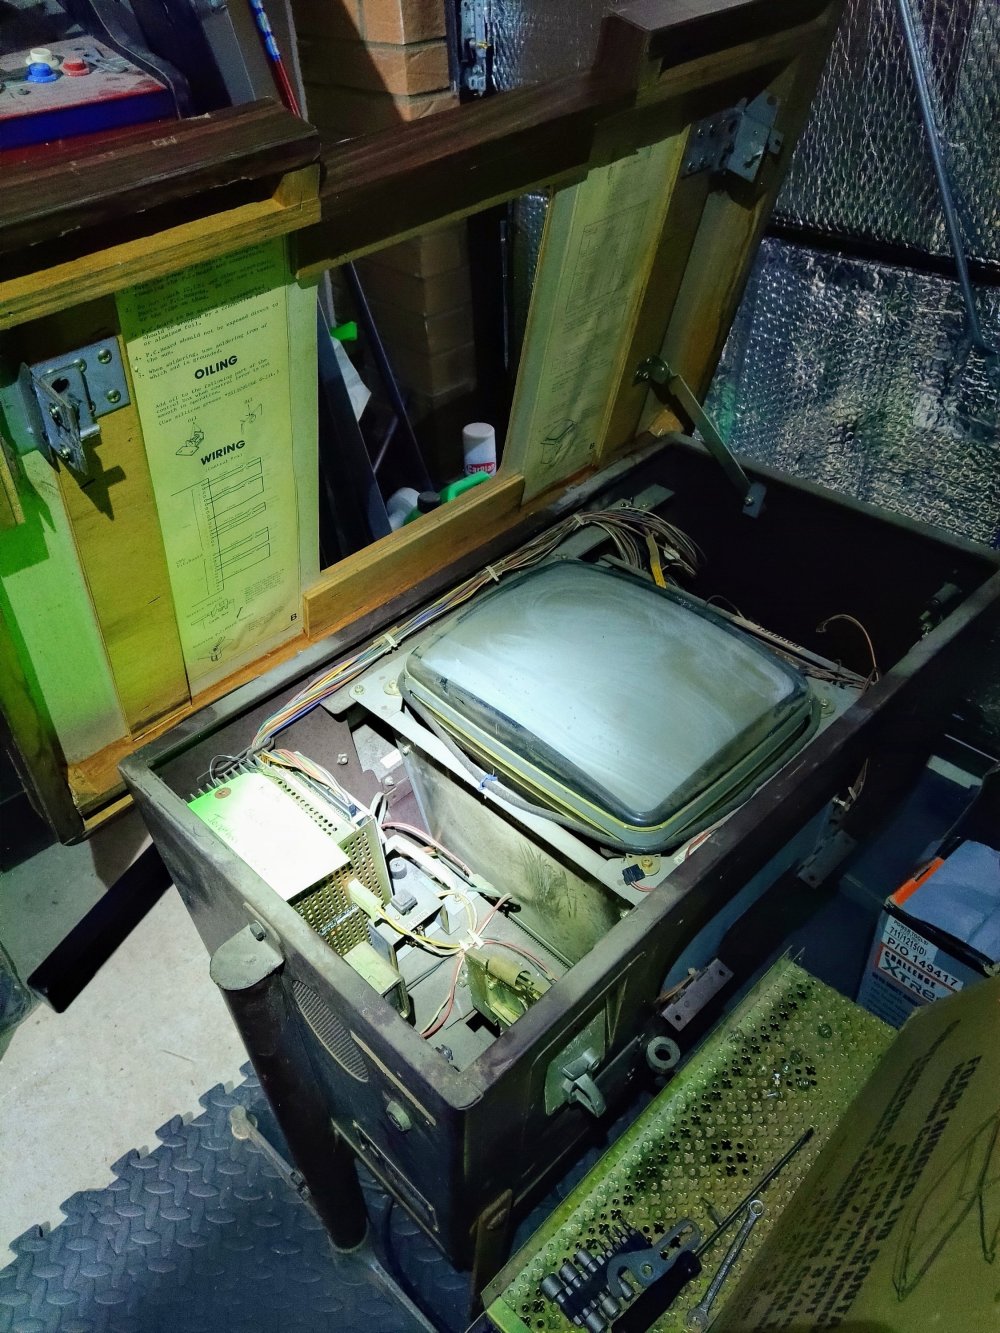
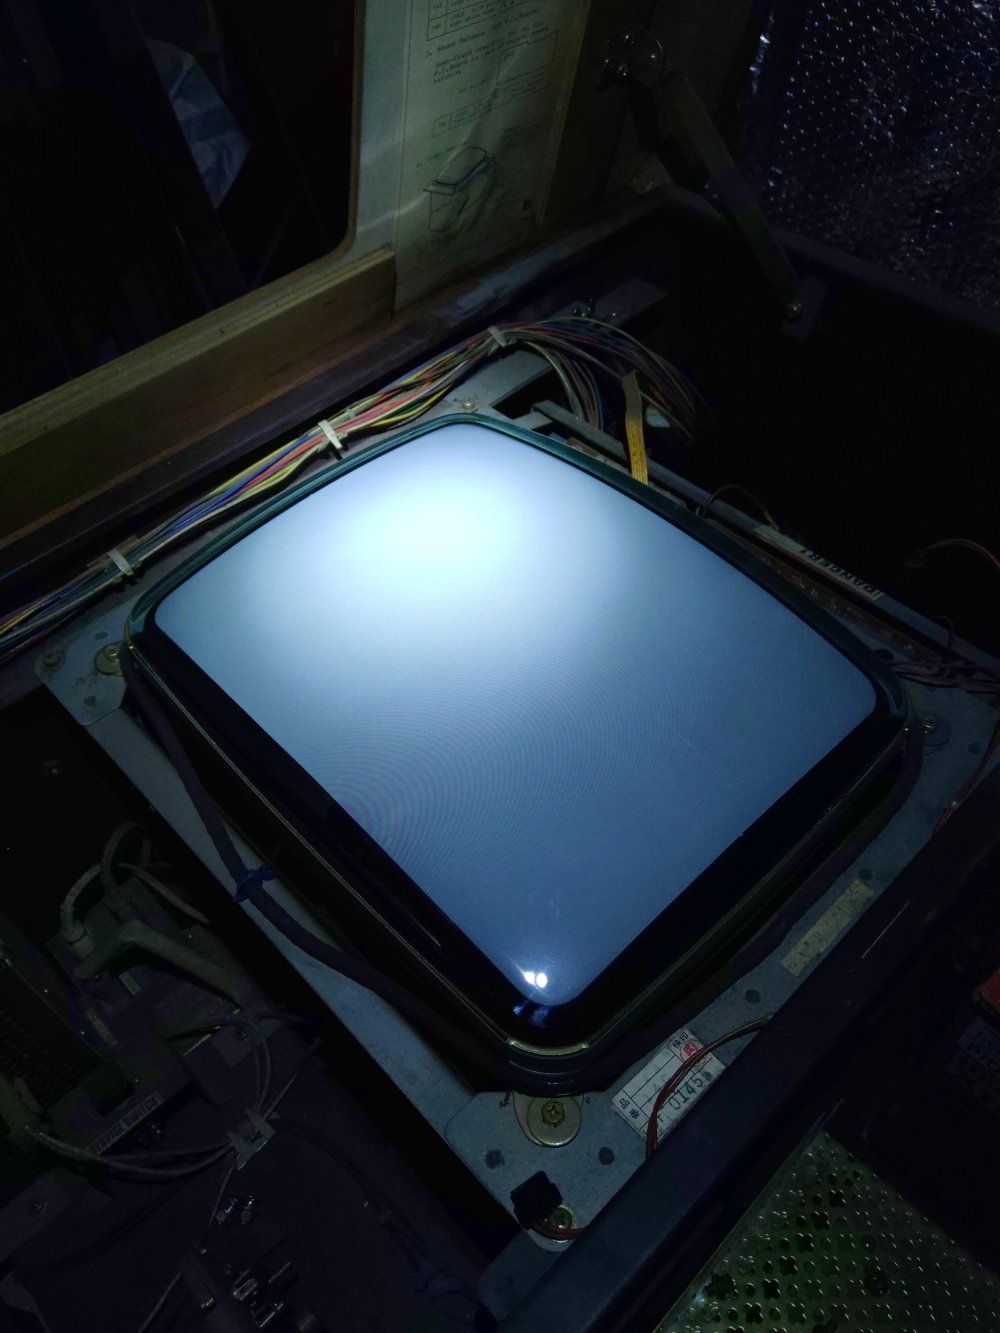
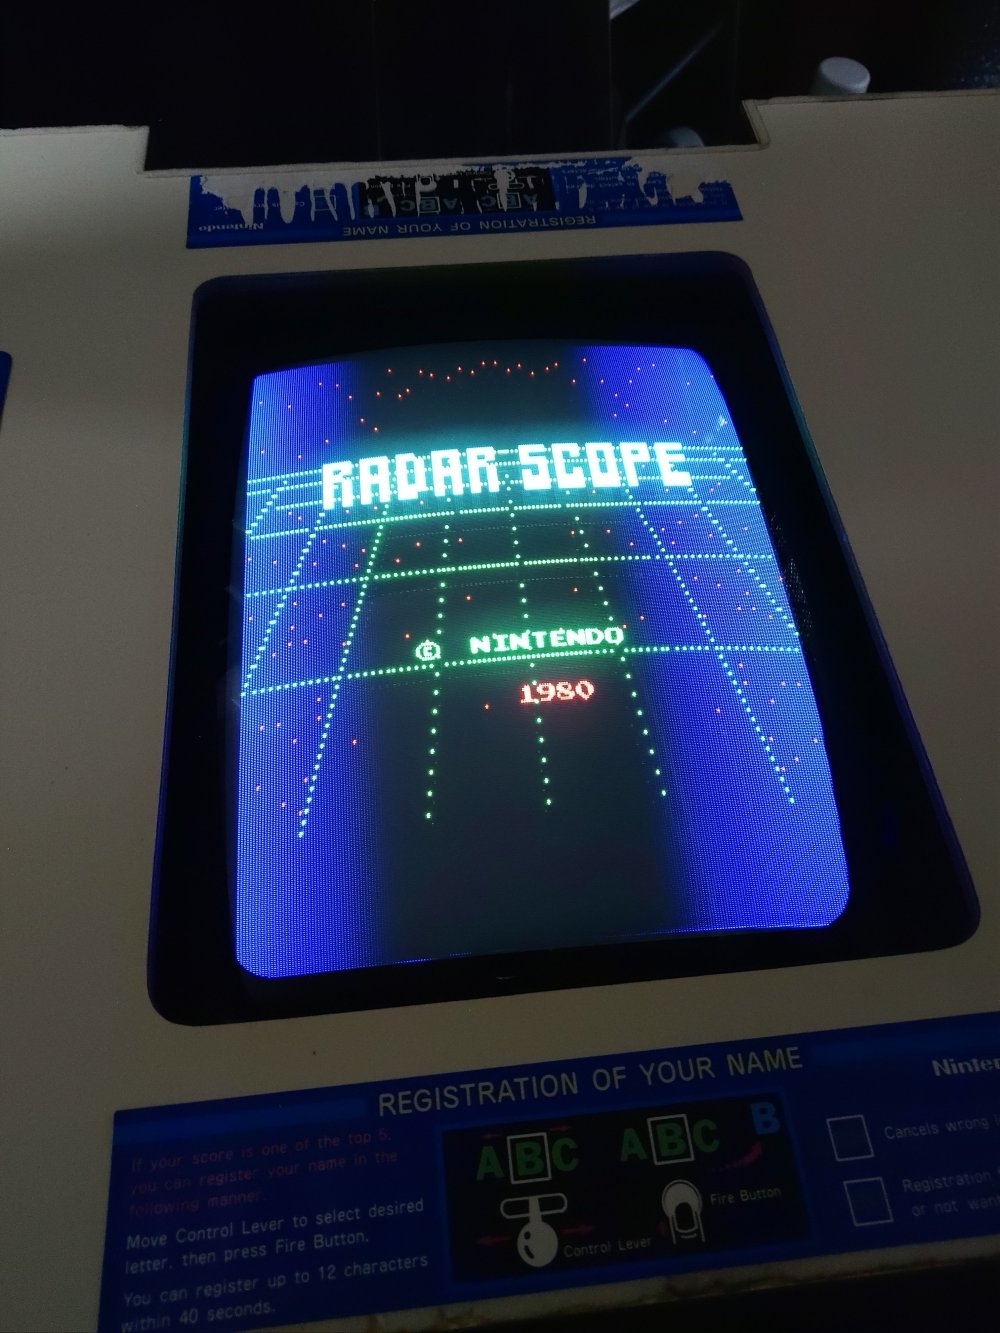
Next I turned my attention to cleaning the inside of the cocktail, including the monitor, before I put the boardset back in. The monitor came up nice and is another lovely burn free example.
In the bottom of the cabinet where the gameboard sat appeared to be a small collection of foliage.
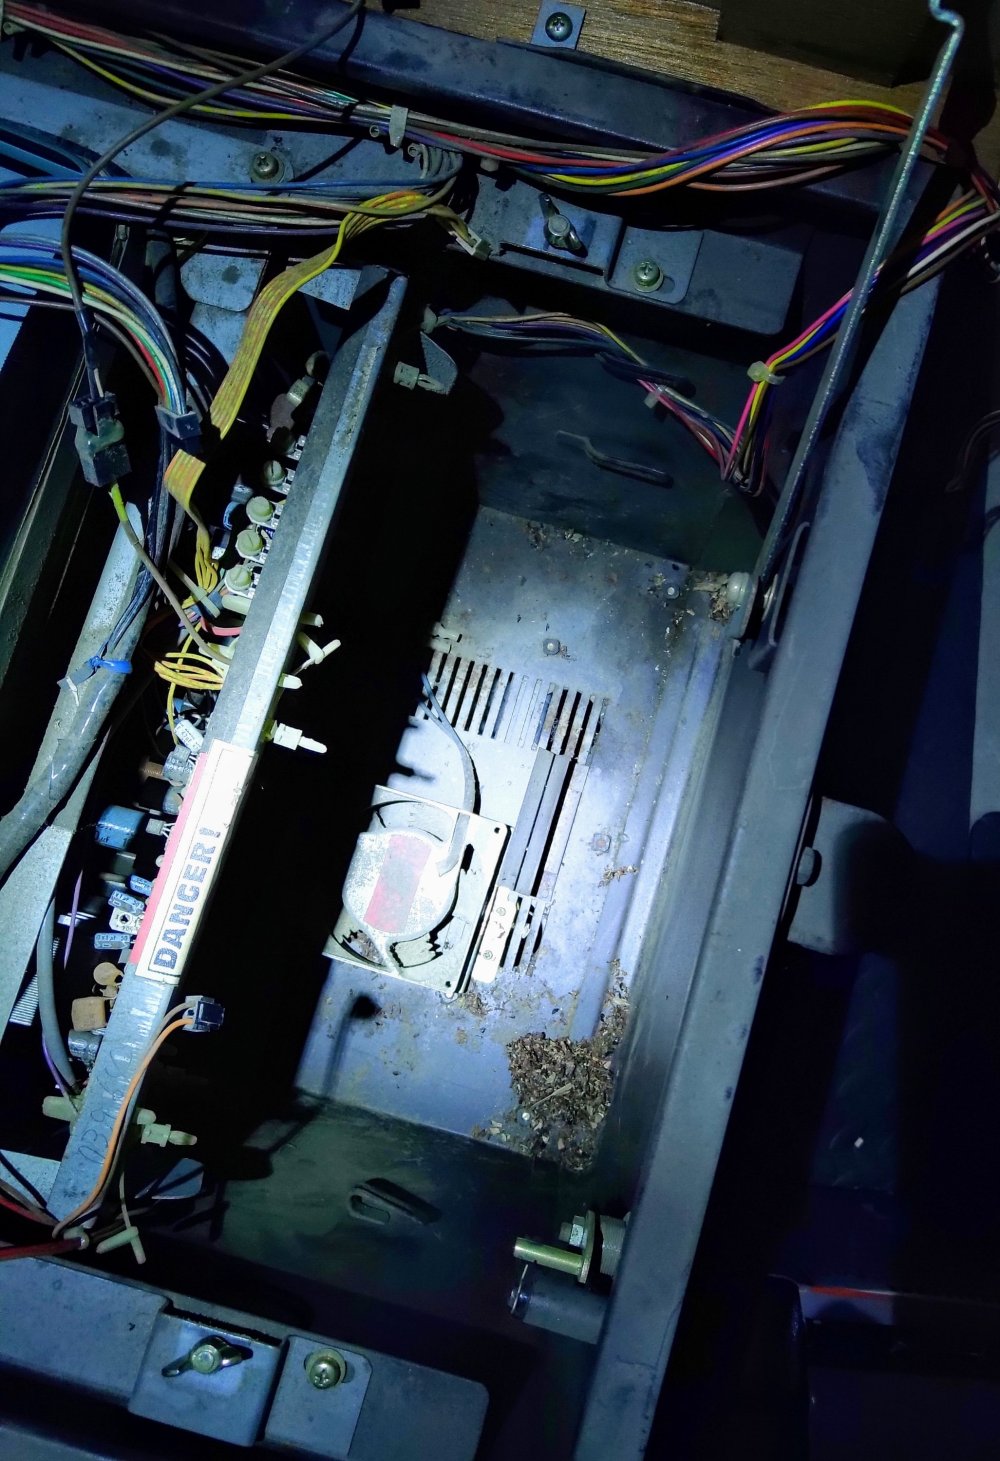
Out came the vacuum cleaner and the bottom of the cab was cleaned out. A quick check over everything else and I dropped the boardset into the cab and connected it up. Now as I mentioned at the start, this would bought as a non-working cab with just the monitor coming on. When I first opened the cocktail I noticed that it had one of the early PP7A power supplies fitted to it. This was the most likely suspect for the non-working status as the boardset worked on my test bench (after a good clean!).
I pulled the PP7B power supply from my test bench and replaced the PP7A in the cocktail with it. I connected the cocktail up to one of my spare step-down transformers and turned on the power.
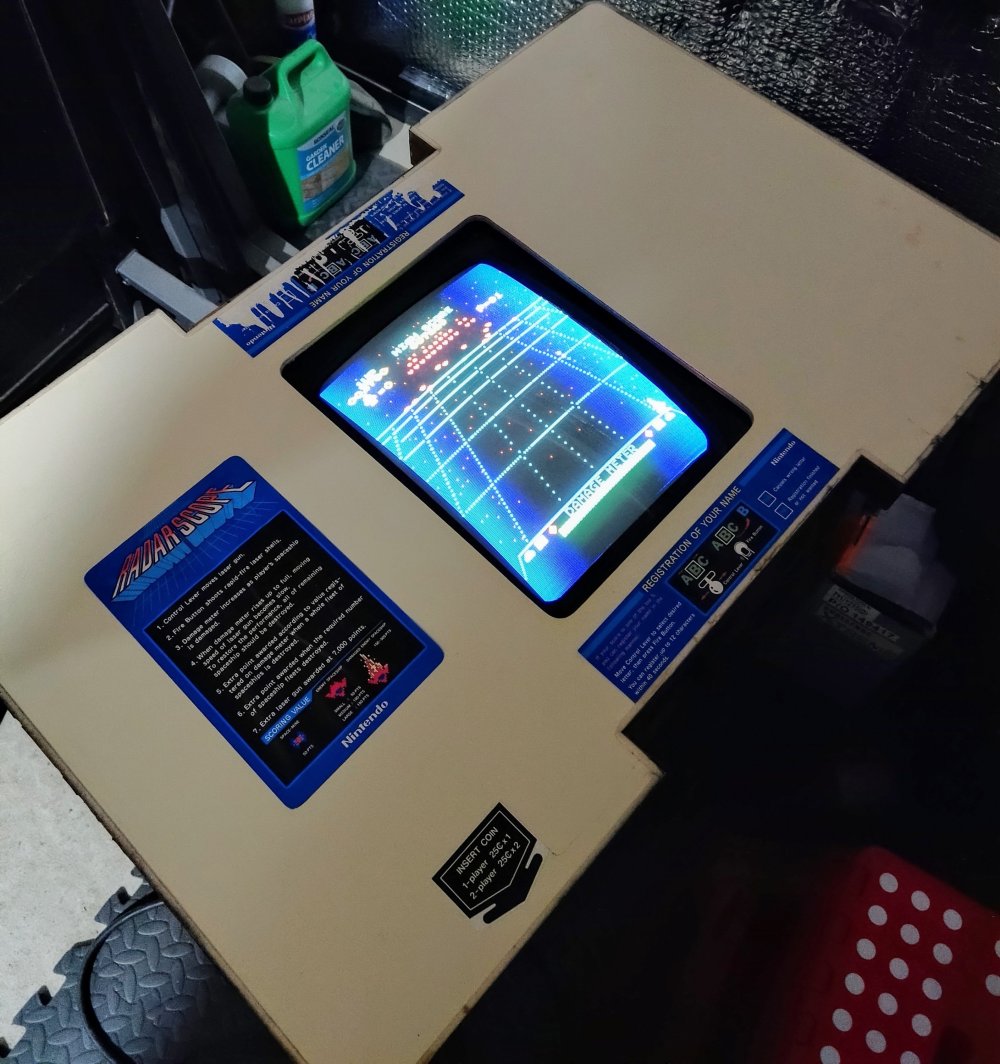
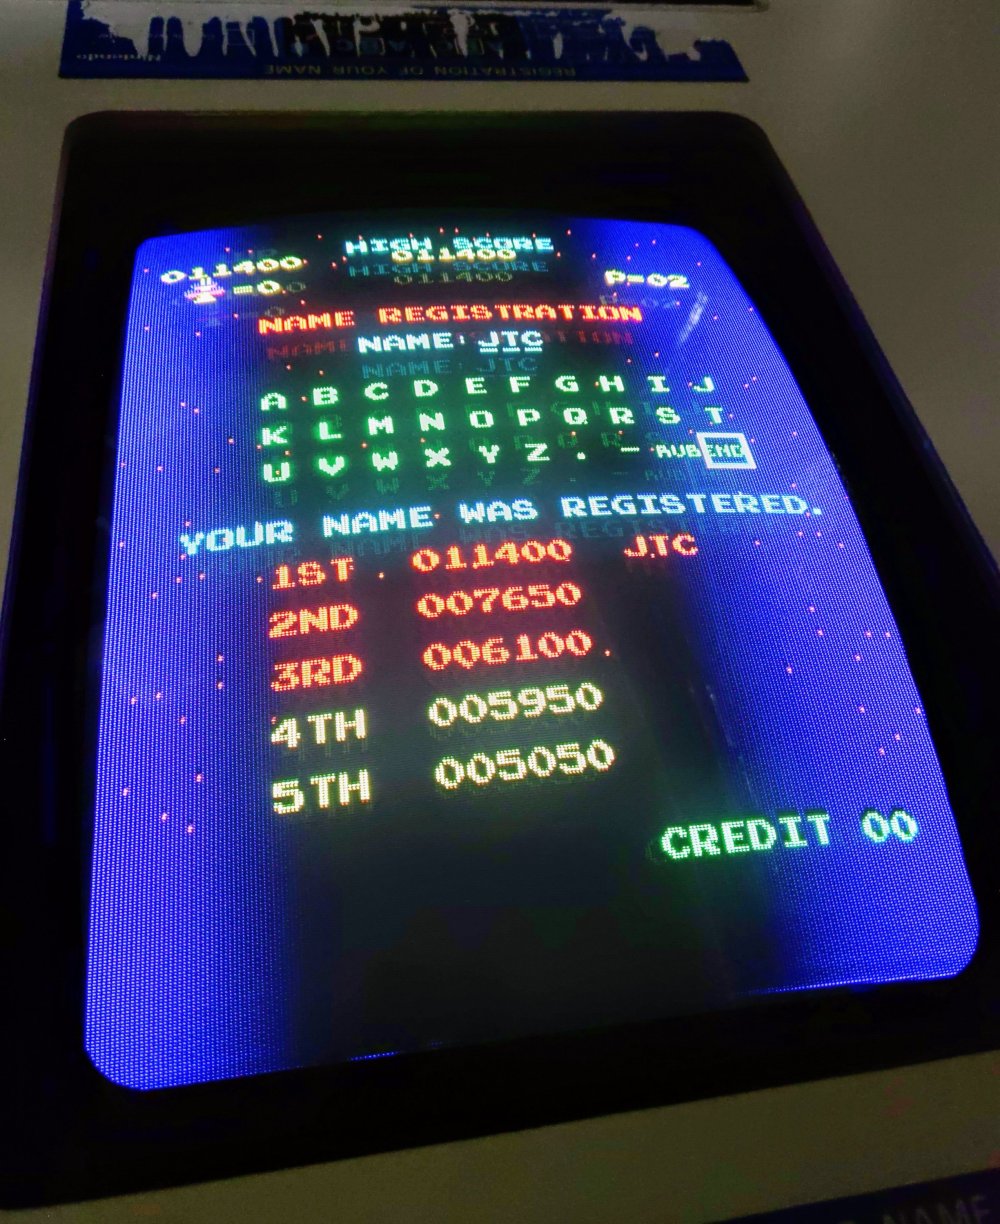
We had life! I added a couple of credits to the game and played a couple of games through. The fire button is sticking a little bit on the Player 1 control panel (I’m not making excuses honest!) so I’ll have to strip that down and clean it. For now, the game is fully playable.
As I mentioned earlier, I removed the corner clips to allow the removal of the glass, but also to allow me to clean up the clips themselves. I decided to use a top tip I’d picked up from our favourite arcade blogger, Tony Temple (arcadeblogger.com).
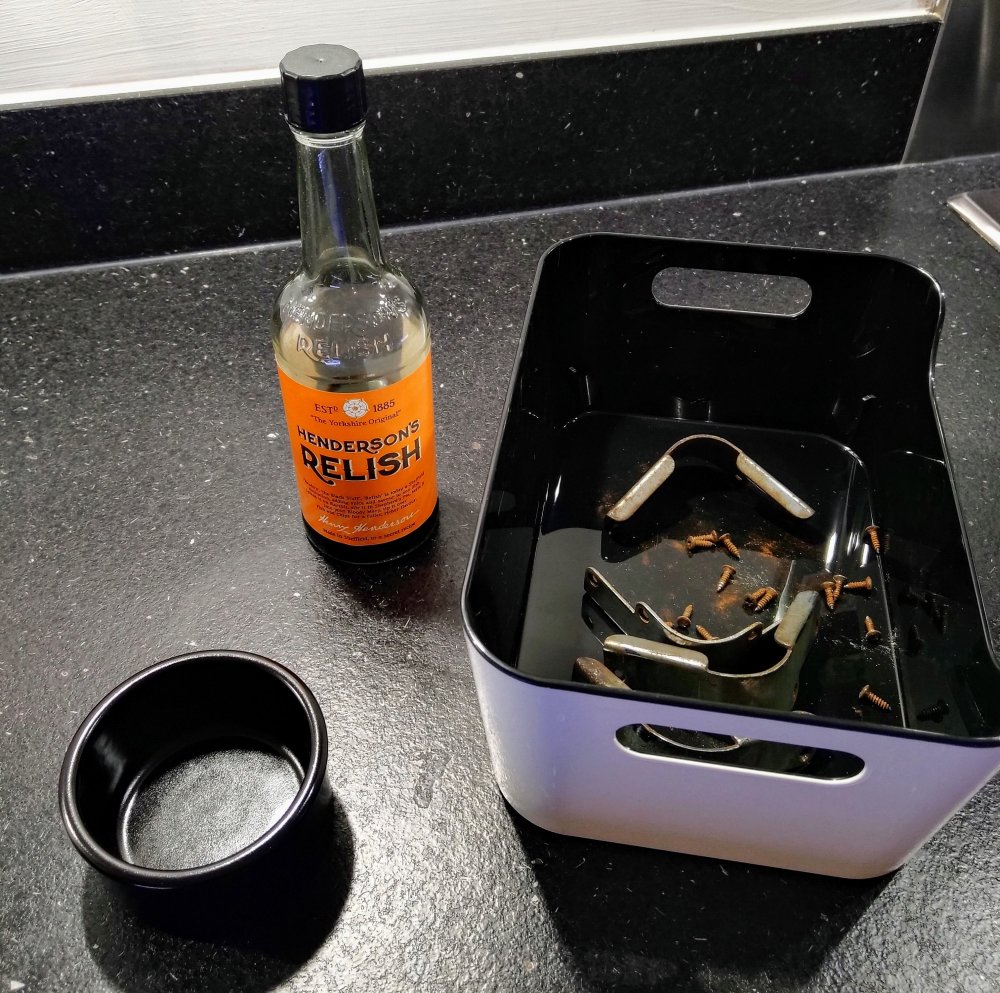
I soaked the parts overnight in Henderson’s Relish and then rubbed them with tinfoil under running water. The results were amazing!
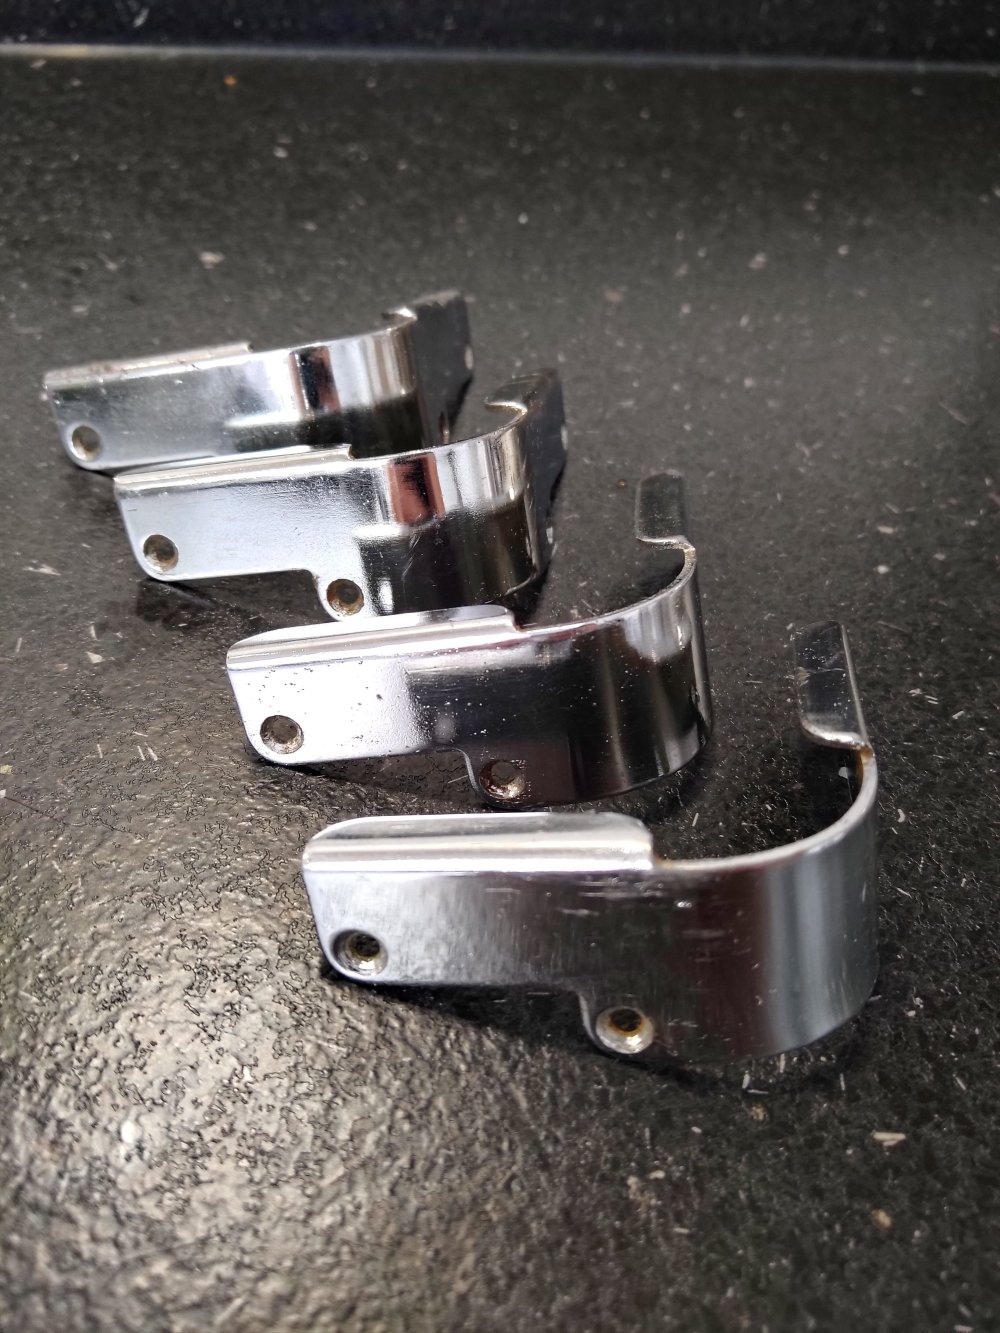
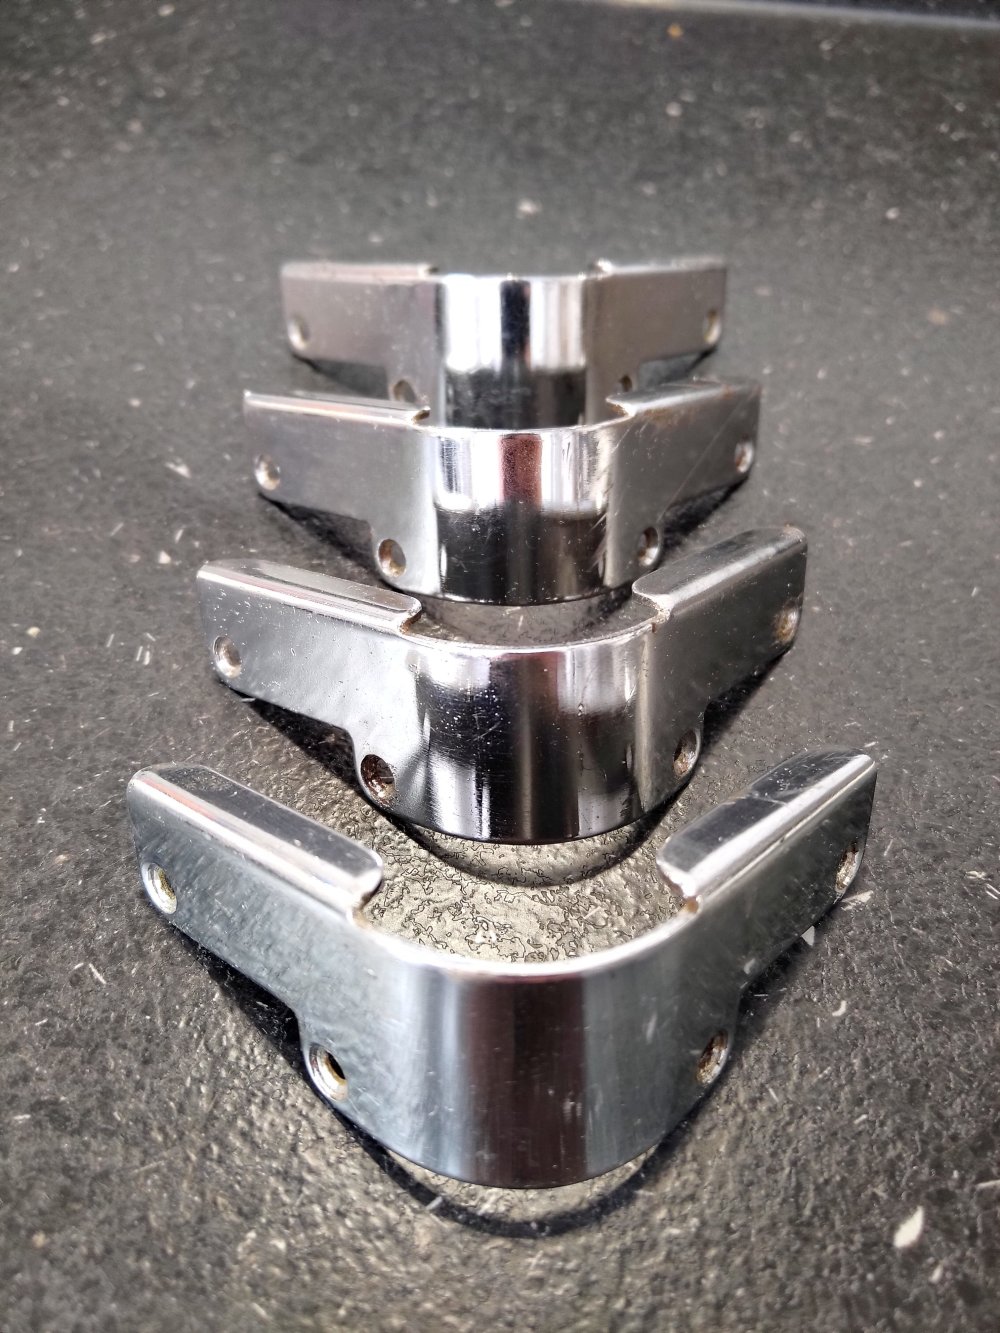
I placed the clips into place and screwed them down. Unfortunately, the screws didn’t fair as well as the clips and were still very unsightly. Luckily, I found a full set of replacement screws in one of my parts boxes, so I’ll replace those next.
So aside from the screws that are to be replaced, this cab is pretty much complete. The outside of the cocktail base could do with a clean, but this one can be added to the “complete and working” category.

Yay! Another original saved and into the community. It almost was ‘just a fuse’. Great stuff as always, pal.
LikeLike
It may be “just a cap” as I have the power supply apart now and it appears to function when warm, but then slowly the lines fade
LikeLike
Fingers crossed
LikeLike