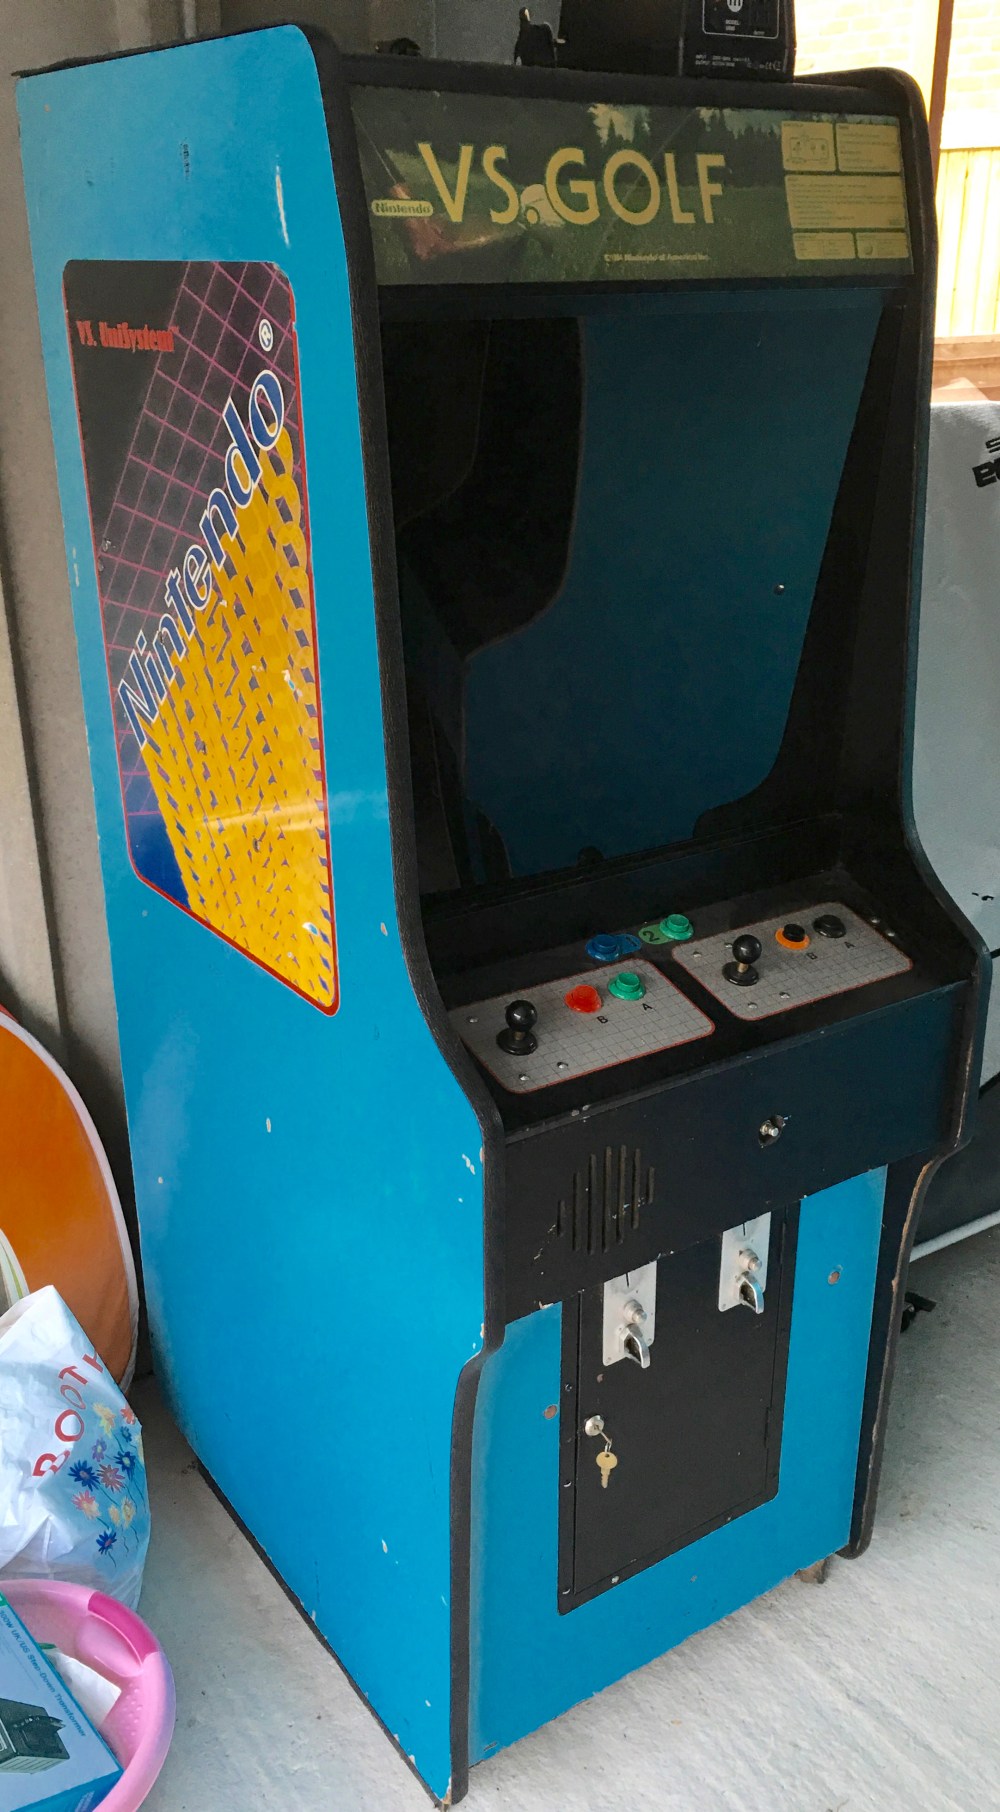
So the second vs. Unisystem that came across the pond was in a much worse state than the other. The sides of the cabinet had the usual scuffs and chips, the front speaker panel had had a hole drilled through it for a credit button (and then painted black???) and the t-moulding had been replaced with a hideous, oversized black textured t-moulding:
All of these “modifications” made this cabinet the first candidate for a restoration. Having never done anything like this before, I took as many photographs as possible to help me when I got to the re-assembly stage.
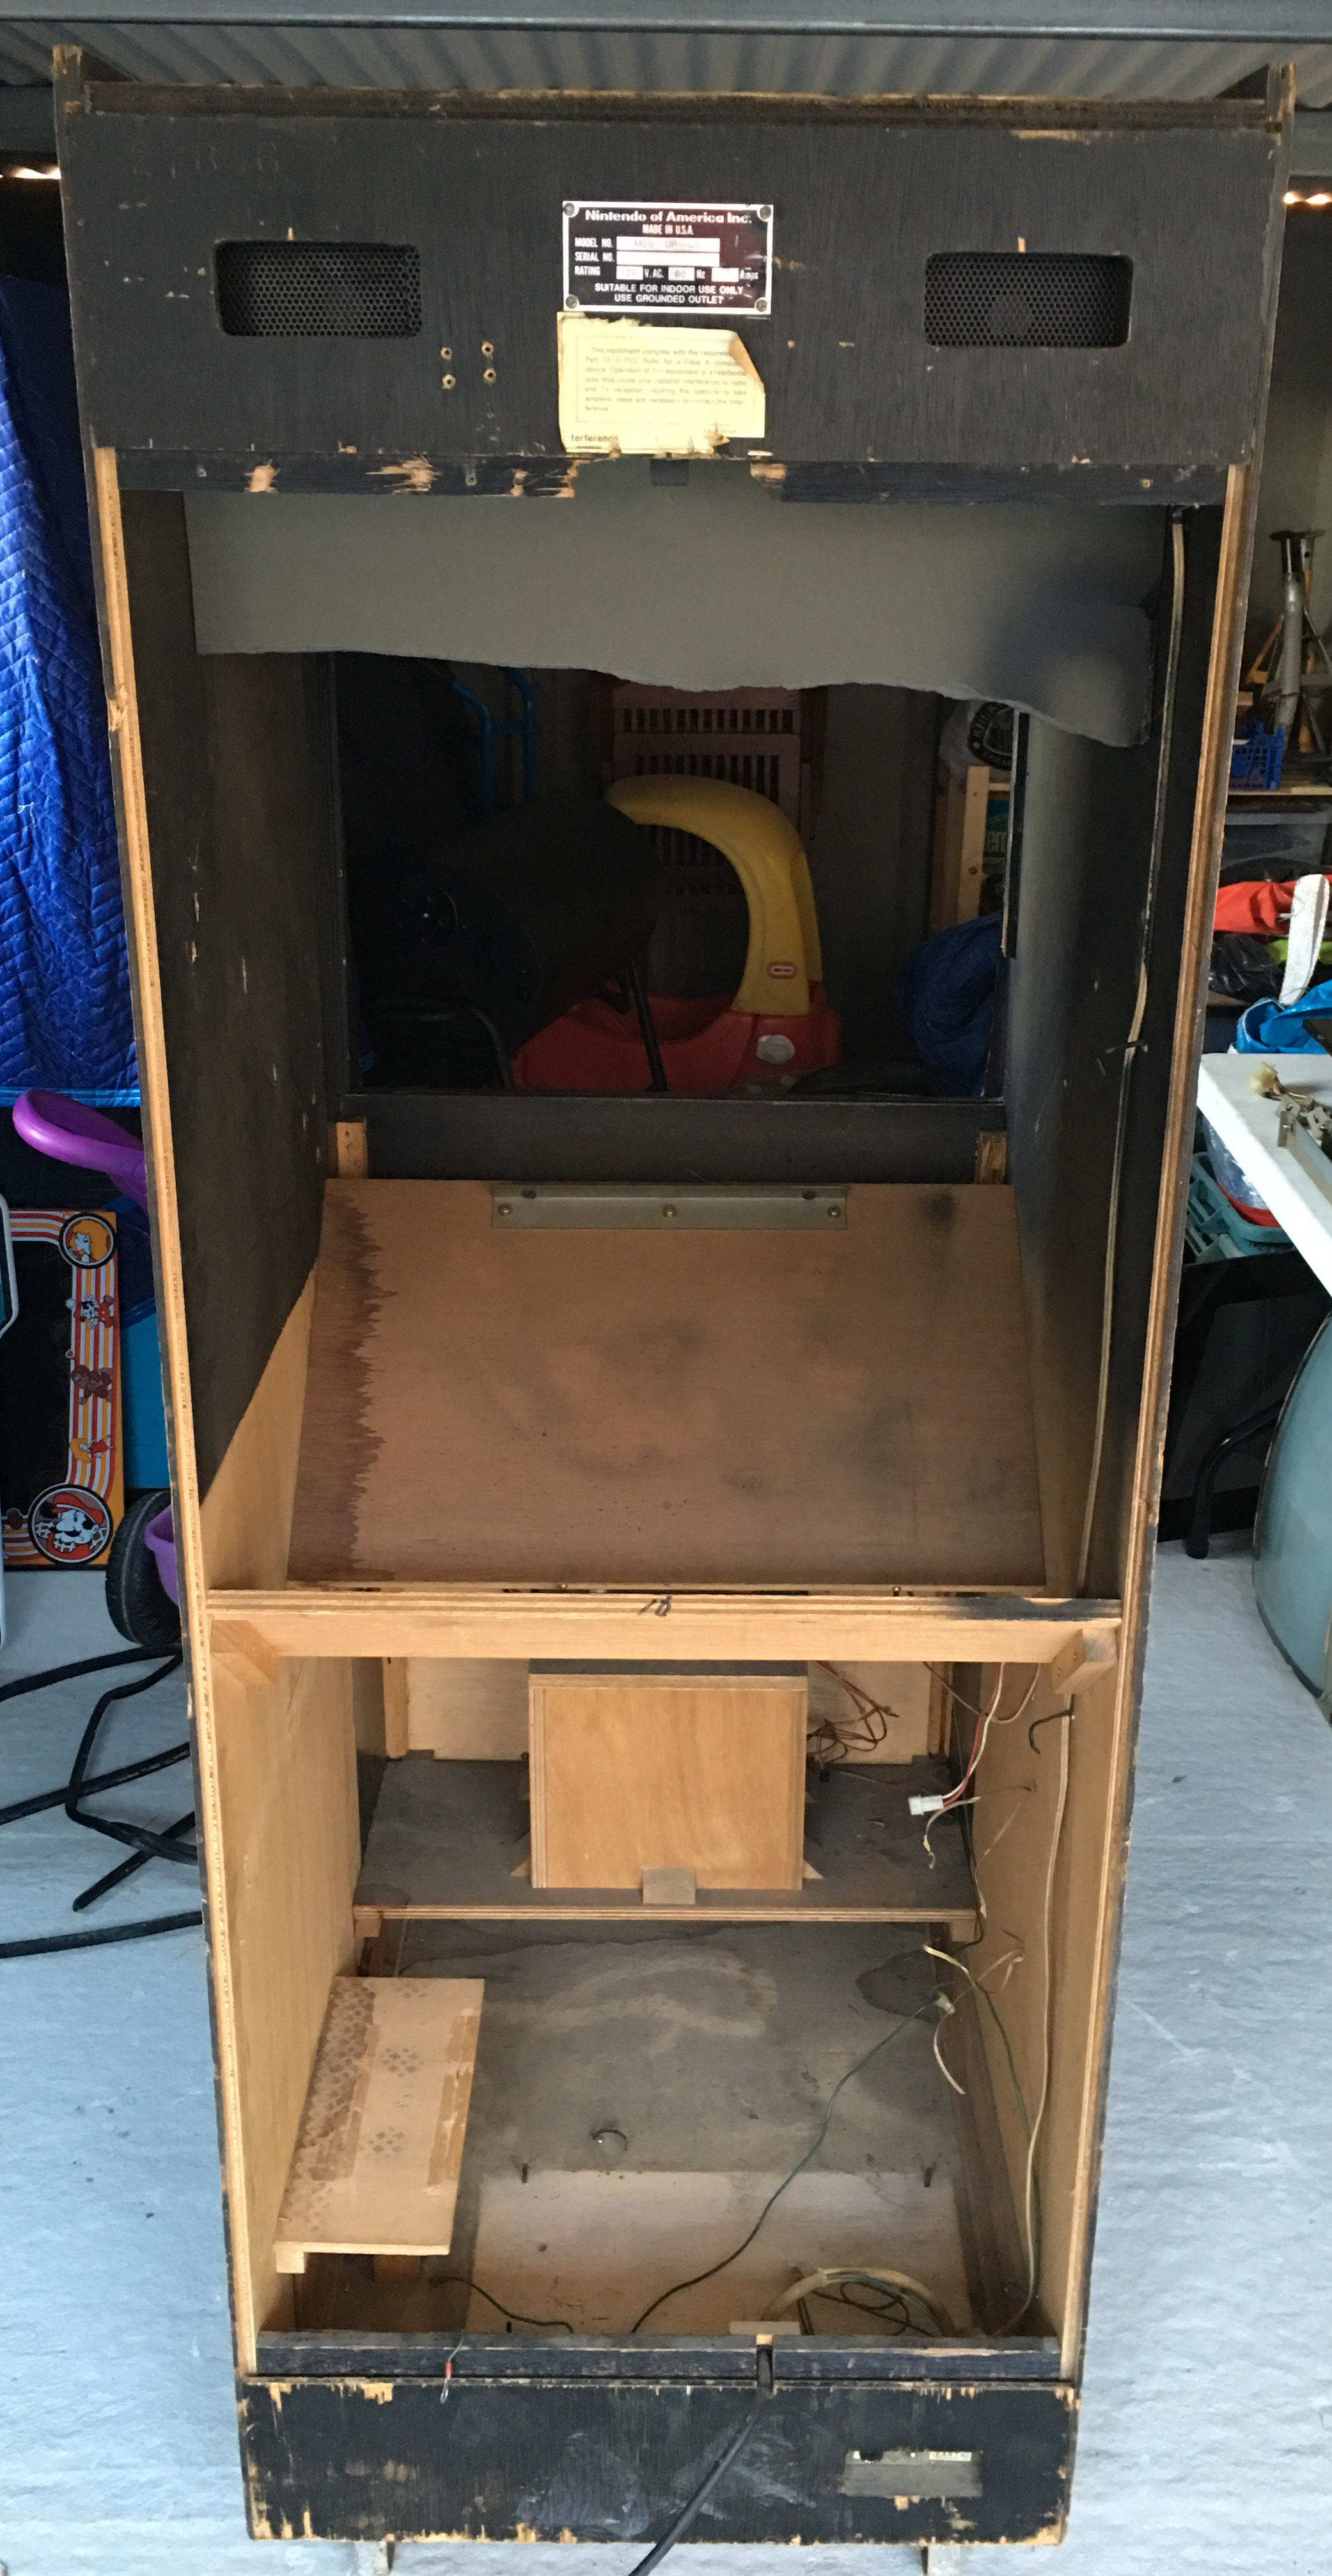
I had followed a number of restoration threads on a few forums to try get as much information as possible. I knew that to do this properly, I’d have to fully strip and disassemble the cabinet. I started by stripping everything out of the cabinet:
This cabinet was filthy! On top of all the dust inside (to be expected) someone at some point had clearly spilled a Coke (or equivalent) on top of the cabinet, which had worked its way all down the left side of the cabinet, pooling at each non-vertical surface it found. One real nice thing I found was a perfect quarter underneath the power supply (presumably put there by the person who originally built the cabinet):

I’d spoken to a few others who had restored Nintendo cabs who had also found a quarter underneath the power supply. I must remember to put it back!
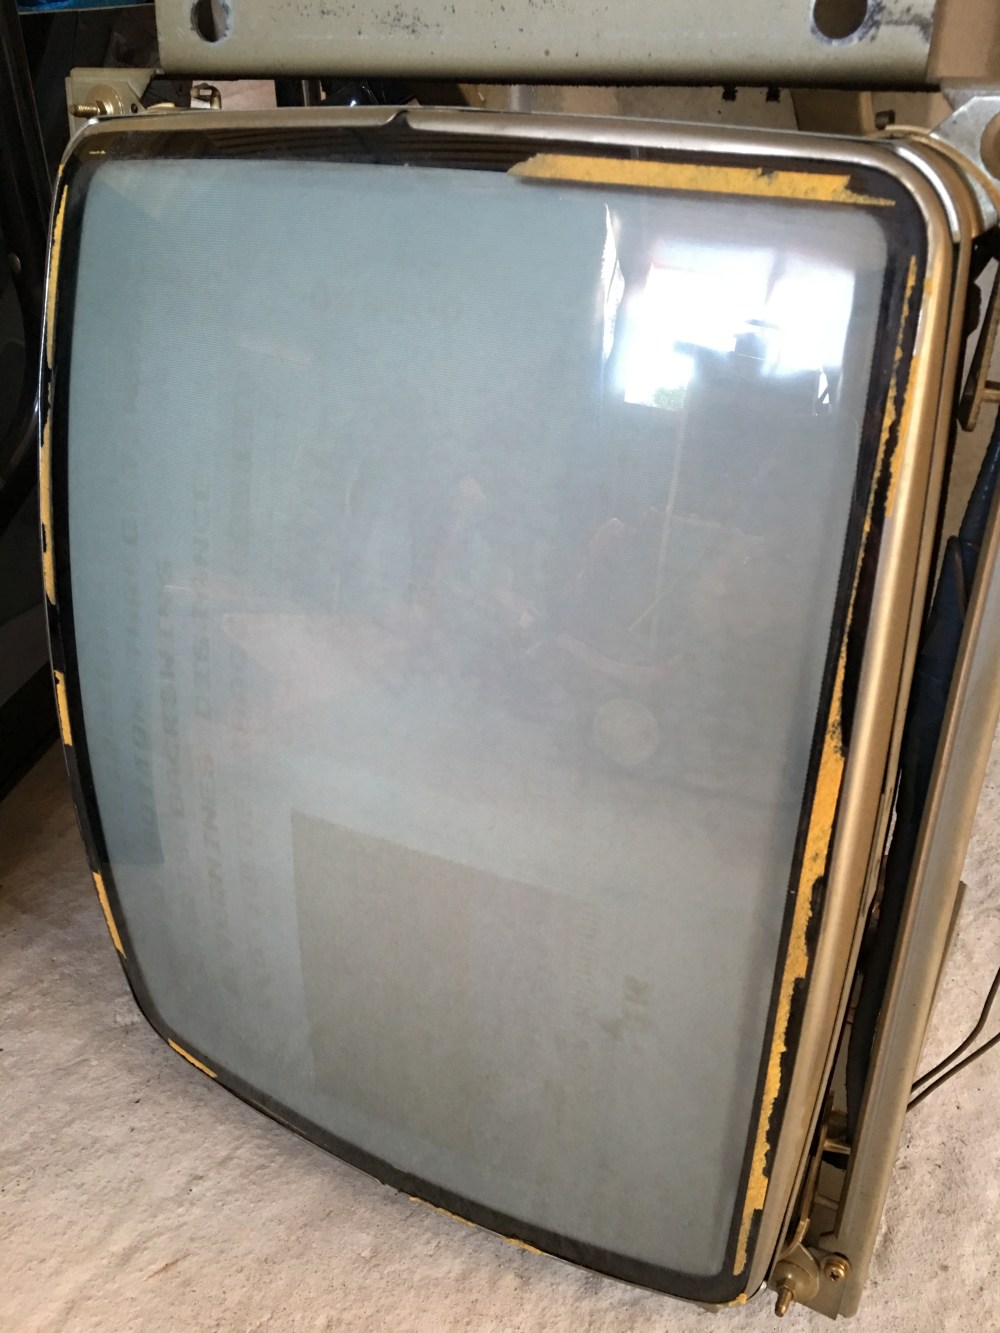
The monitor had a small amount of burn, but unfortunately, it appeared to be vs. Golf burn. It covered quite a big area, but luckily, quite light:
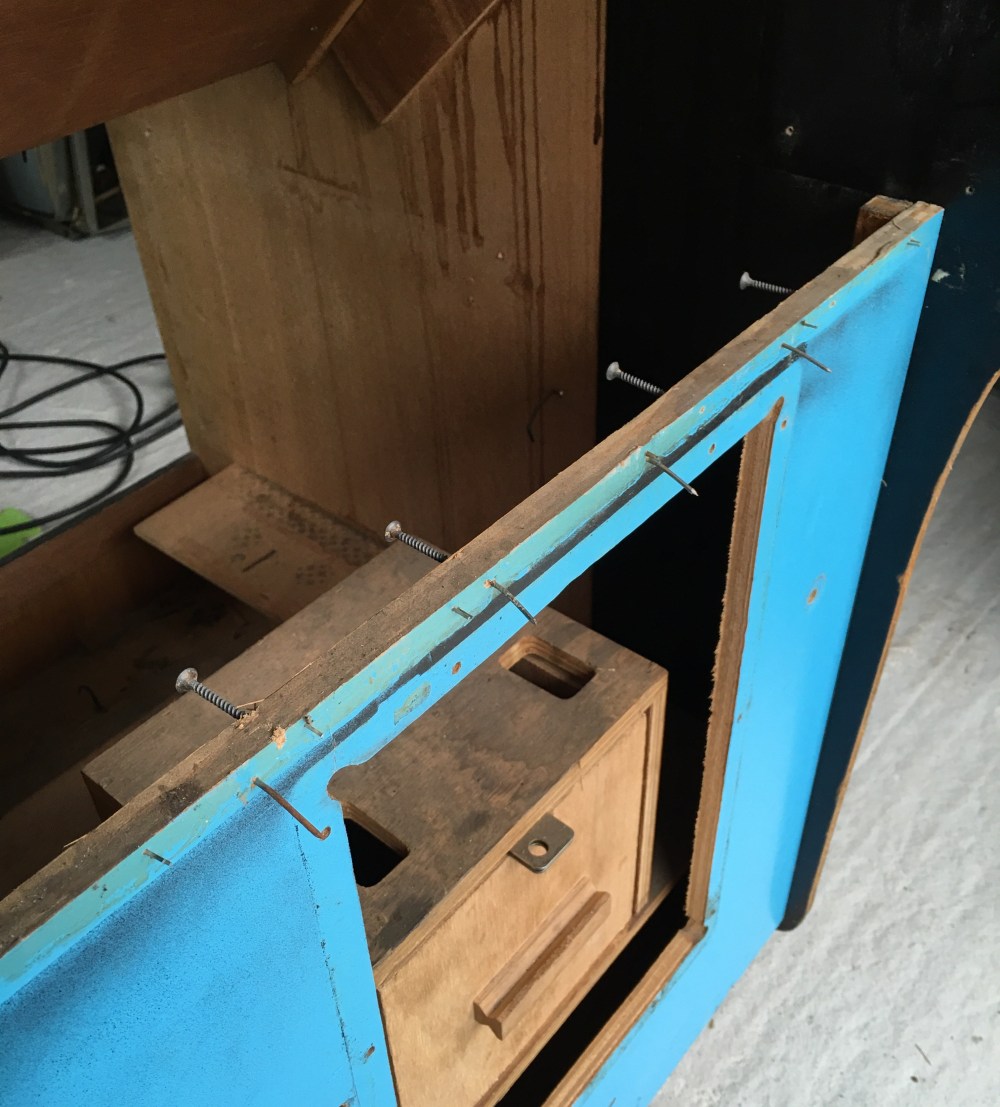
This cabinet had also received the same “delicate” treatment by the disrespectful minority that had resulted in the front panel splitting at the top on both corners of the coin door:

This had been “fixed” with the addition of a lot of nails and screws, mainly to try and hold the front of the cabinet together. These would all have to come out and a repair done to the top of the panel:
In order to repair this panel properly, this panel would have to come out (along with the speaker panel, which had already been removed in the picture above). With encouragement from a few people of a forum, I removed this final panel:

I was a bit worried at this point about the structural integrity of the cabinet, but the panel in the middle (that the bezel rests in) was holding things together. I’d contemplated removing this as well, but it had had a “repair” at some point too and had nails hammered into it from the outside(!?!):
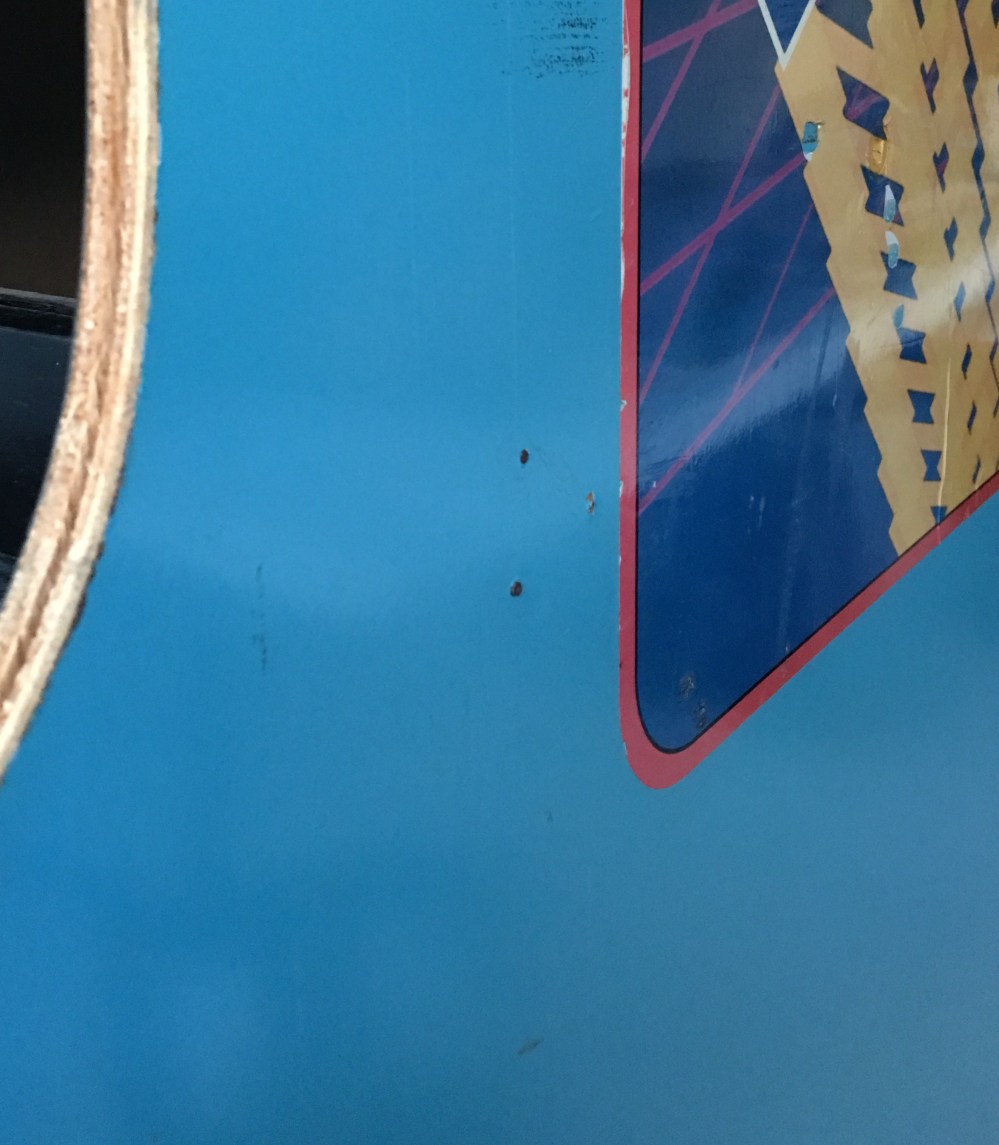
What I thought were three nails, were actually two nails and the point of a screw, screwed through from the inside. Rather than trying to prise the cabinet further, I knocked the heads of the nails in, flush with the cabinet sides and backed off the screw one turn to stop it being proud of the outside surface.
That’s enough go for part one. Part two will cover the last bits of the strip down and the first clean!
