After numerous coats of paint (and a couple of rub downs and re-paints), it was time to start the re-assembly of the cabinet. I had been warned previously about the difficulties I may encounter getting the front coin door panel back into the cabinet. There were mentions of using timber to prise the cabinet open to get it back in, but I went for the brute force/ it came out, so it’ll go back in approach!
Luckily for me I managed to get the top part of the panel in without much issue, this meant I could use the panel itself to prise the cabinet. After a bit of swearing and a lot of coaxing, the panel slid into place:
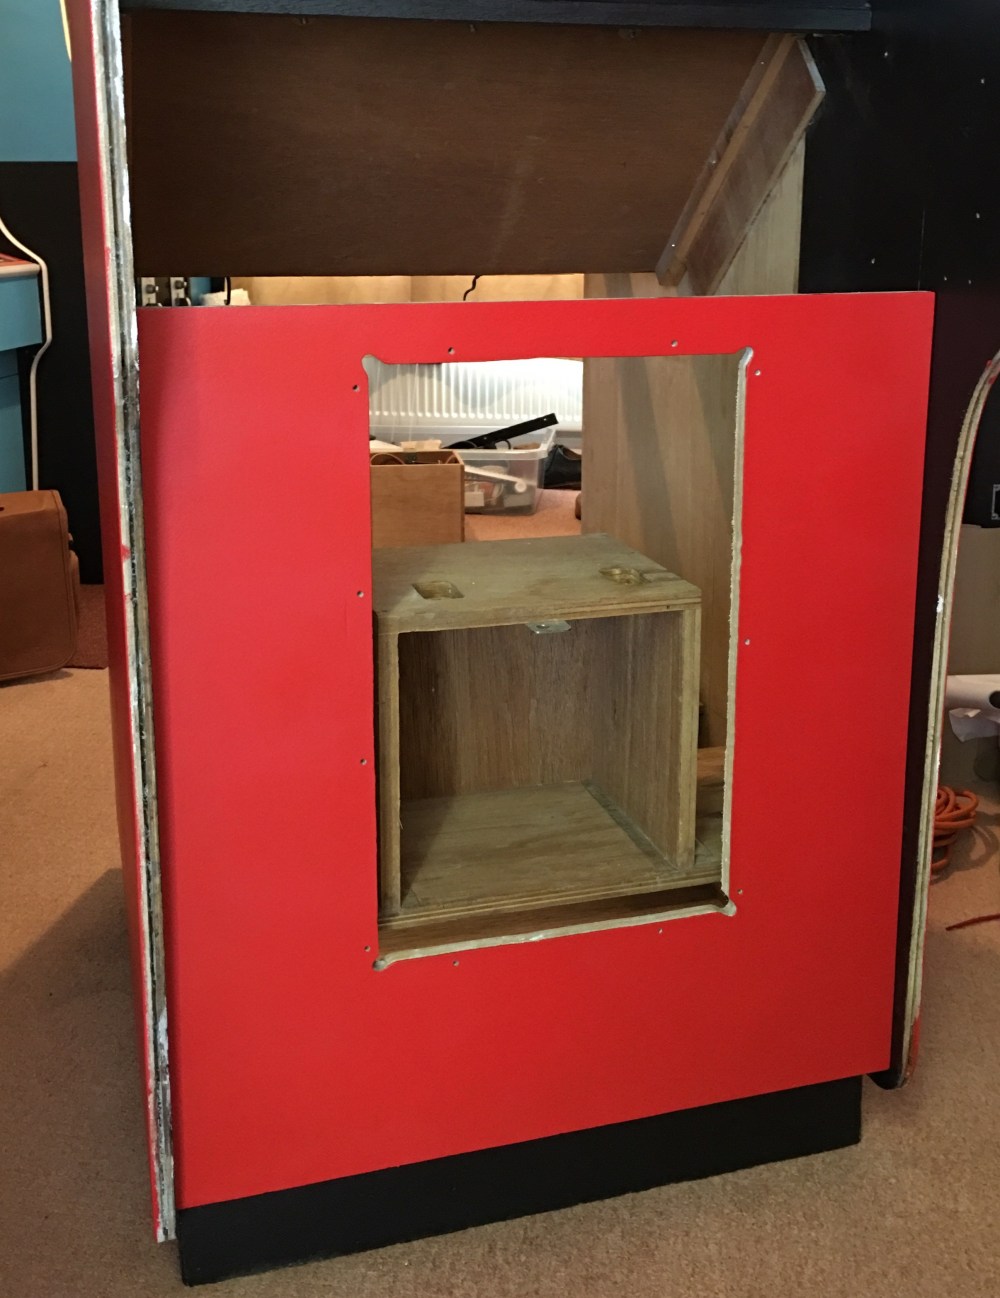
I replaced and tightened all of the screws into the panel, taking extra care when screwing towards the outside painted surfaces. I went a quarter of a turn at a time with my finger against the outer surface. This was to make sure I didn’t punch through my newly painted pieces.
Next, I re-attached the panel to the underside of the speaker panel. This was a couple of screws, plus good old trusty Gorilla Glue and clamps (I used paper towels to protect the painted surfaces):
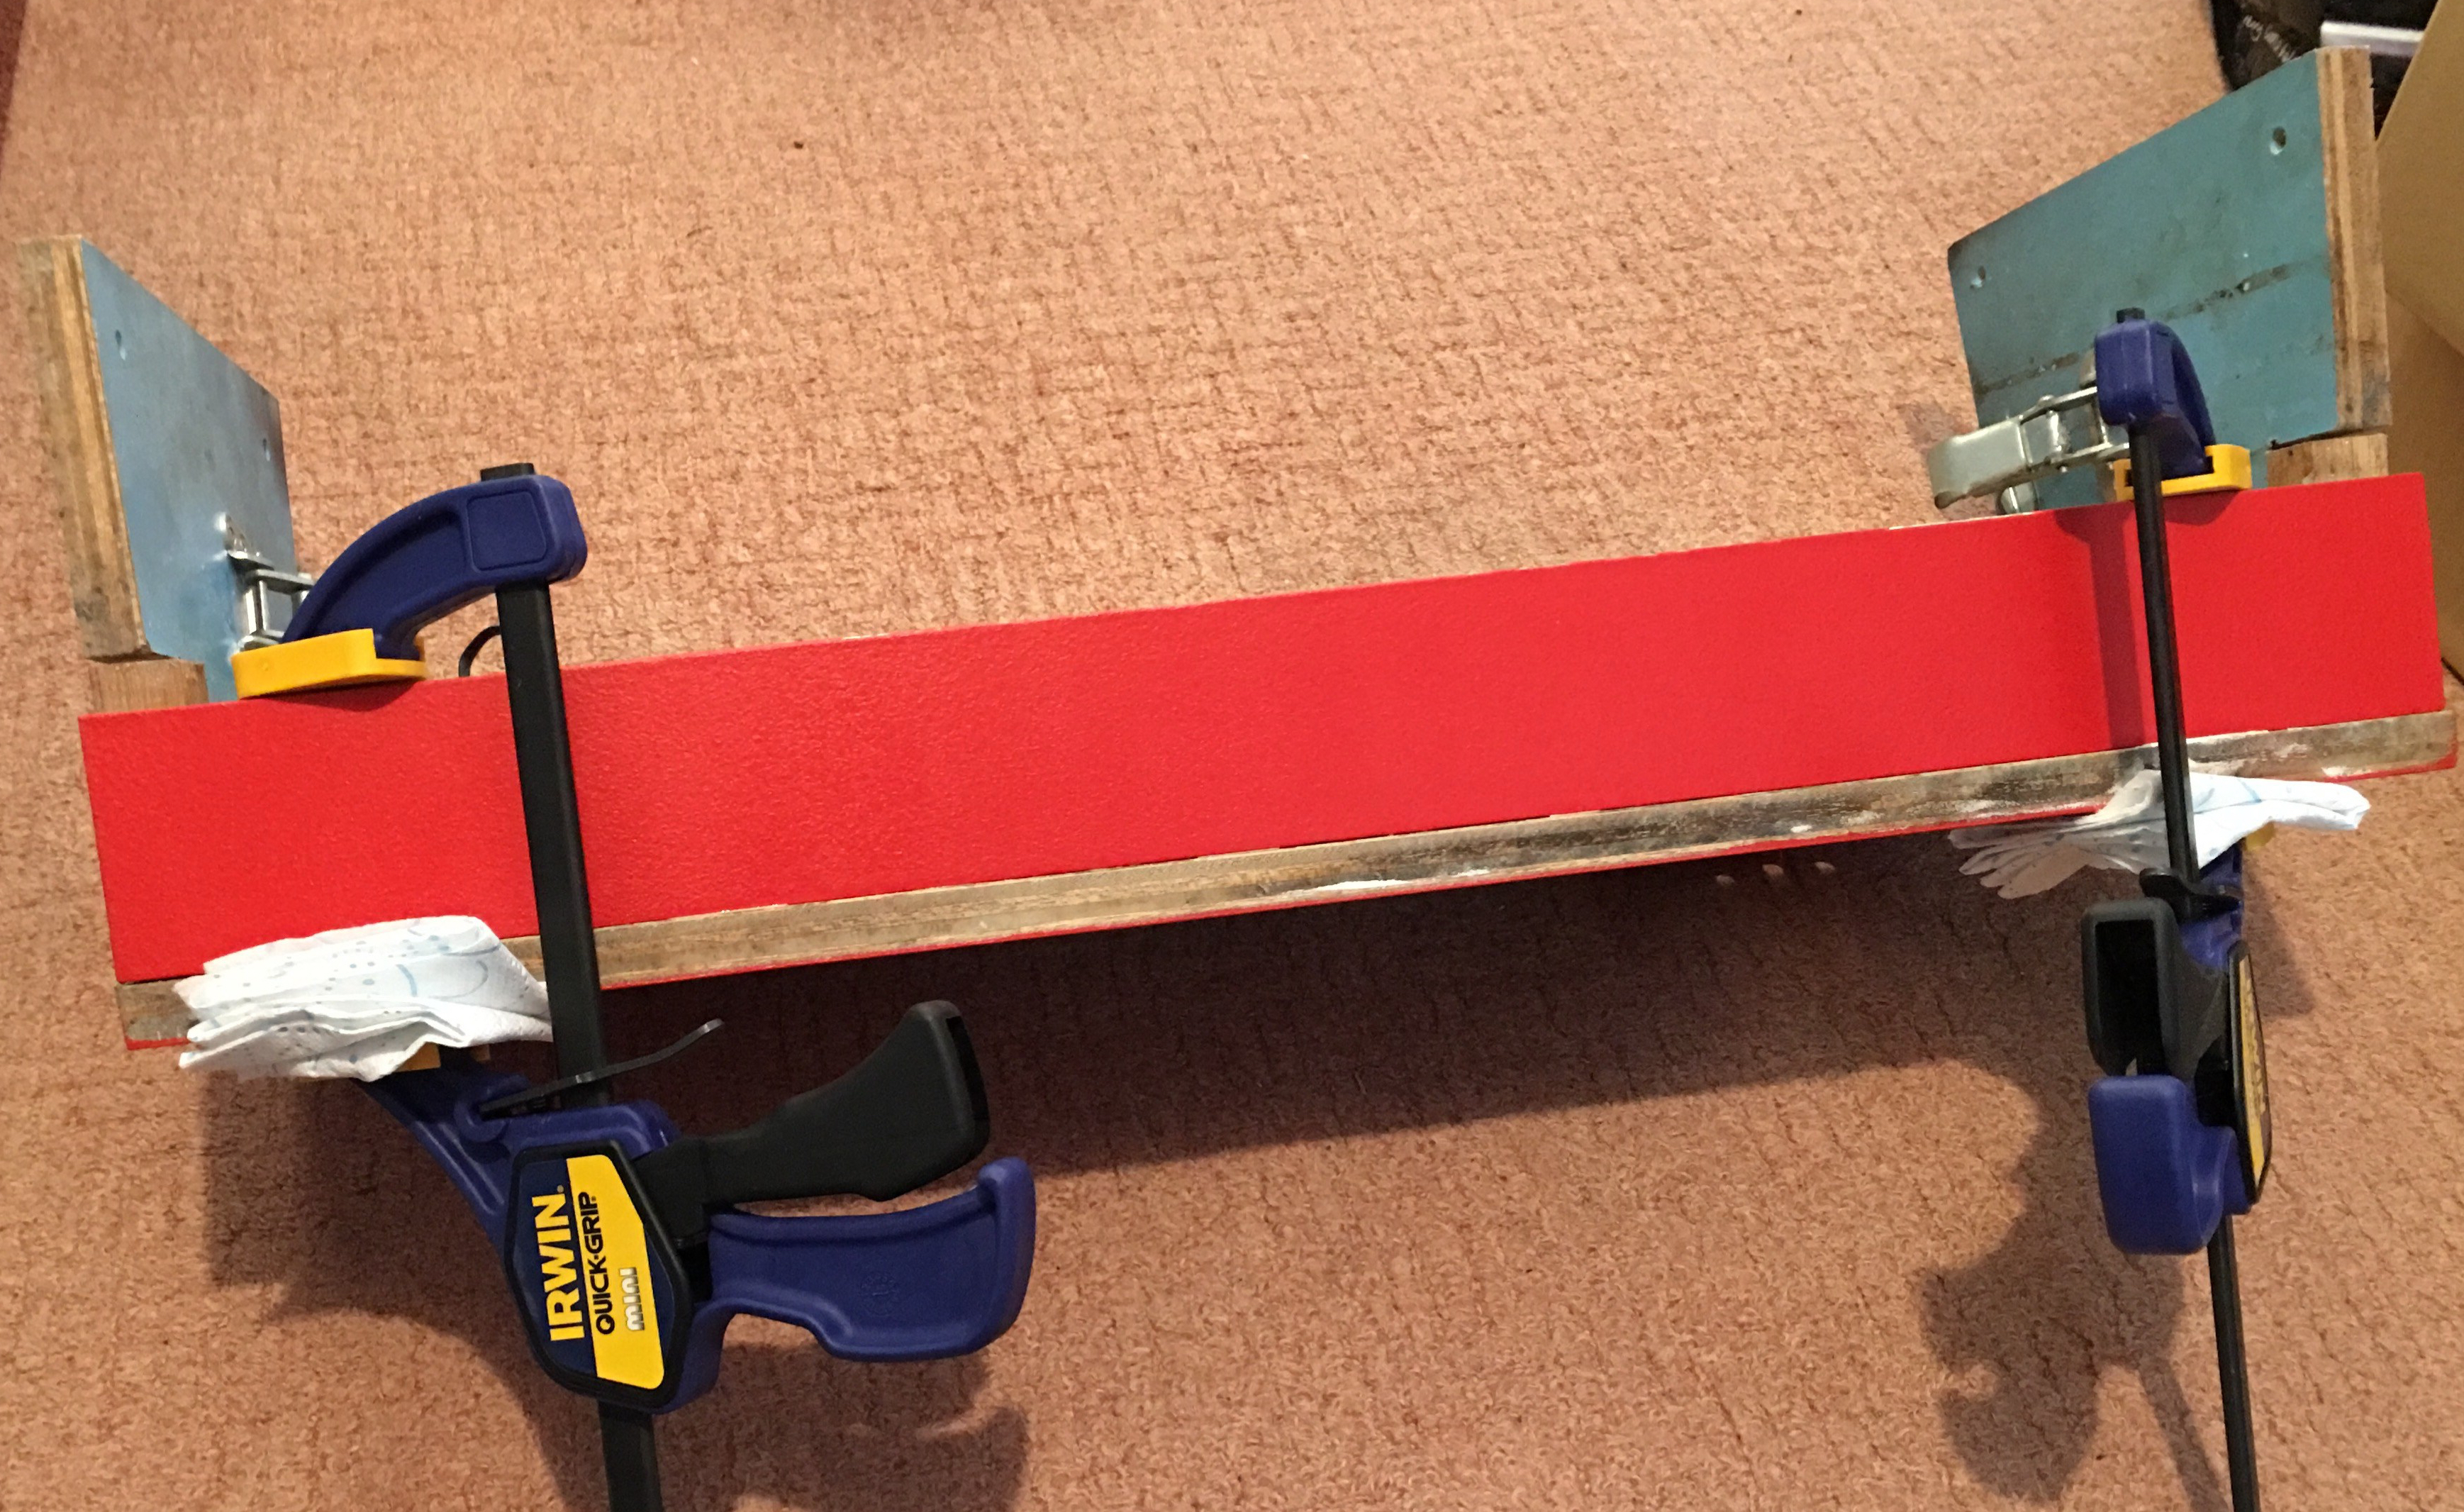
You’ll see in the above picture, the side panels that I left the original DK blue colour. They still need a quick clean with paint thinner, but I’ve left them blue for the history of the cab.
As this was drying, I decided to fit the new reproduction coin door that I’d bought from plonkagames. The door that was originally fitted to the cabinet wasn’t in bad shape, but required painting. When I stripped it down I discovered a larger bore key barrel had been used and had chewed up the door. My plan is to use the old door on my Donkey Kong restoration, so I’ll straighten it and repaint ready for that build. I’d purchased all new coin door bolts from MikesArcade in one of my many orders, so used these to fit the new door:
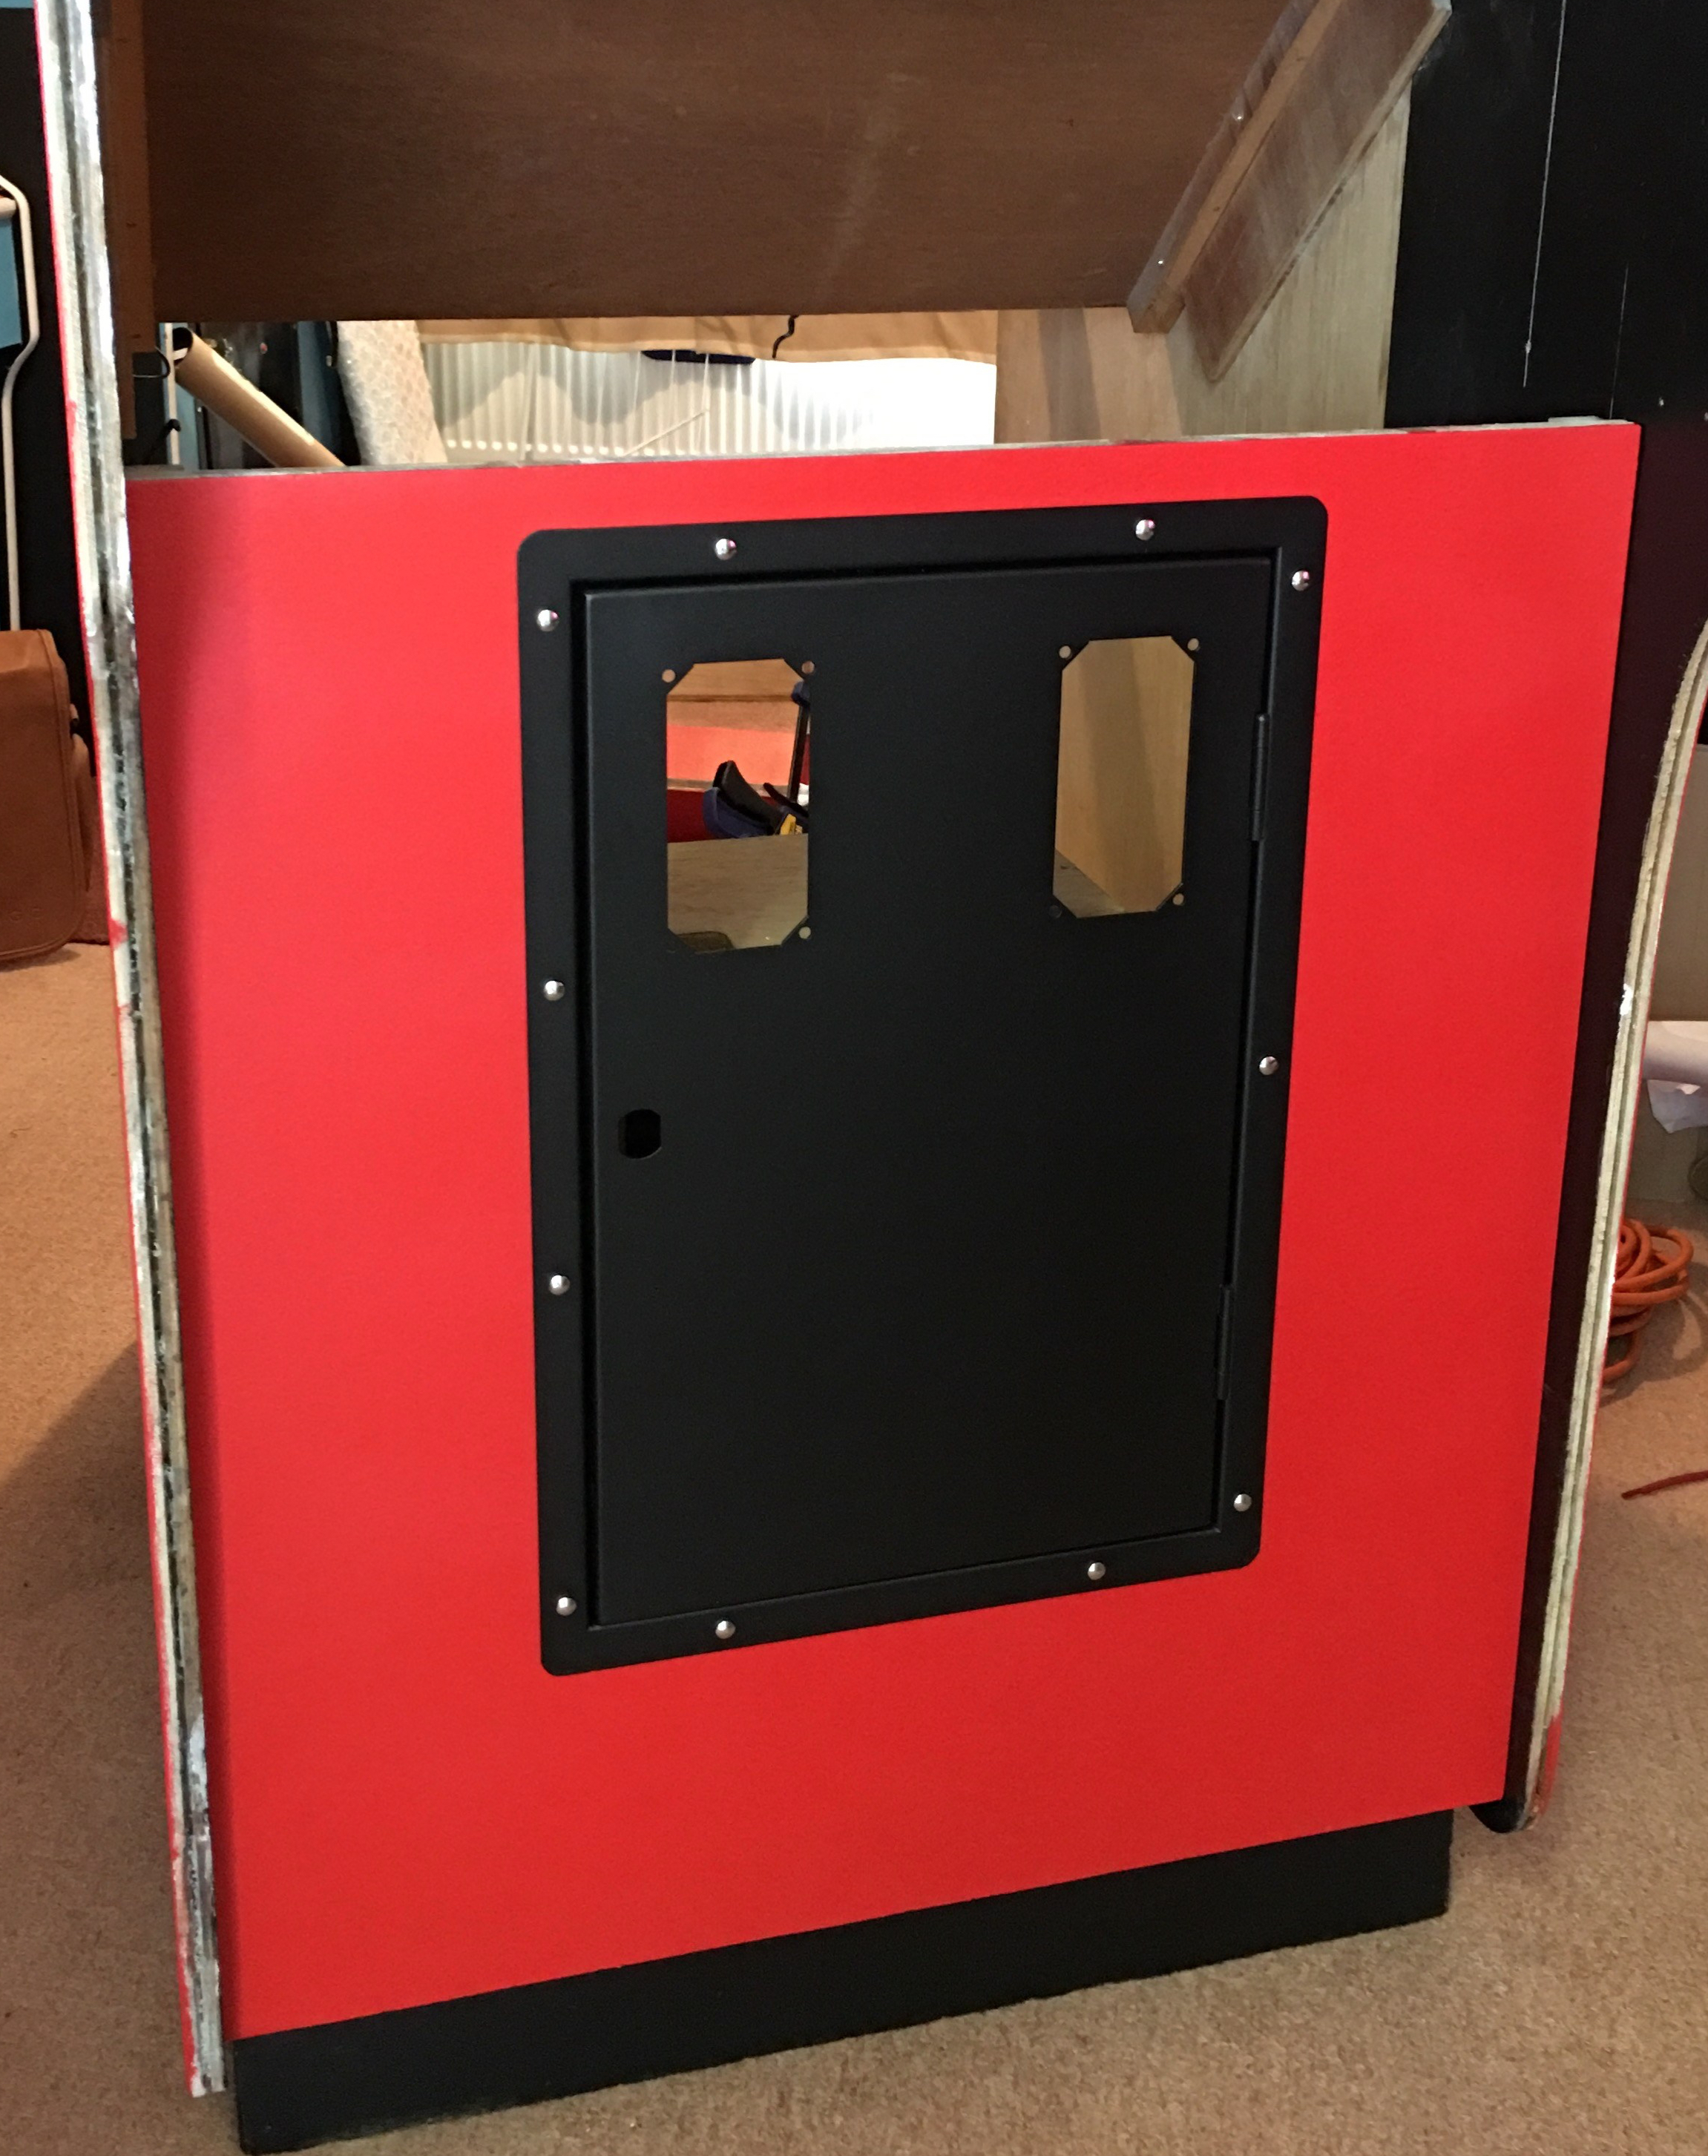
It was finally starting to look like a Nintendo cabinet again! As I’d spent a good 40 minutes carefully working my way around all of the new bolts (tightening them carefully and evenly) the glue had set enough for me to attach the speaker panel. As the main front panel was in the cabinet, the speaker panel slid into place:
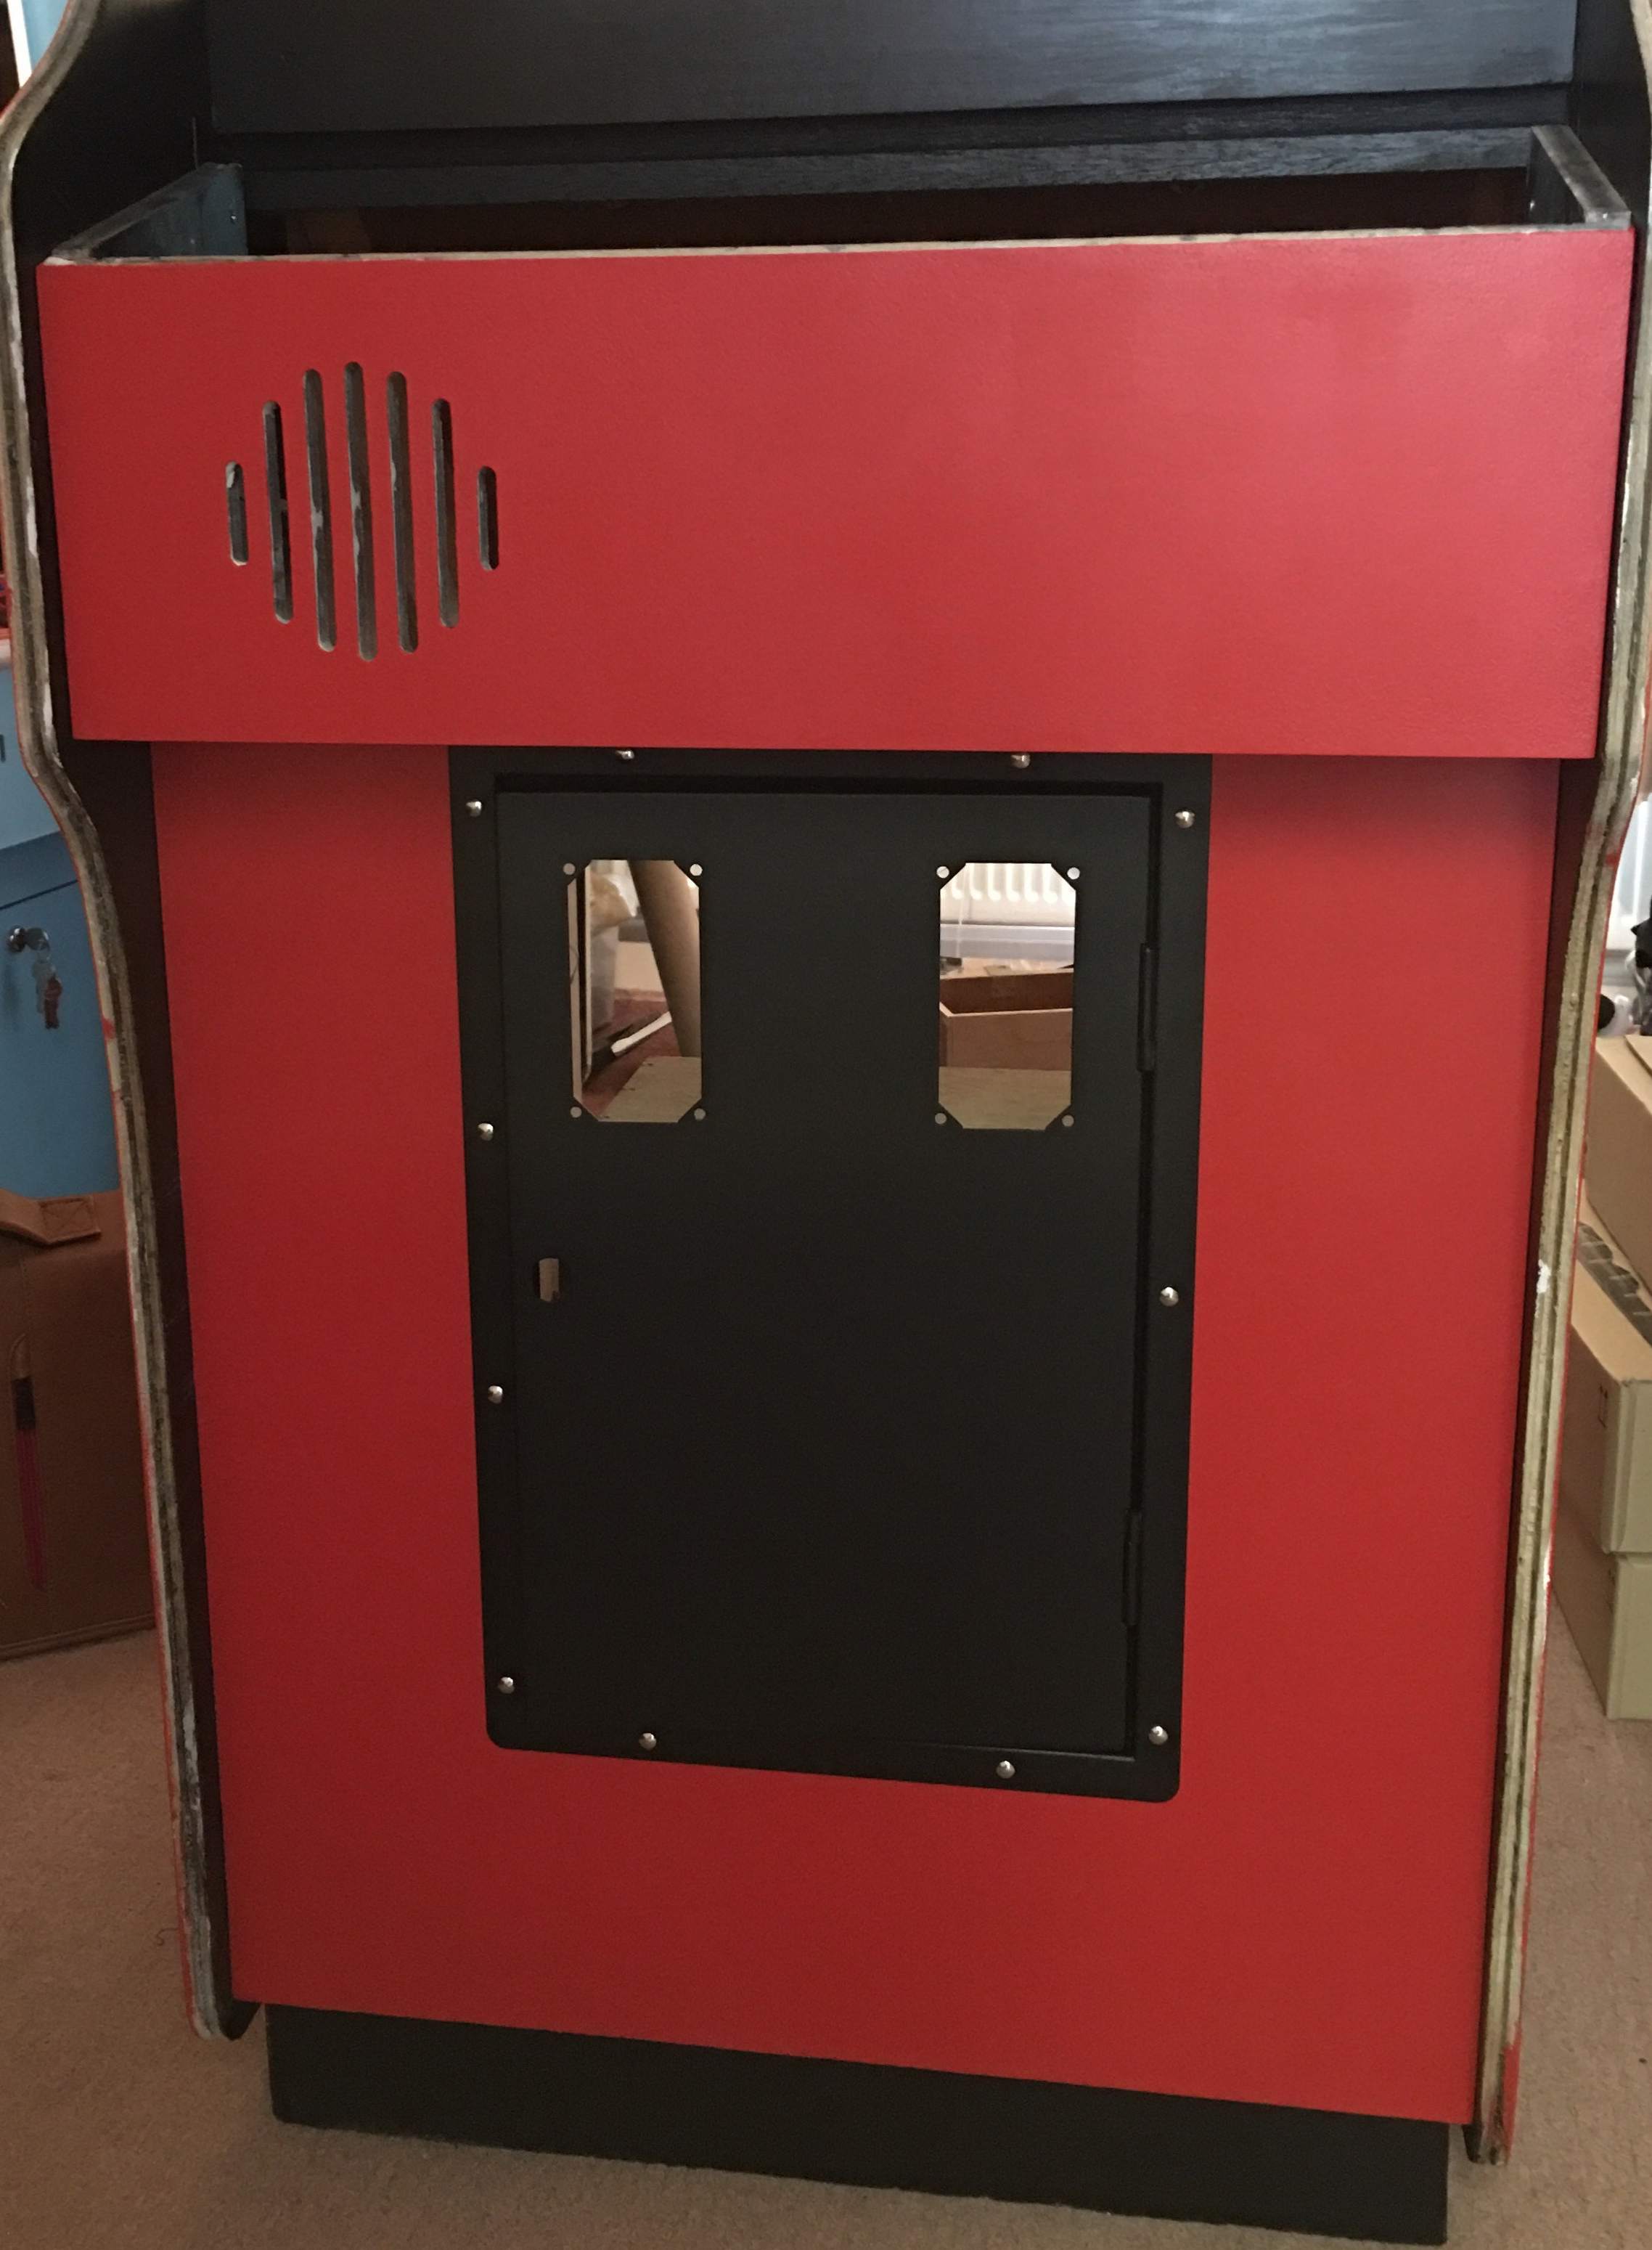
Yes, I know there’s still primer visible in the speaker slots, but that’s a job for another day (when I have a much steadier hand!).
If I’m completely honest, that panel didn’t go in as easily as I made out. I’d marked out all of the original screw holes using white chalk to give me a rough idea of where the panel needed to line up. Ultimately though, it took fitting the panel and then placing the control panel to check clearances. The first attempt didn’t allow the control panel to fit into the slot in the bezel holder properly at one side. A quick loosen of screws, wiggle and retighten sorted it.
The final two pieces I fitted in this session were the monitor and the power supply. I’d purchased a new upper monitor support bar from MikesArcade as mine was missing. I’m assuming it was removed due to the horizontal monitor orientation of the vs kit. The bar itself has nuts welded to it, to fit the monitor screws. Oddly, they were a different size to the original; but with a bit of imagination the monitor was fitted:

You can see the vs. Golf burn left on the monitor, but luckily its hardly visible once a picture is displayed and even better when the smoked bezel is fitted.
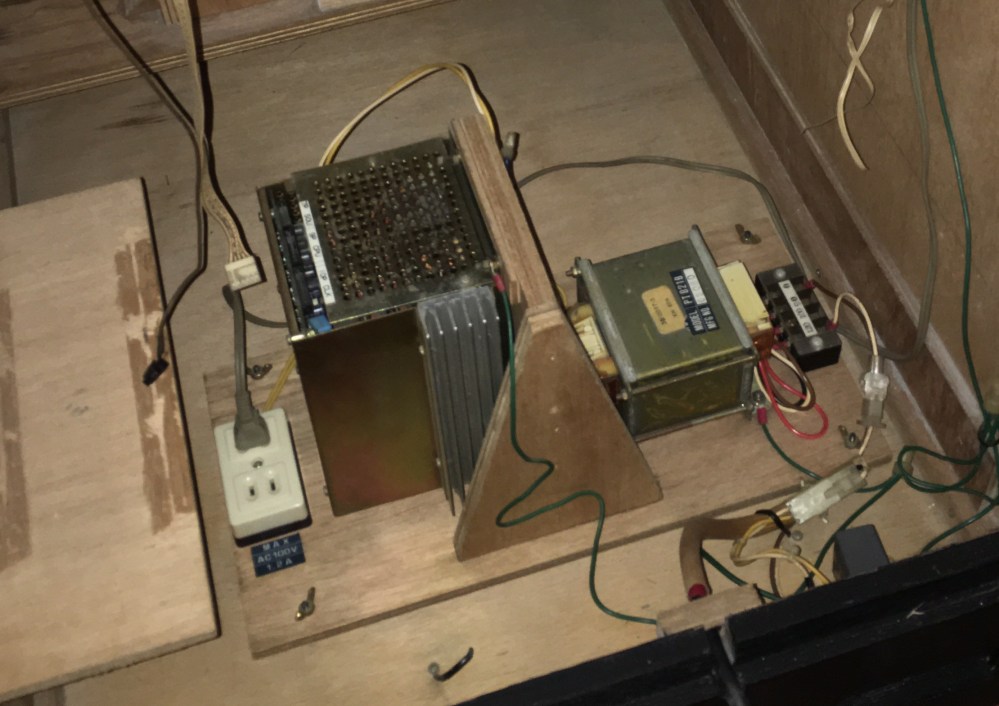
The last piece fitted in this session was the newly cleaned power supply. A nice easy drop in part with only four wing nuts to replace:
Next is the part I’ve been half looking forward too and half dreading, opening the NOS DK3 pack.
