Due to many years of hard usage and sometimes unsavoury conditions (normally spilt drinks!) many Nintendo joysticks are in desperate need of attention.
The area that suffers the most is the main bearing (a small bearing sandwiched between two metal spot-welded plates). As dirt, grime and sometimes rust build up around the bearing, it begins to lose it’s normal, fluid movement.
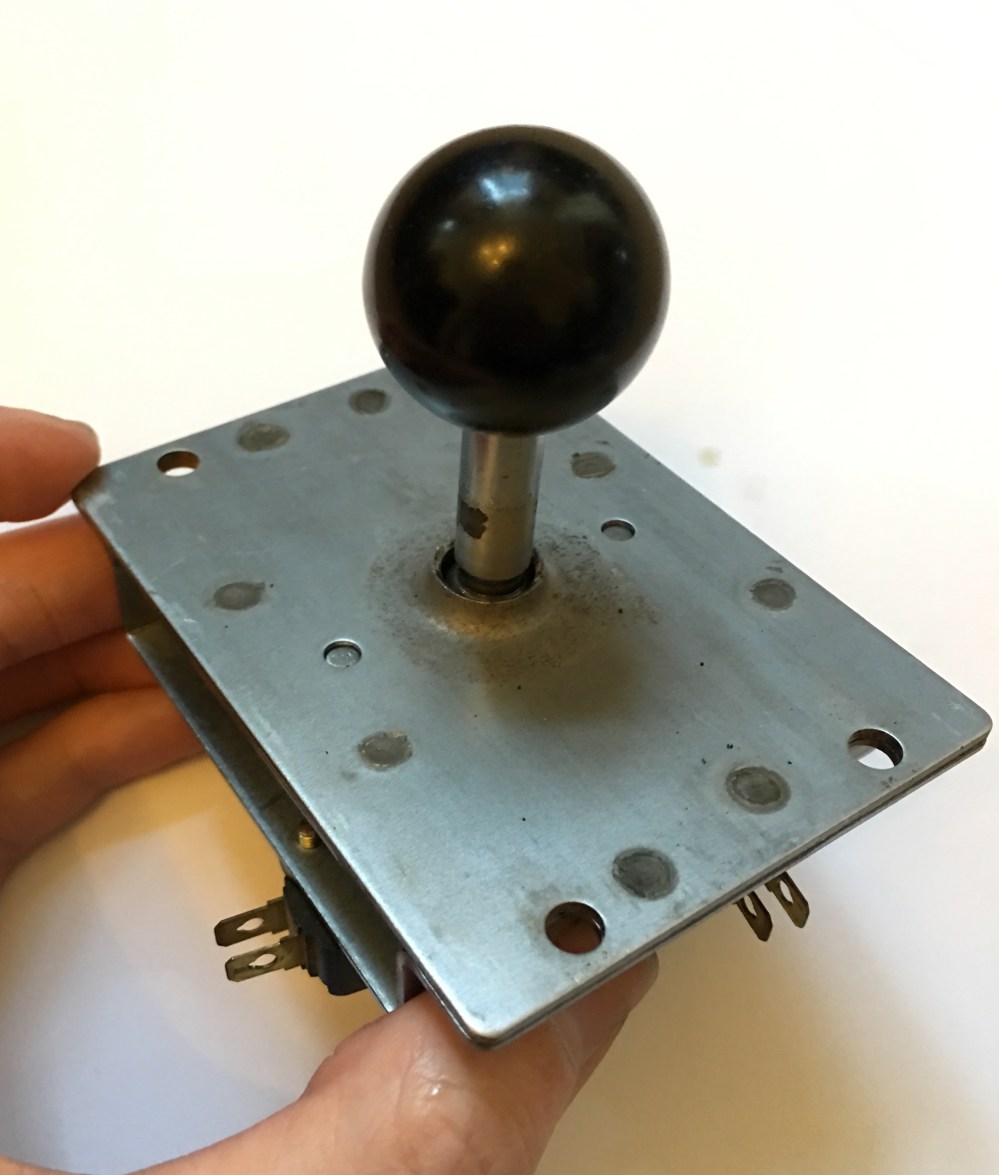
The first Nintendo I bought I converted back to a Donkey Kong using parts I’d amassed over a number of months. I’d imported a complete Donkey Kong control panel, but once I fitted it to the cabinet I knew the joystick needed work. The movement of the joystick was tough and it struggled to return back to centre when released. I’d already purchased a reproduction joystick from MikesArcade, so I fitted this with the intention of rebuilding the original stick ASAP (I’m writing this 21 months later…).
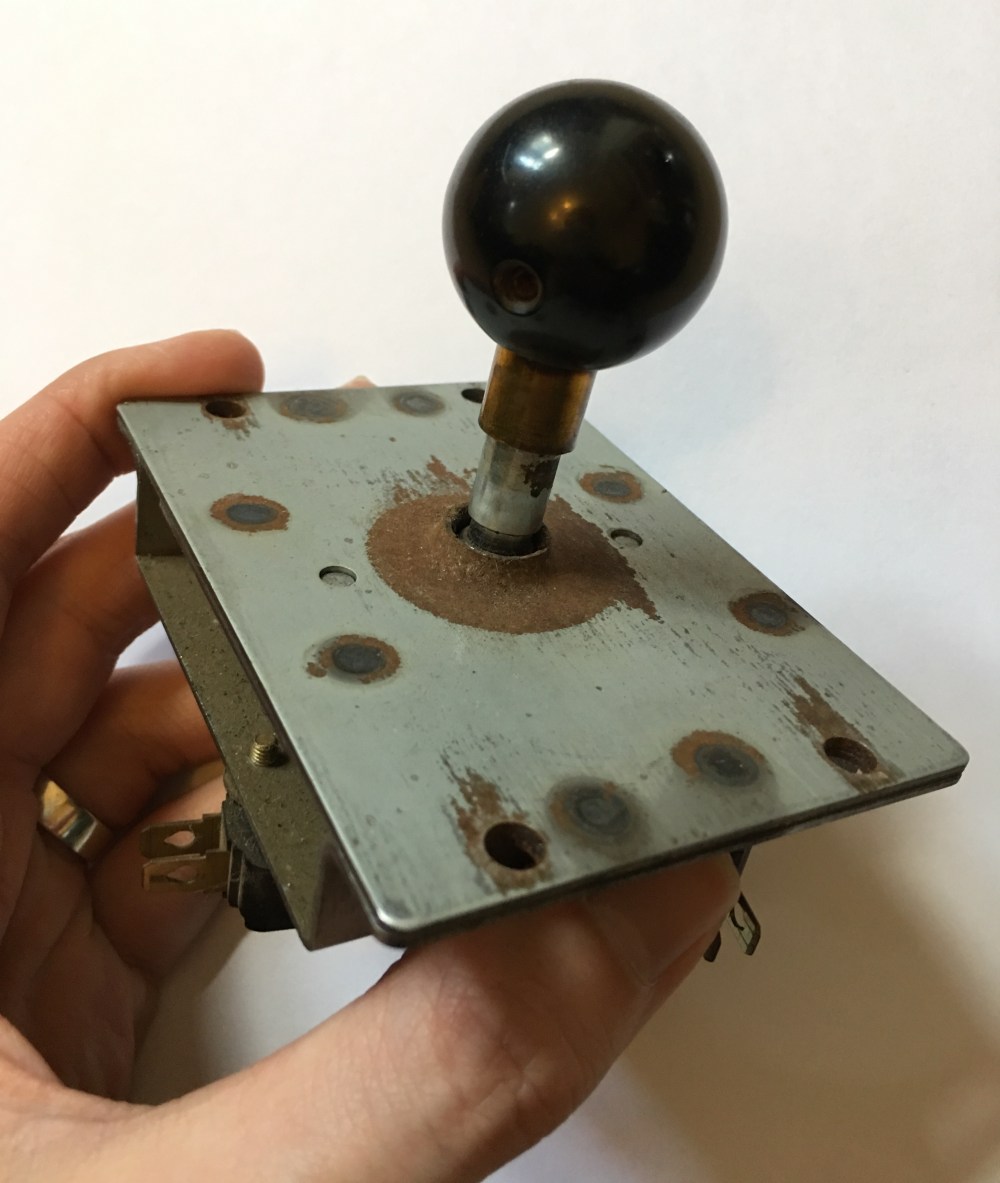
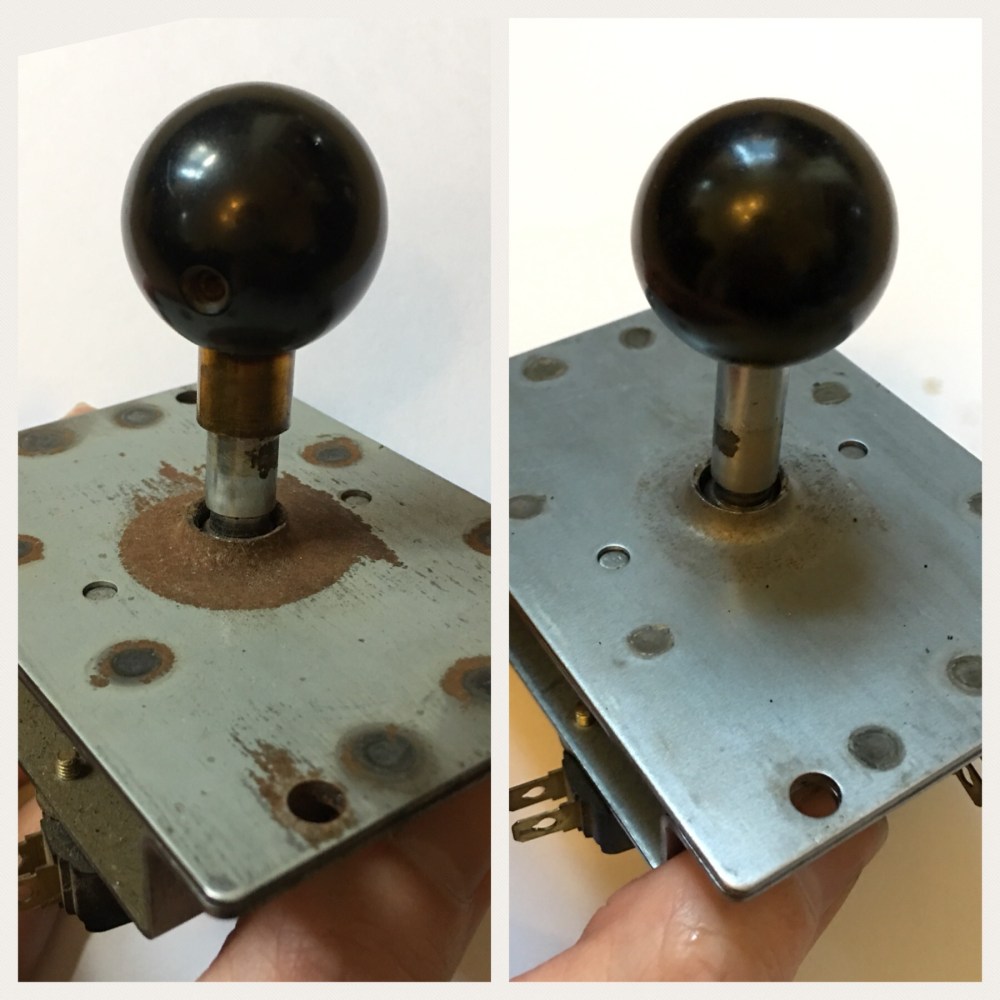
This is the joystick that I’ll be working on today:
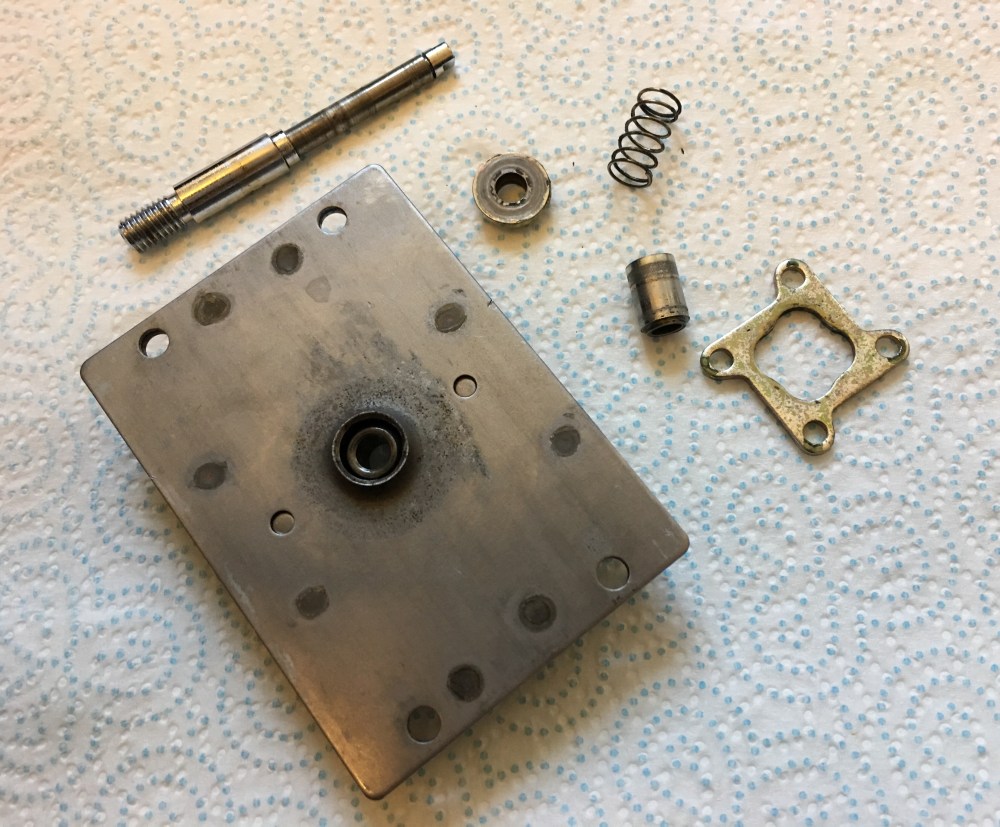
After some research into the best solution for rust removal, I settled on using white vinegar. Due to the construction of the base plate that contained the main bearing, the best way to ensure I got to as much of the rust as possible was to submerge the whole base plate. I removed all of the parts (micro switches, restrictor plate and main joystick shaft) from the joystick and laid everything out to check the condition:
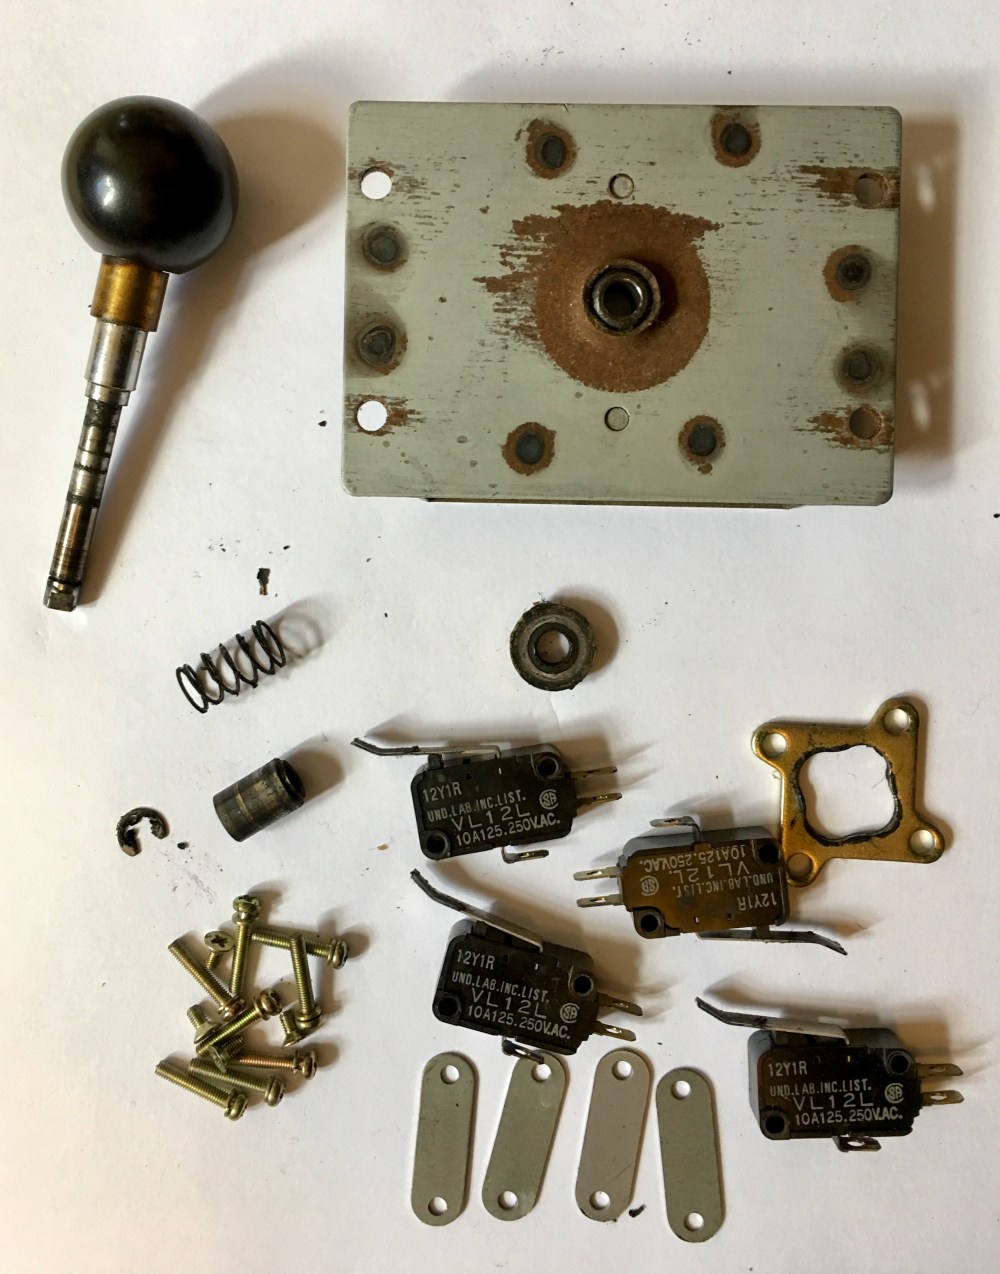
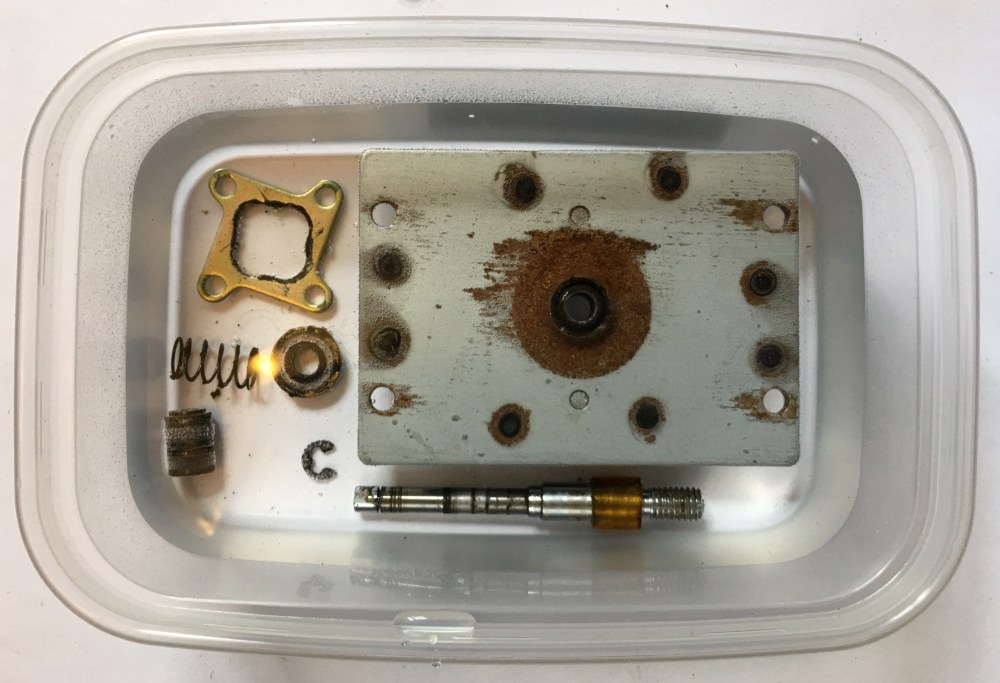
Looking at all of the parts, nothing actually needed replacing. The problems (aside from the bearing) were being caused by thick build ups of old grease and grime. So out came the white vinegar (and a small plastic tub to sit the parts in and I started the rust removal process:
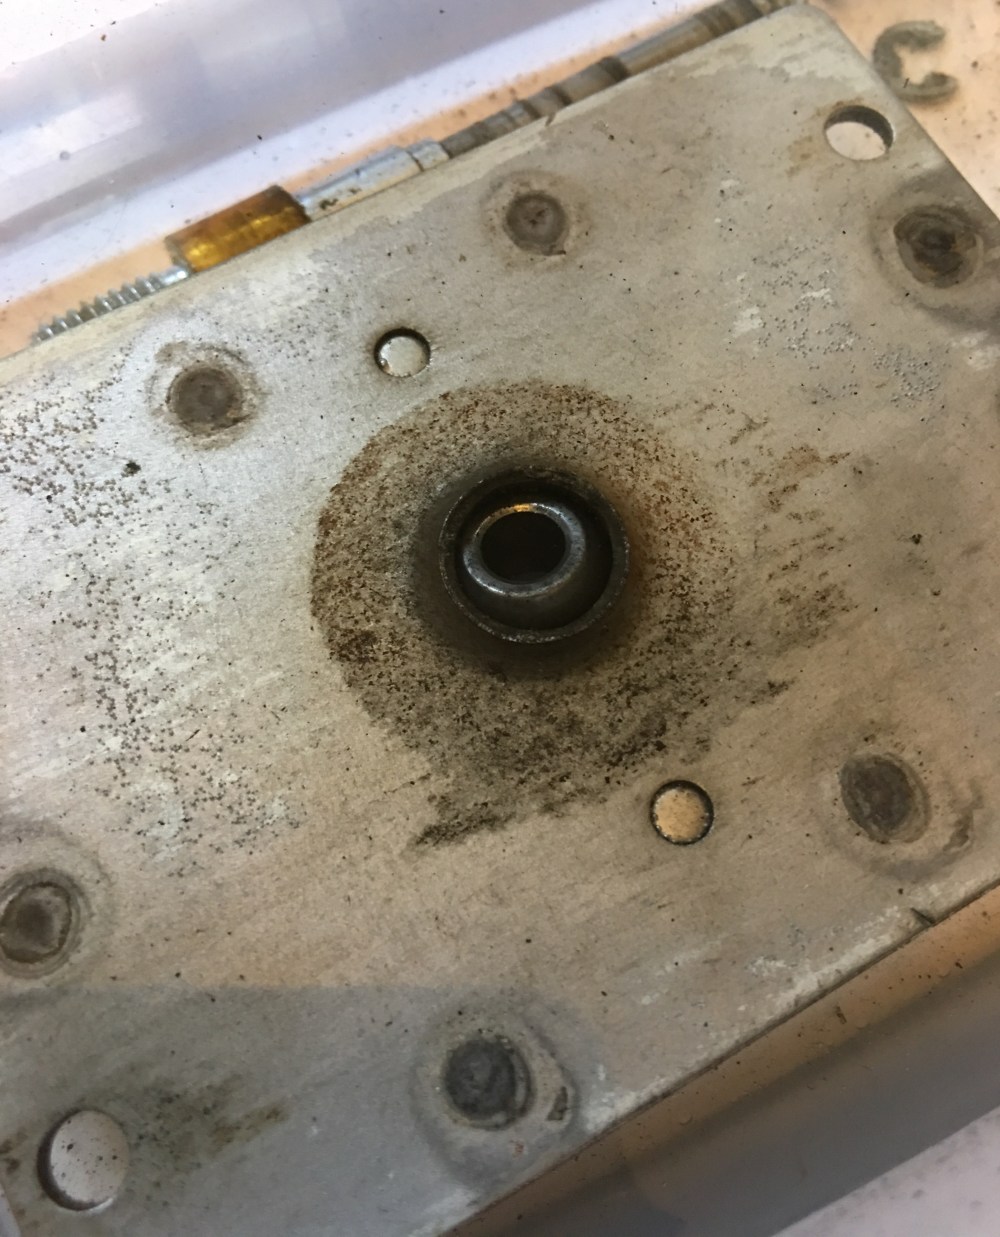
Now this is the part of the process that I’d read conflicting information about. Some people claimed the parts would need to soak for at least 24 hours, whereas others claimed it would only take a couple of hours. Now unfortunately my patience levels are very low, so after 30 minutes I started to agitate the base plate with a toothbrush. To my amazement, the rust was already beginning to loosen:
I left the pieces submerged for another few minutes before removing them and rinsing them with hot soapy water and thoroughly drying everything:
Knowing that during the cleaning process I’d introduced chemicals and water, I made sure I applied a liberal amount of WD-40 into the main bearing and the plate it sat between:
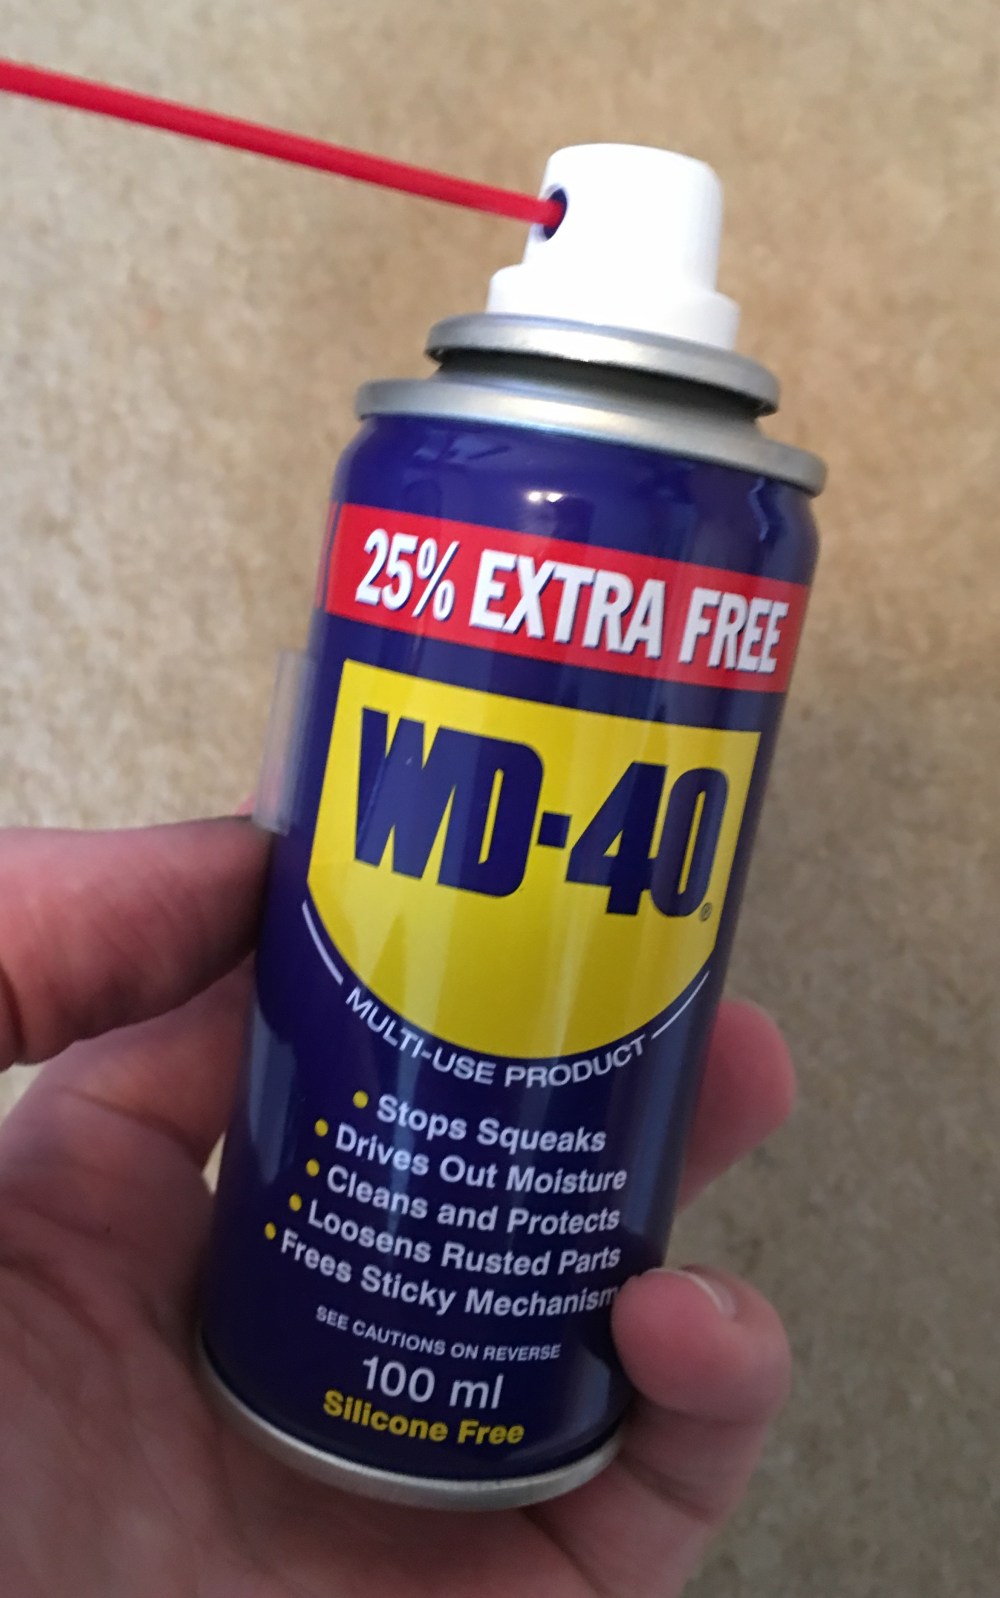
The only use I wanted out of this ‘Multi-Use Product’ was to ‘Drive Out Moisture’ considering how much I’d potentially introduced. I know there are many that believe WD-40 also lubricates, but despite popular belief it doesn’t have any lubricating properties.
After lots of drying and liberal applications of WD-40, I began the re-assembly process. I started by applying an actual lubricant to the main bearing:
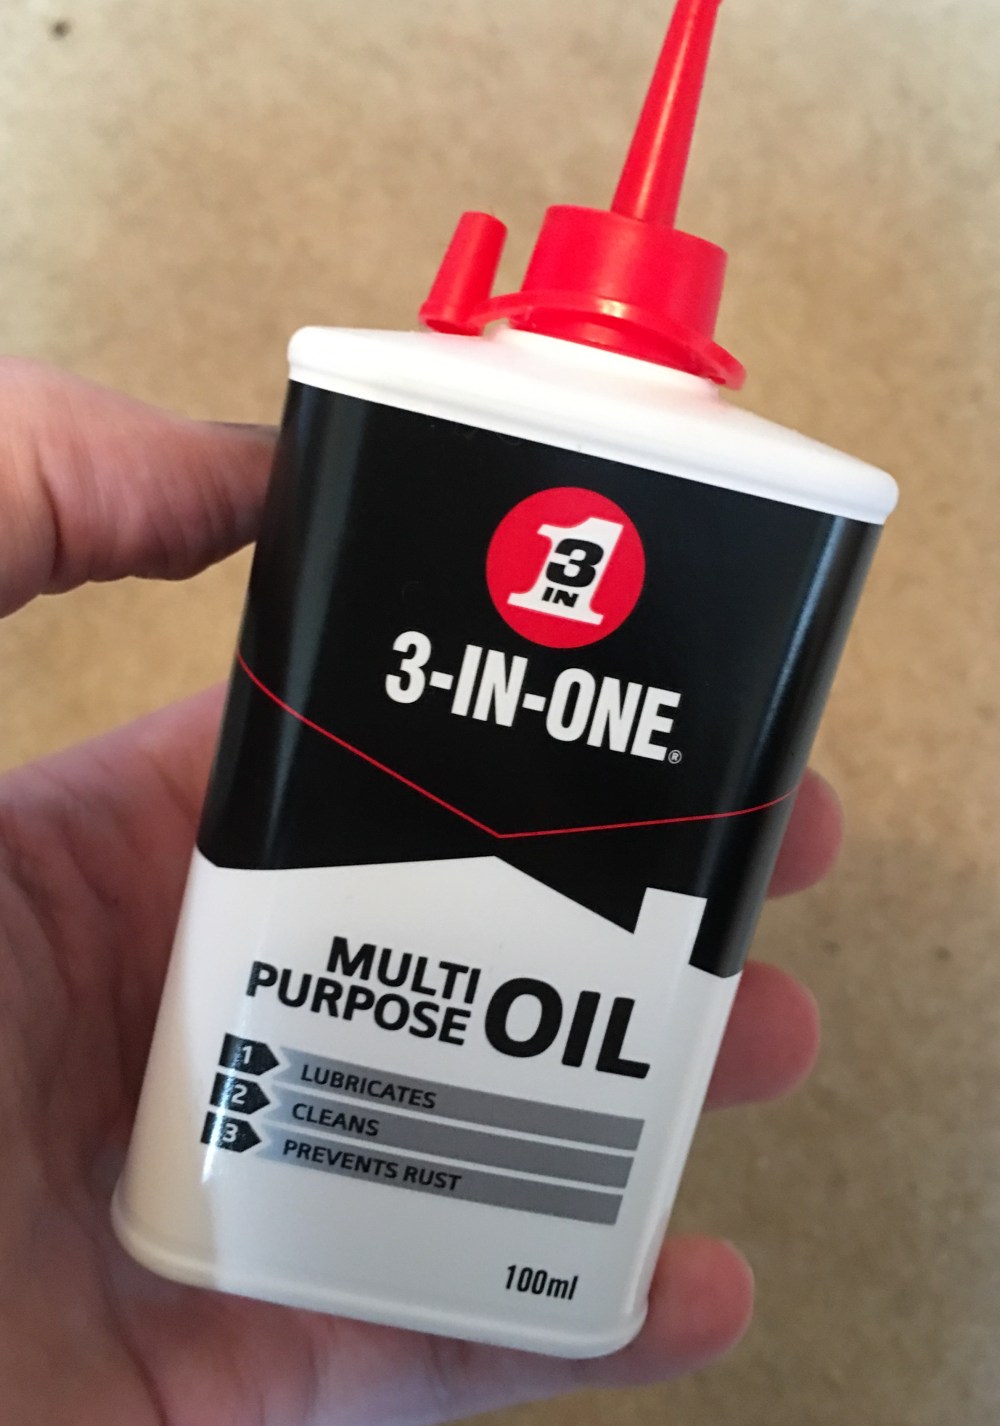
I applied this to the main bearing, whilst rotating the bearing to ensure as much coverage as possible. After this, I fed the joystick shaft through the bearing, applying more oil and put the spring, stopper and collar back on, securing them all with the e-clip. Next were the micro switches and then finally I screwed the ball top back on:
The only thing I still need to replace is the small piece of PVC tubing the sits just below the ball top. I measured the old piece (which I managed to remove in one piece!) and ordered a metre of the same size tubing. Should give me enough for 100 joysticks!
The movement of the joystick was now back to how it should be, free and with full rebound. An amazing difference for only an hours work, and definitely a worthwhile process.
Now I know how effective the white vinegar is at removing rust, I’ll start refurbishing my full lineup (and spares).

I like it when the simple fix can make a real difference.
LikeLiked by 1 person